Modding My Original Game Boy Advance
July 5, 2026
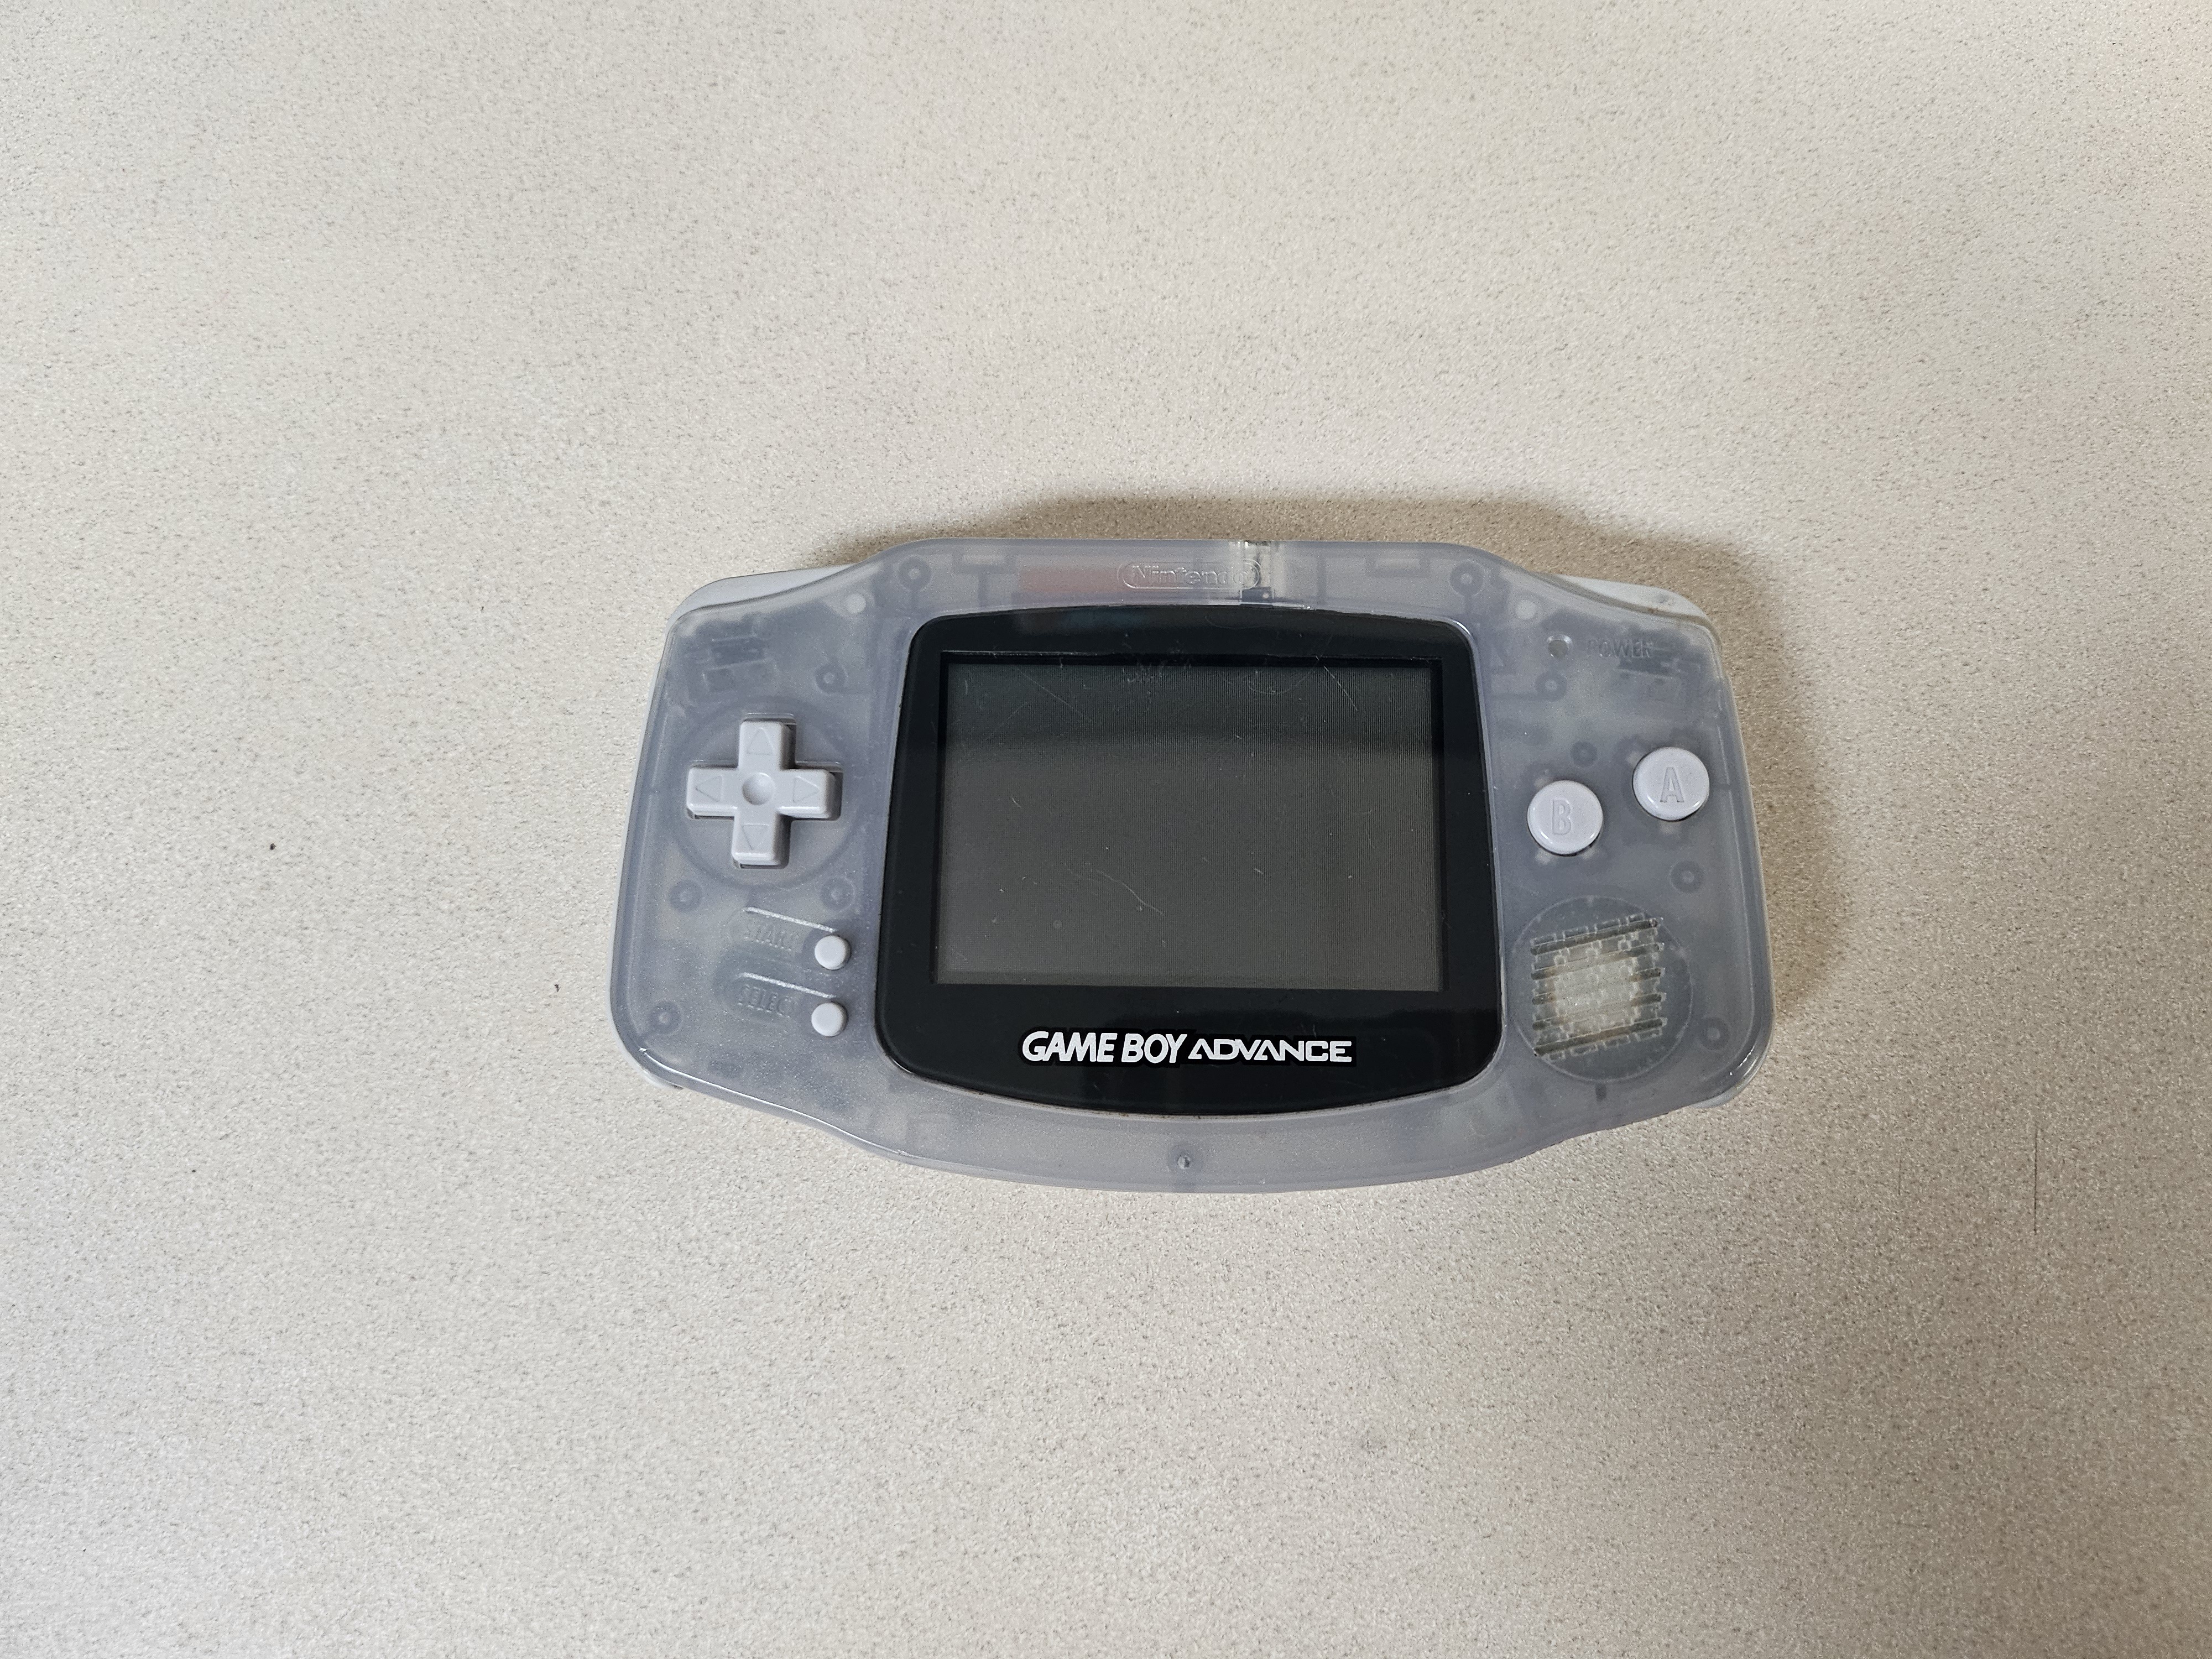
Sometime around the age of 5, my parents gifted me a Game Boy Advance. I had the Glacial shell, which meant it was that cool frosted clear shell that showed off the internal circuitry. I loved my Game Boy and it was my first ever gaming device that was wholly mine. Prior to that I got my fix during summer camp at an athletics club that had a Nintendo 64 and Mario Kart. One of my fellow campers even had a Game Boy Color with Pokémon Yellow, which lead me to the conclusion that I needed my own. But I didn’t play Pokémon on my Game Boy, at least not yet. My games were split half and half between random oddities that my parents picked up for me like Gadget Racers or The SpongeBob SquarePants Movie (The Game), and every Yu-Gi-Oh! game from Dungeon Dice Monsters to The Eternal Duelist Soul. But about a year later, the Game Boy Advance SP released, and the upgrades with all the new bells and whistles were staggering. Now I could play at night with the new backlight and I didn’t need to worry about buying AA batteries with the rechargeable battery. The first game I got after receiving the SP was Pokémon Emerald, so immediately I had abandoned my first Game Boy, only taking it out with the link cable to trade Pokémon with myself. And after the DS came out, my original Game Boy Advance sat inside an officially licensed bag under my bed, never to be played again for the rest of my childhood.
Two decades later I found myself returning to the Game Boy Advance era after developing a love and appreciation for pixel art and Pokémon ROM hacks. Then when watching this YouTube video from Johnstone on his adventures to fully complete the Pokémon Emerald Pokédex, he mentions around 3:37 that he’s playing on an Analogue Pocket. I had never heard of this, so I took a peek that eventually lead to a deep dive into modern hardware for retro gaming, heavily helped by another YouTube channel Retro Game Corps. For a while I had been playing ROM hacks on my phone, one of the biggest reasons I got a Galaxy Flip was because of its similarity to my SP, but playing on actual hardware sounded infinitely better as the lack of haptic feedback from the glass screen of my phone left a lot to be desired. The Analogue Pocket mentioned earlier was sold out and being resold on the secondary market for exorbitant prices, so it wasn’t an option. Plus, I wanted a device that replicated the way I played when I was a kid, a clam shell model. That was when I was directed to the ANBERNIC RG 34XXSP. It was perfect and had solid reviews, expandable storage, joysticks, and was affordable compared to other options, especially the Pocket which even when it isn’t sold out sits at $240. When it finally arrived I opened it up, booted up some games, and felt hollow inside. Sure, I had a near unlimited amount of games from the get go, but they weren’t my games. The device had no weight to it and the shell felt like cheap plastic. It was a far cry from how it felt holding my actual SP. I considered looking at other options, but my trust in these replicas was shattered. It wasn’t long after this that I stumbled upon this video from Yewfnet. In it she does her first ever hardware mod to an old Game Boy Advance and the result is incredible. This sparked a fire inside me and wouldn’t go out until I did this myself. Over the next couple months I watched tons of videos from Macho Nacho Productions, The Retro Future, and Odd Tinkering, equipping me with all the knowledge I needed to mod my Game Boy Advance. After that, the only thing left to do was to do it.
For the mod, I gathered the following supplies:
- Silicon Repair Mat
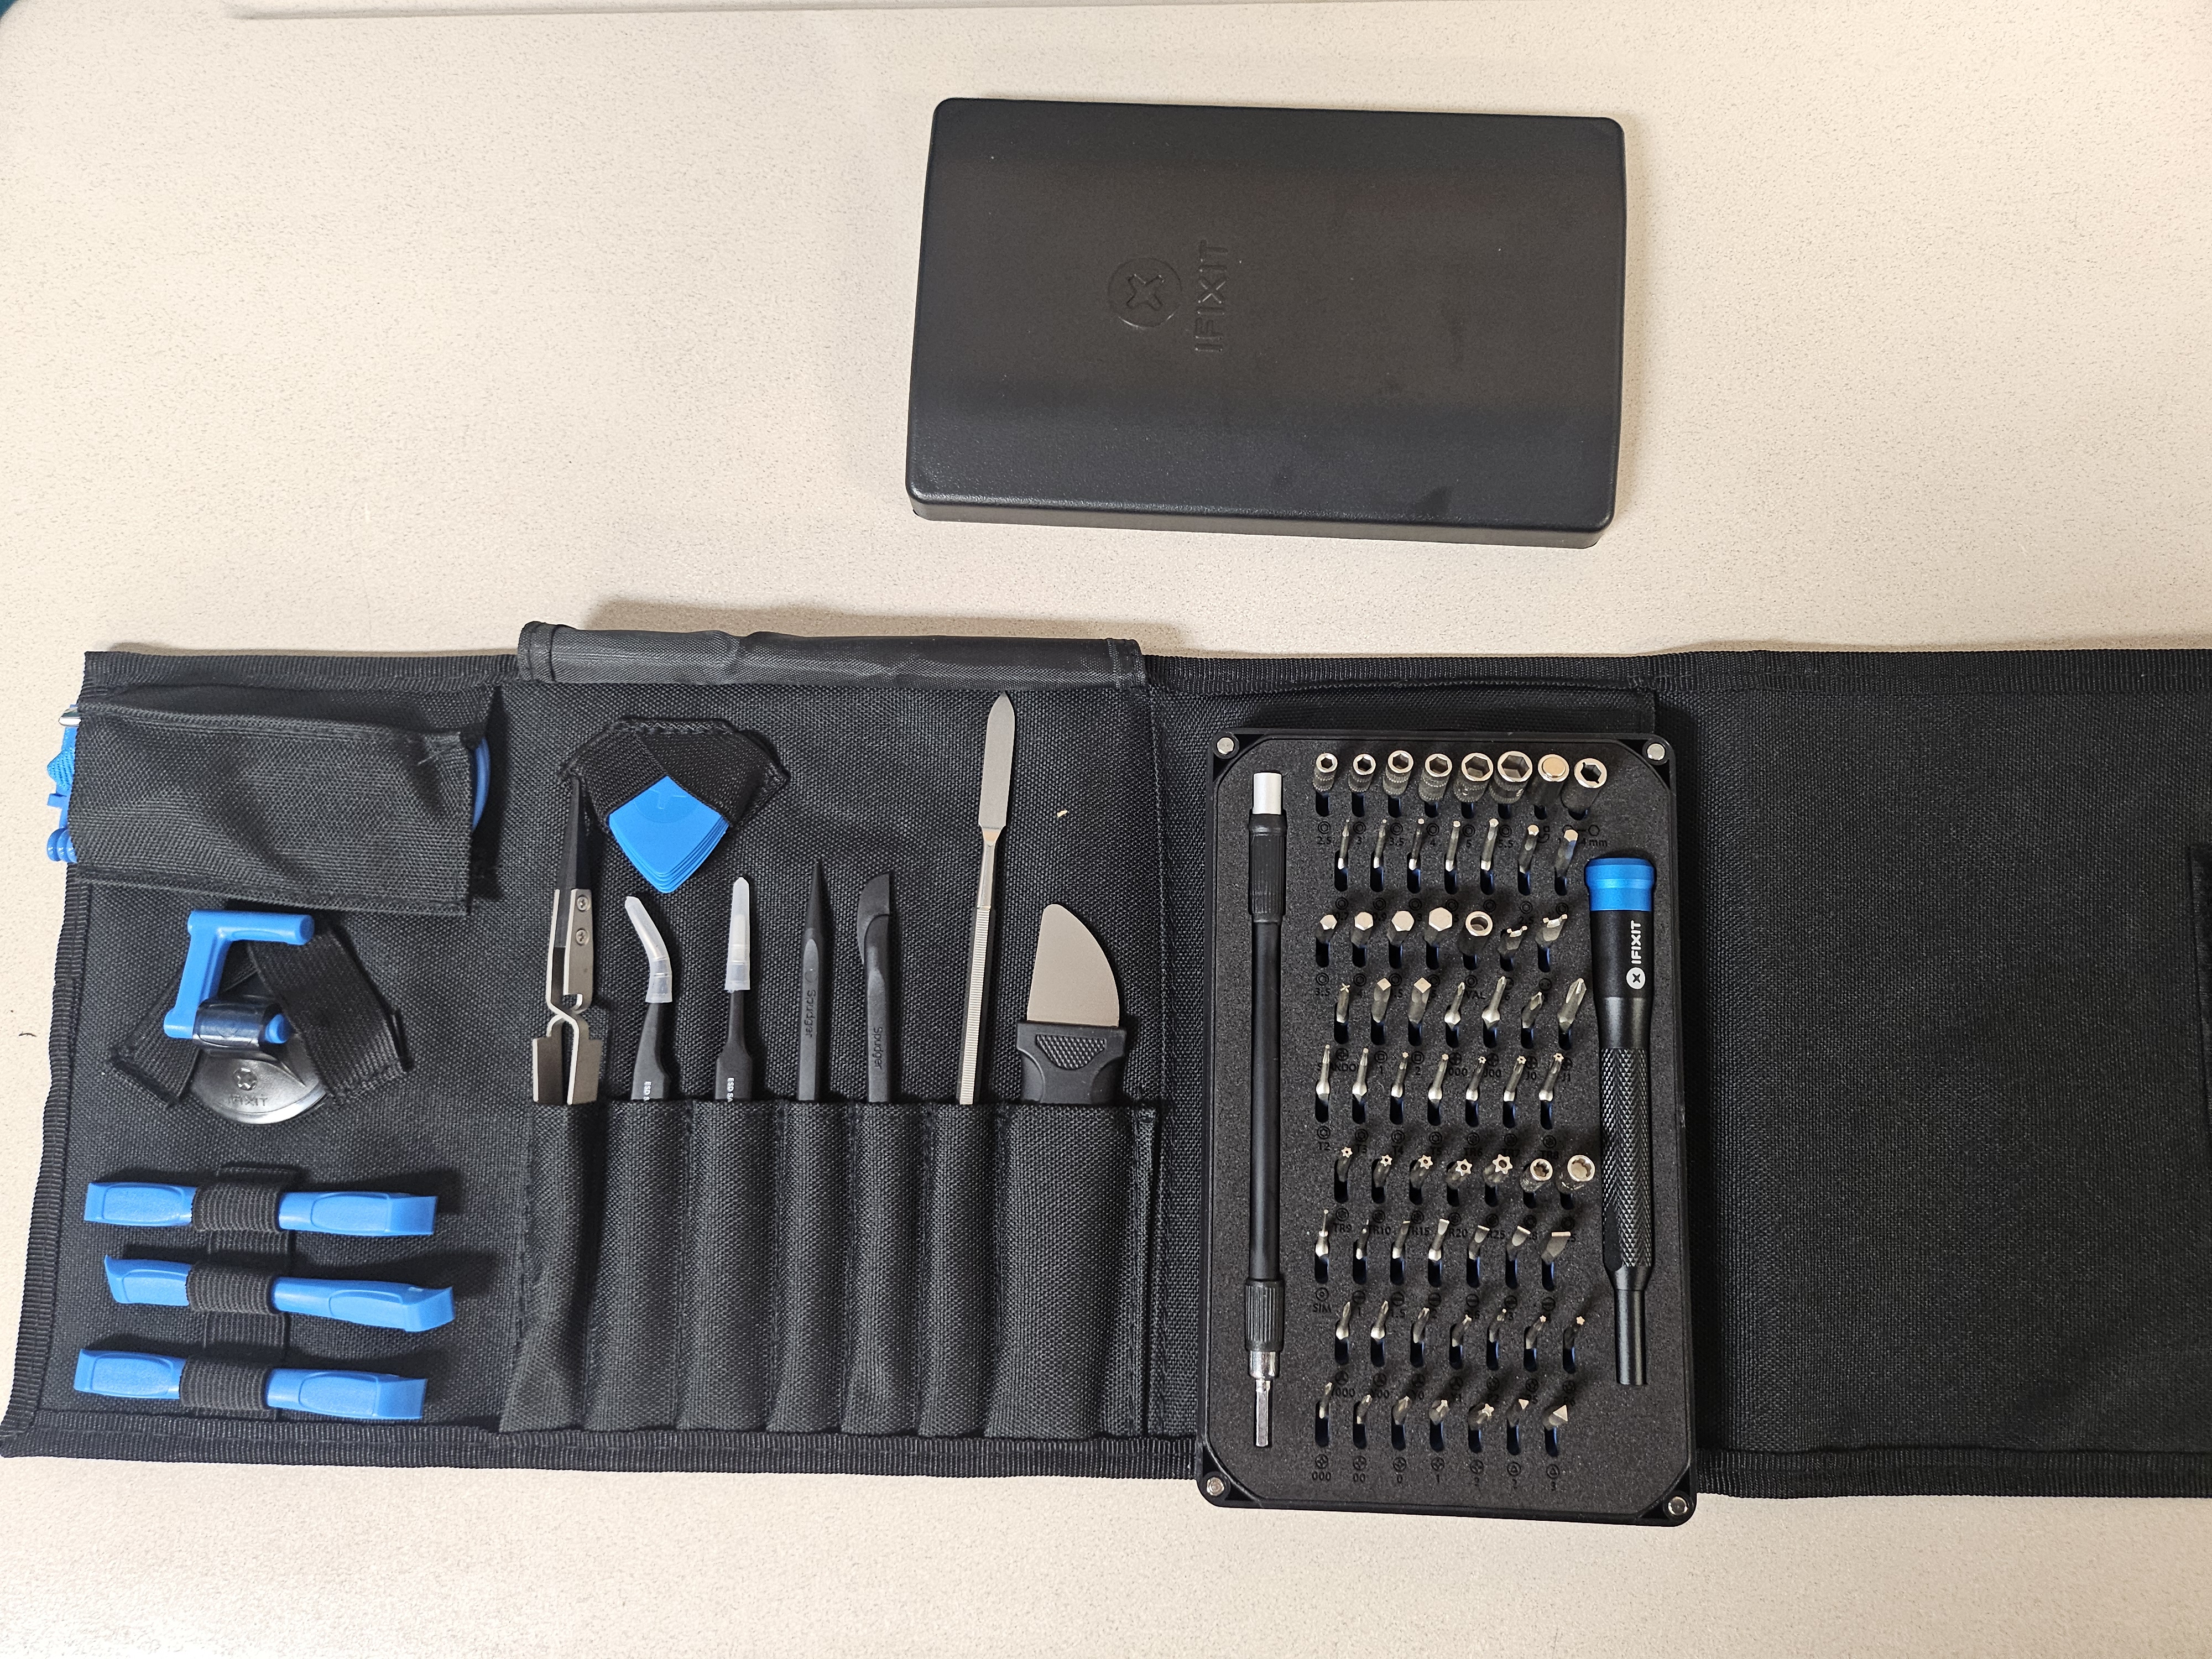
- IFixit Pro Tech Toolkit
- Soldering Station
- Solder Wire 35/65
- Desoldering Wick
- Brass Sponge
- Solder Sucker
- Protective Glasses
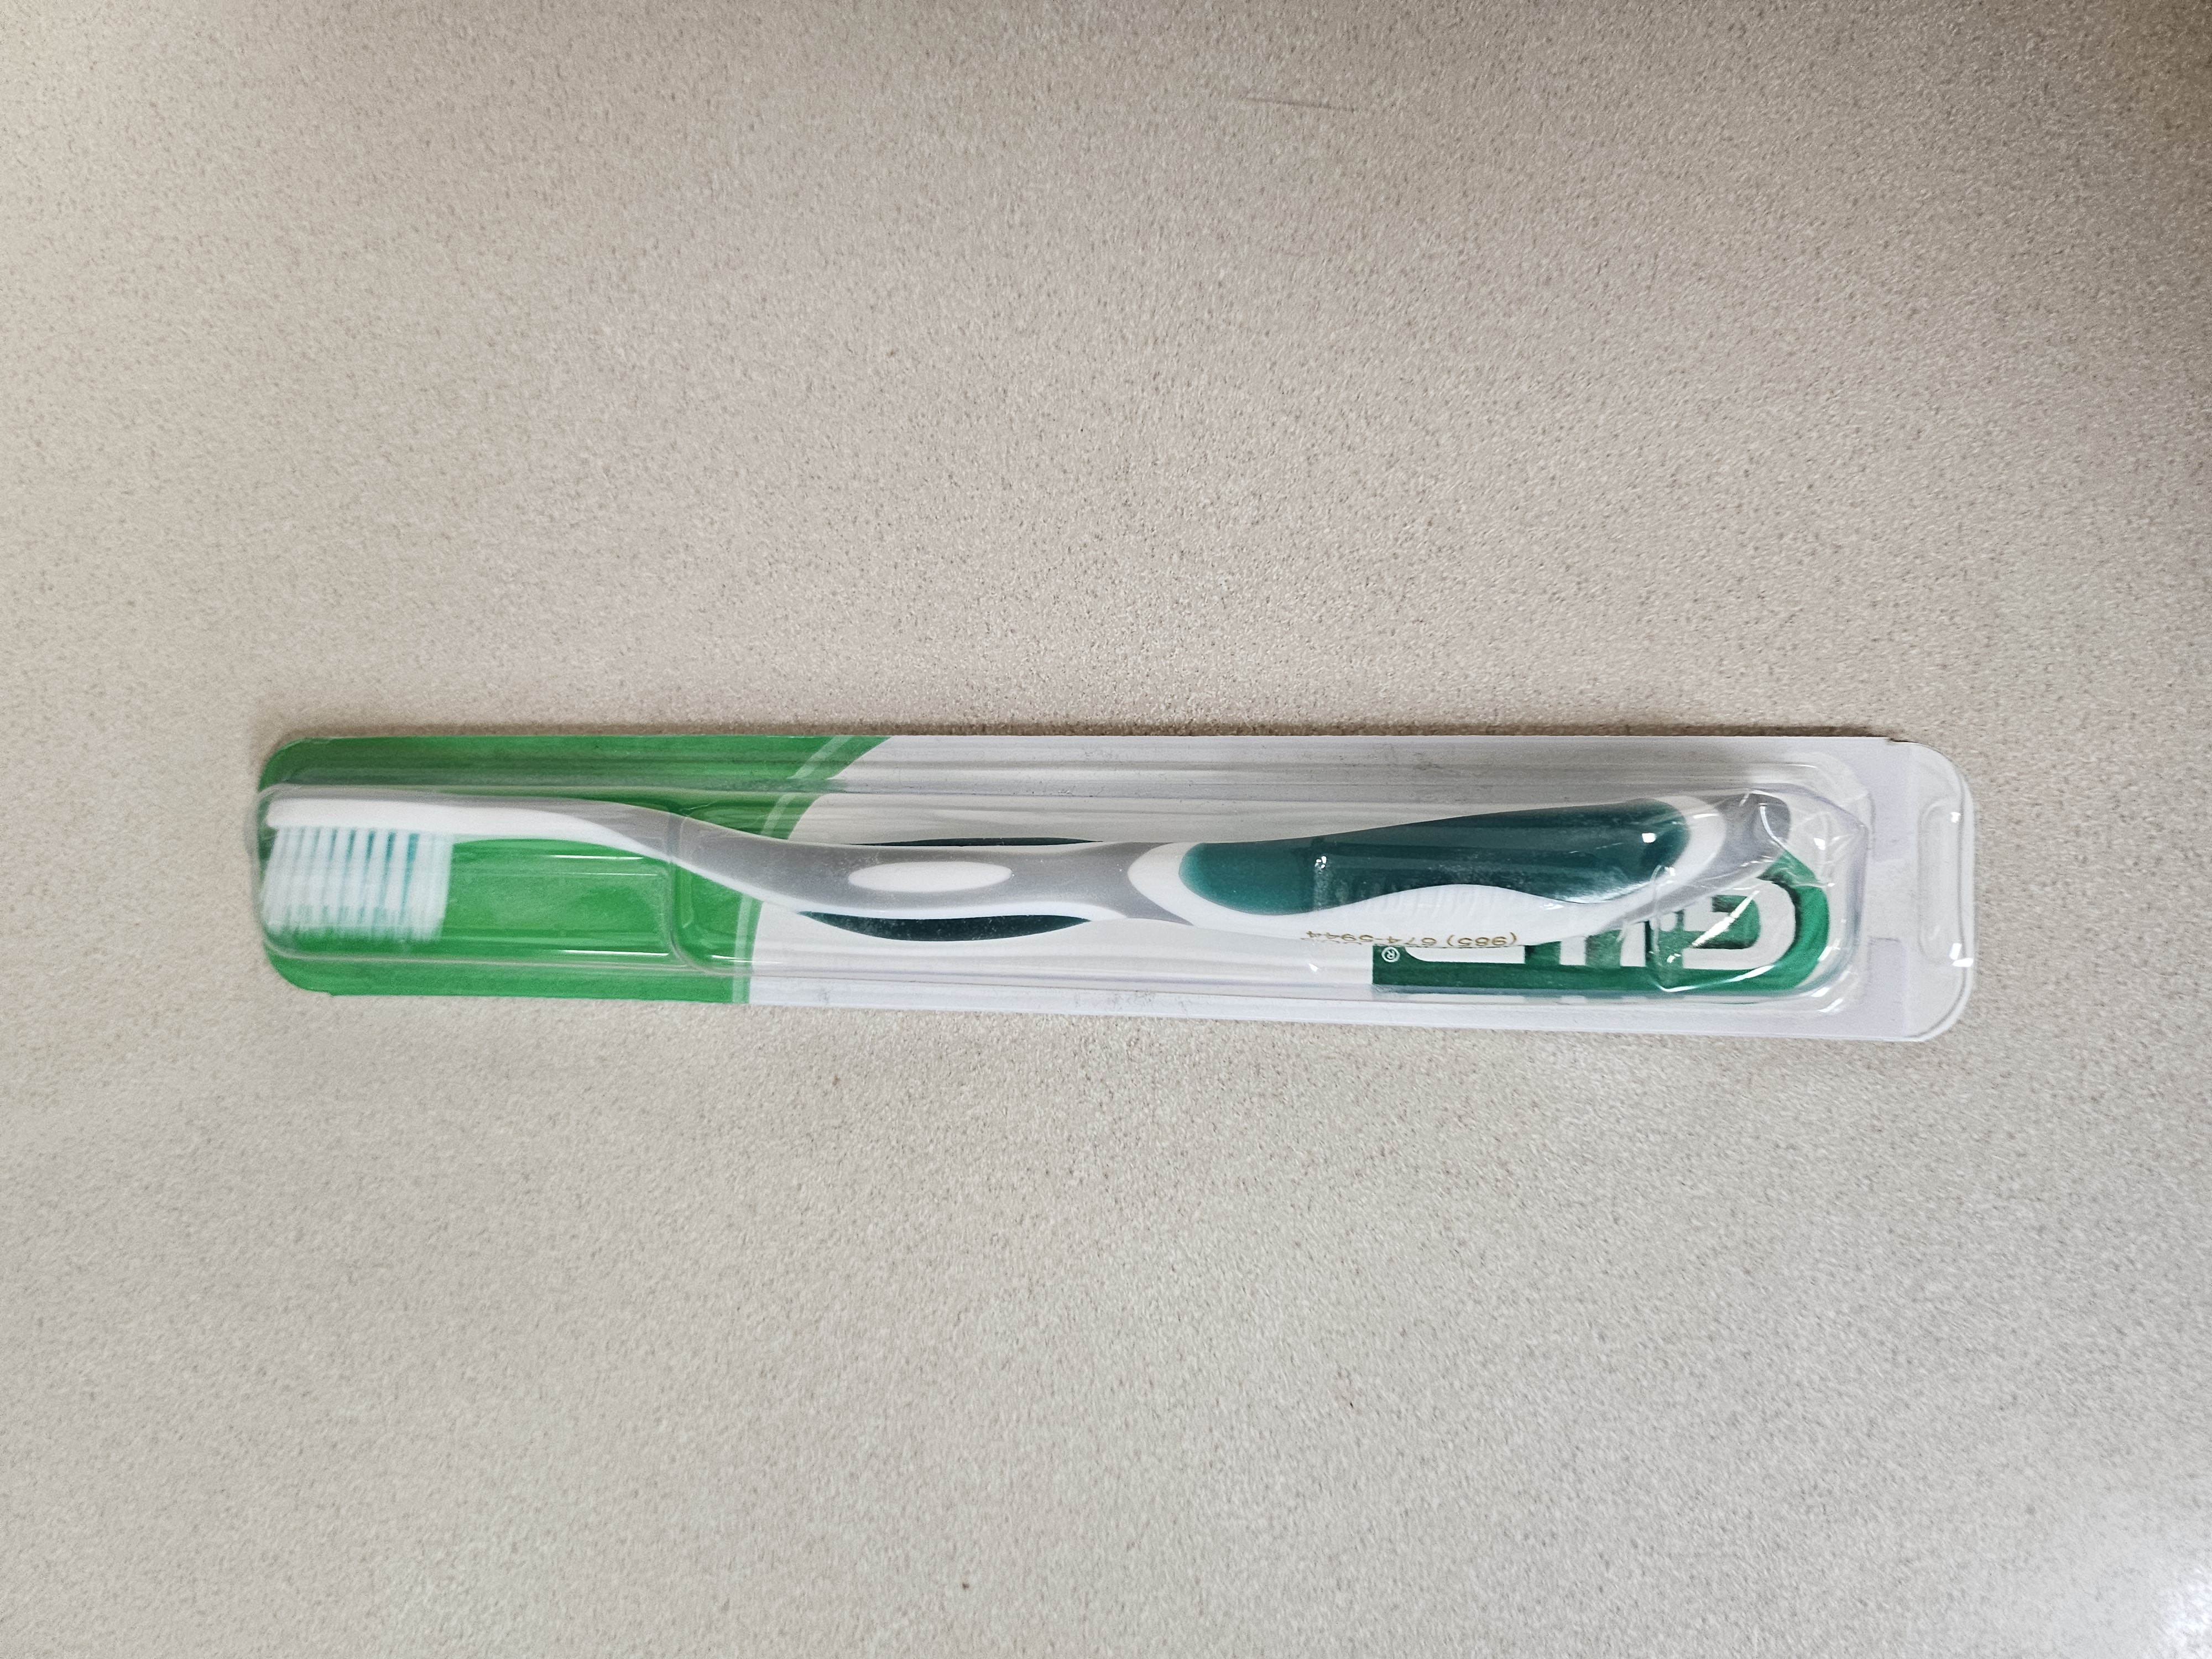
- Toothbrush (Free from my dentist)
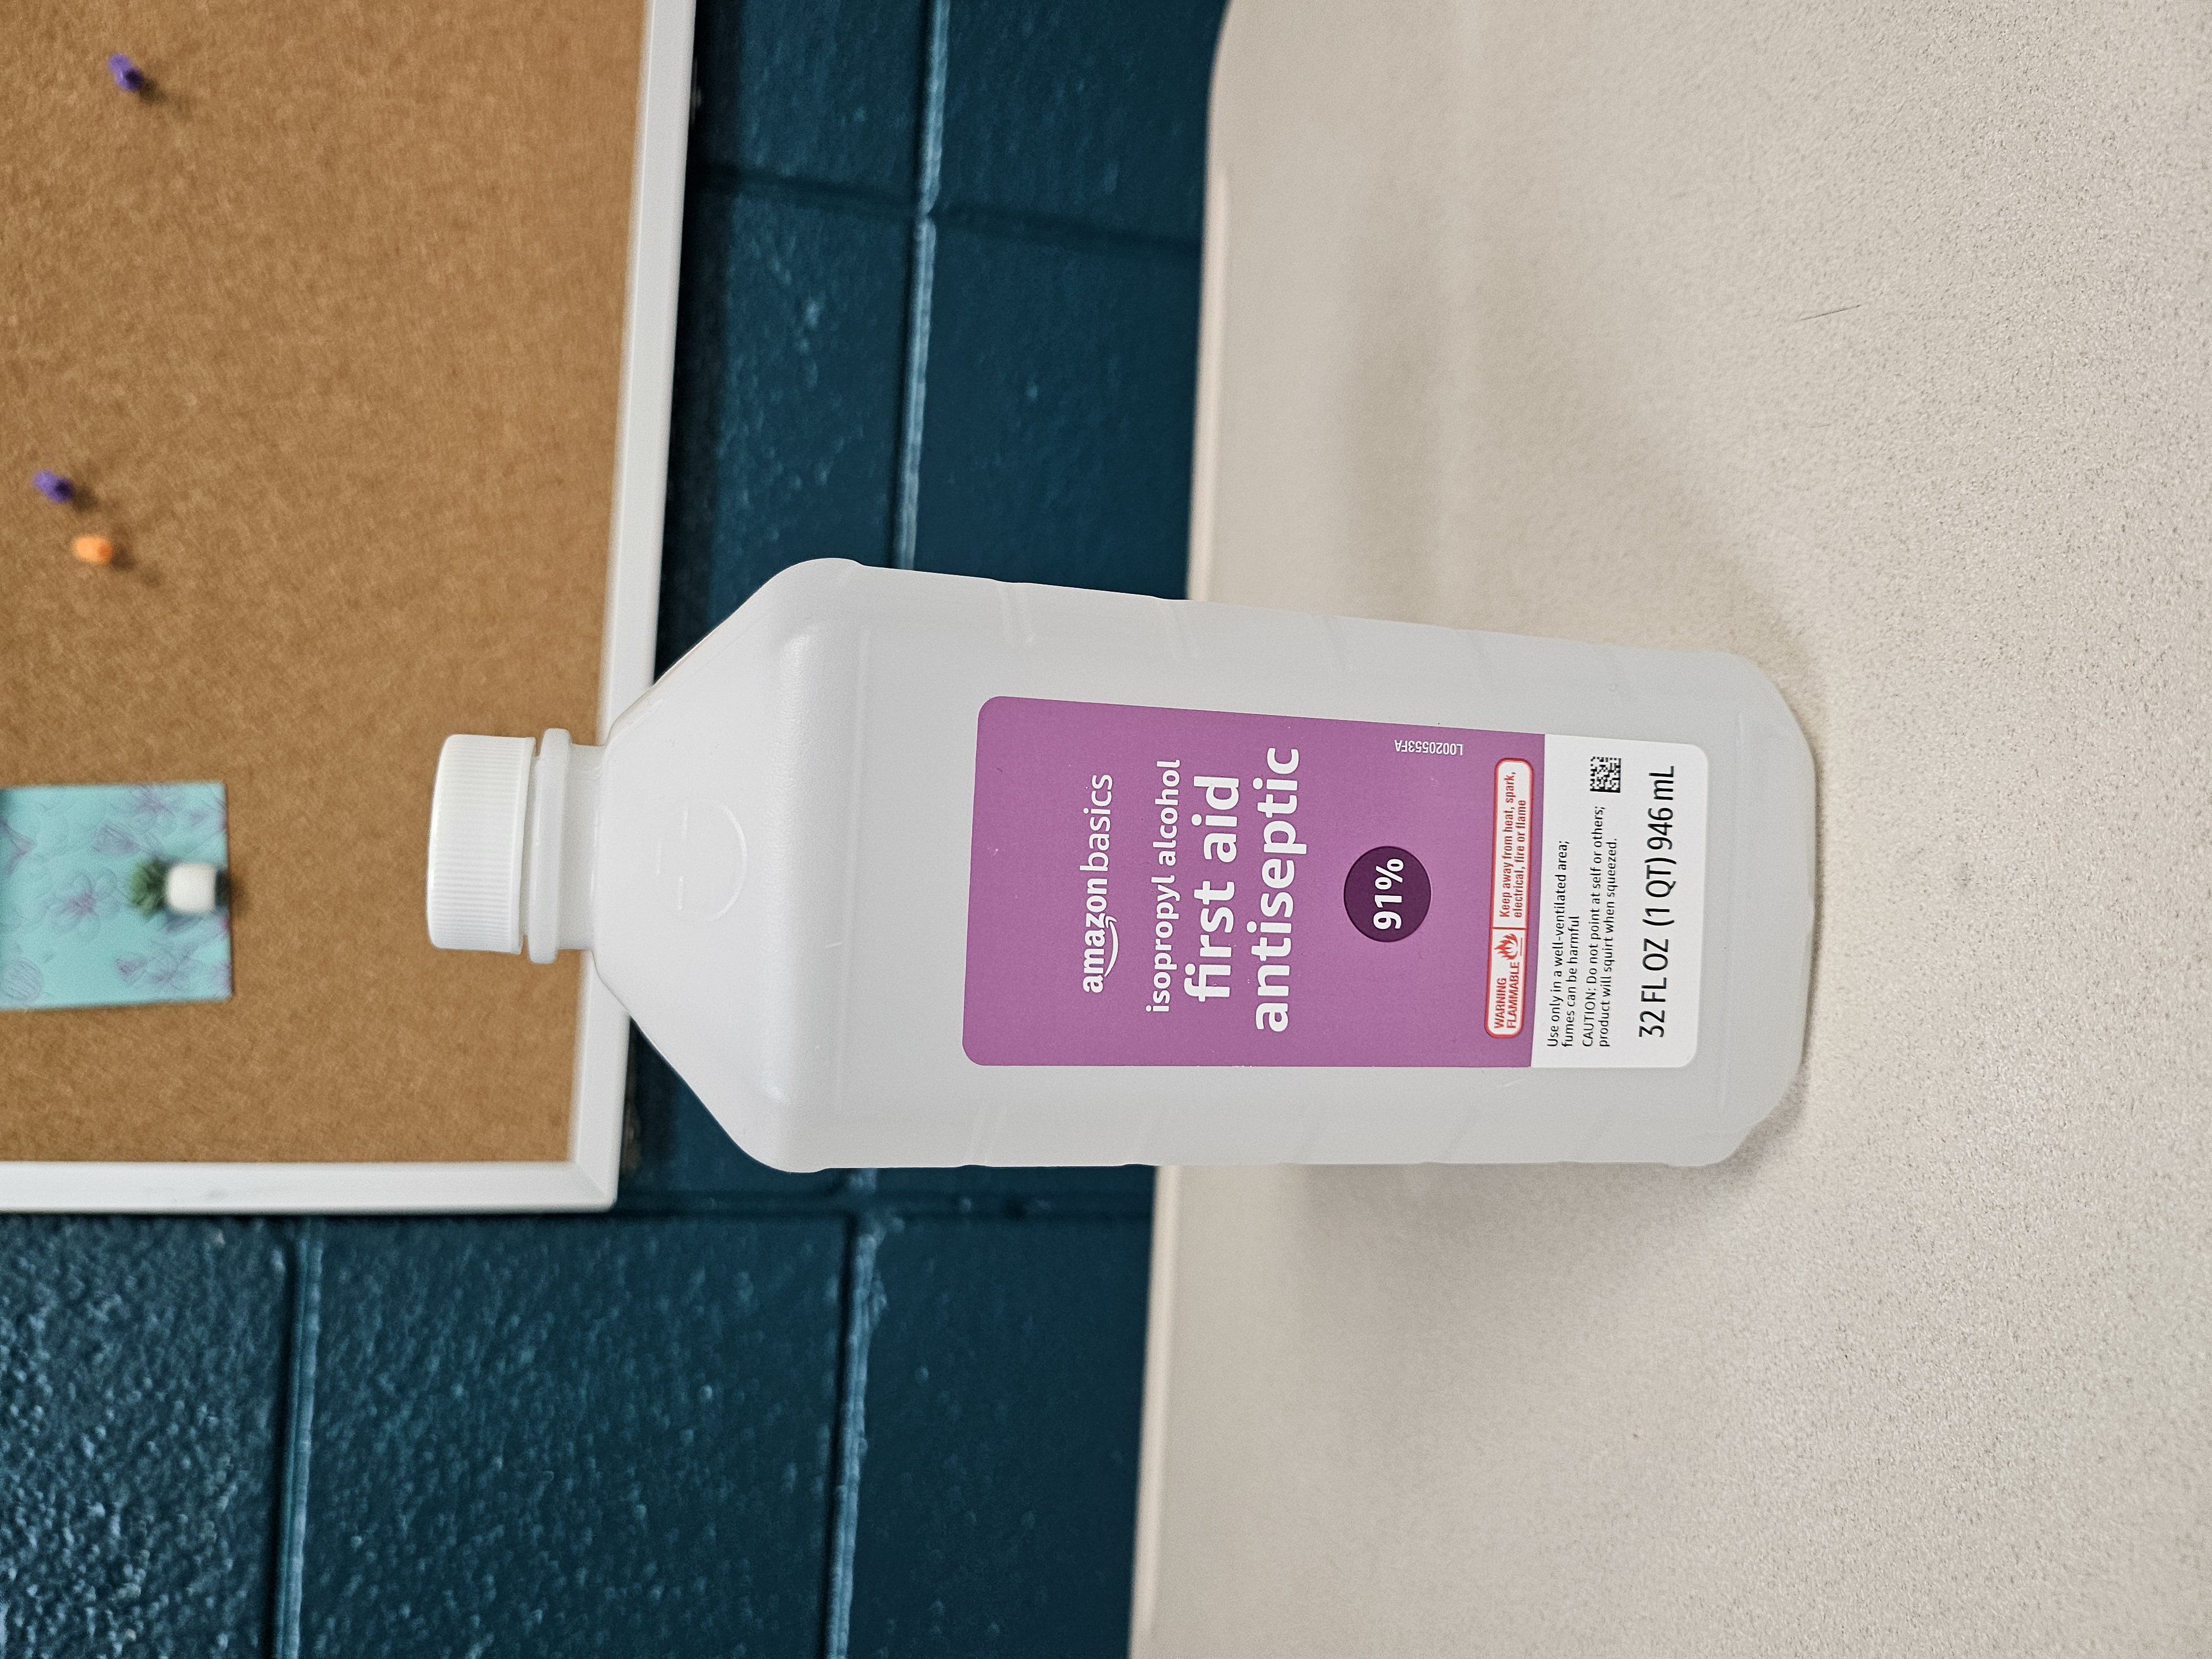
- Isopropyl Alcohol
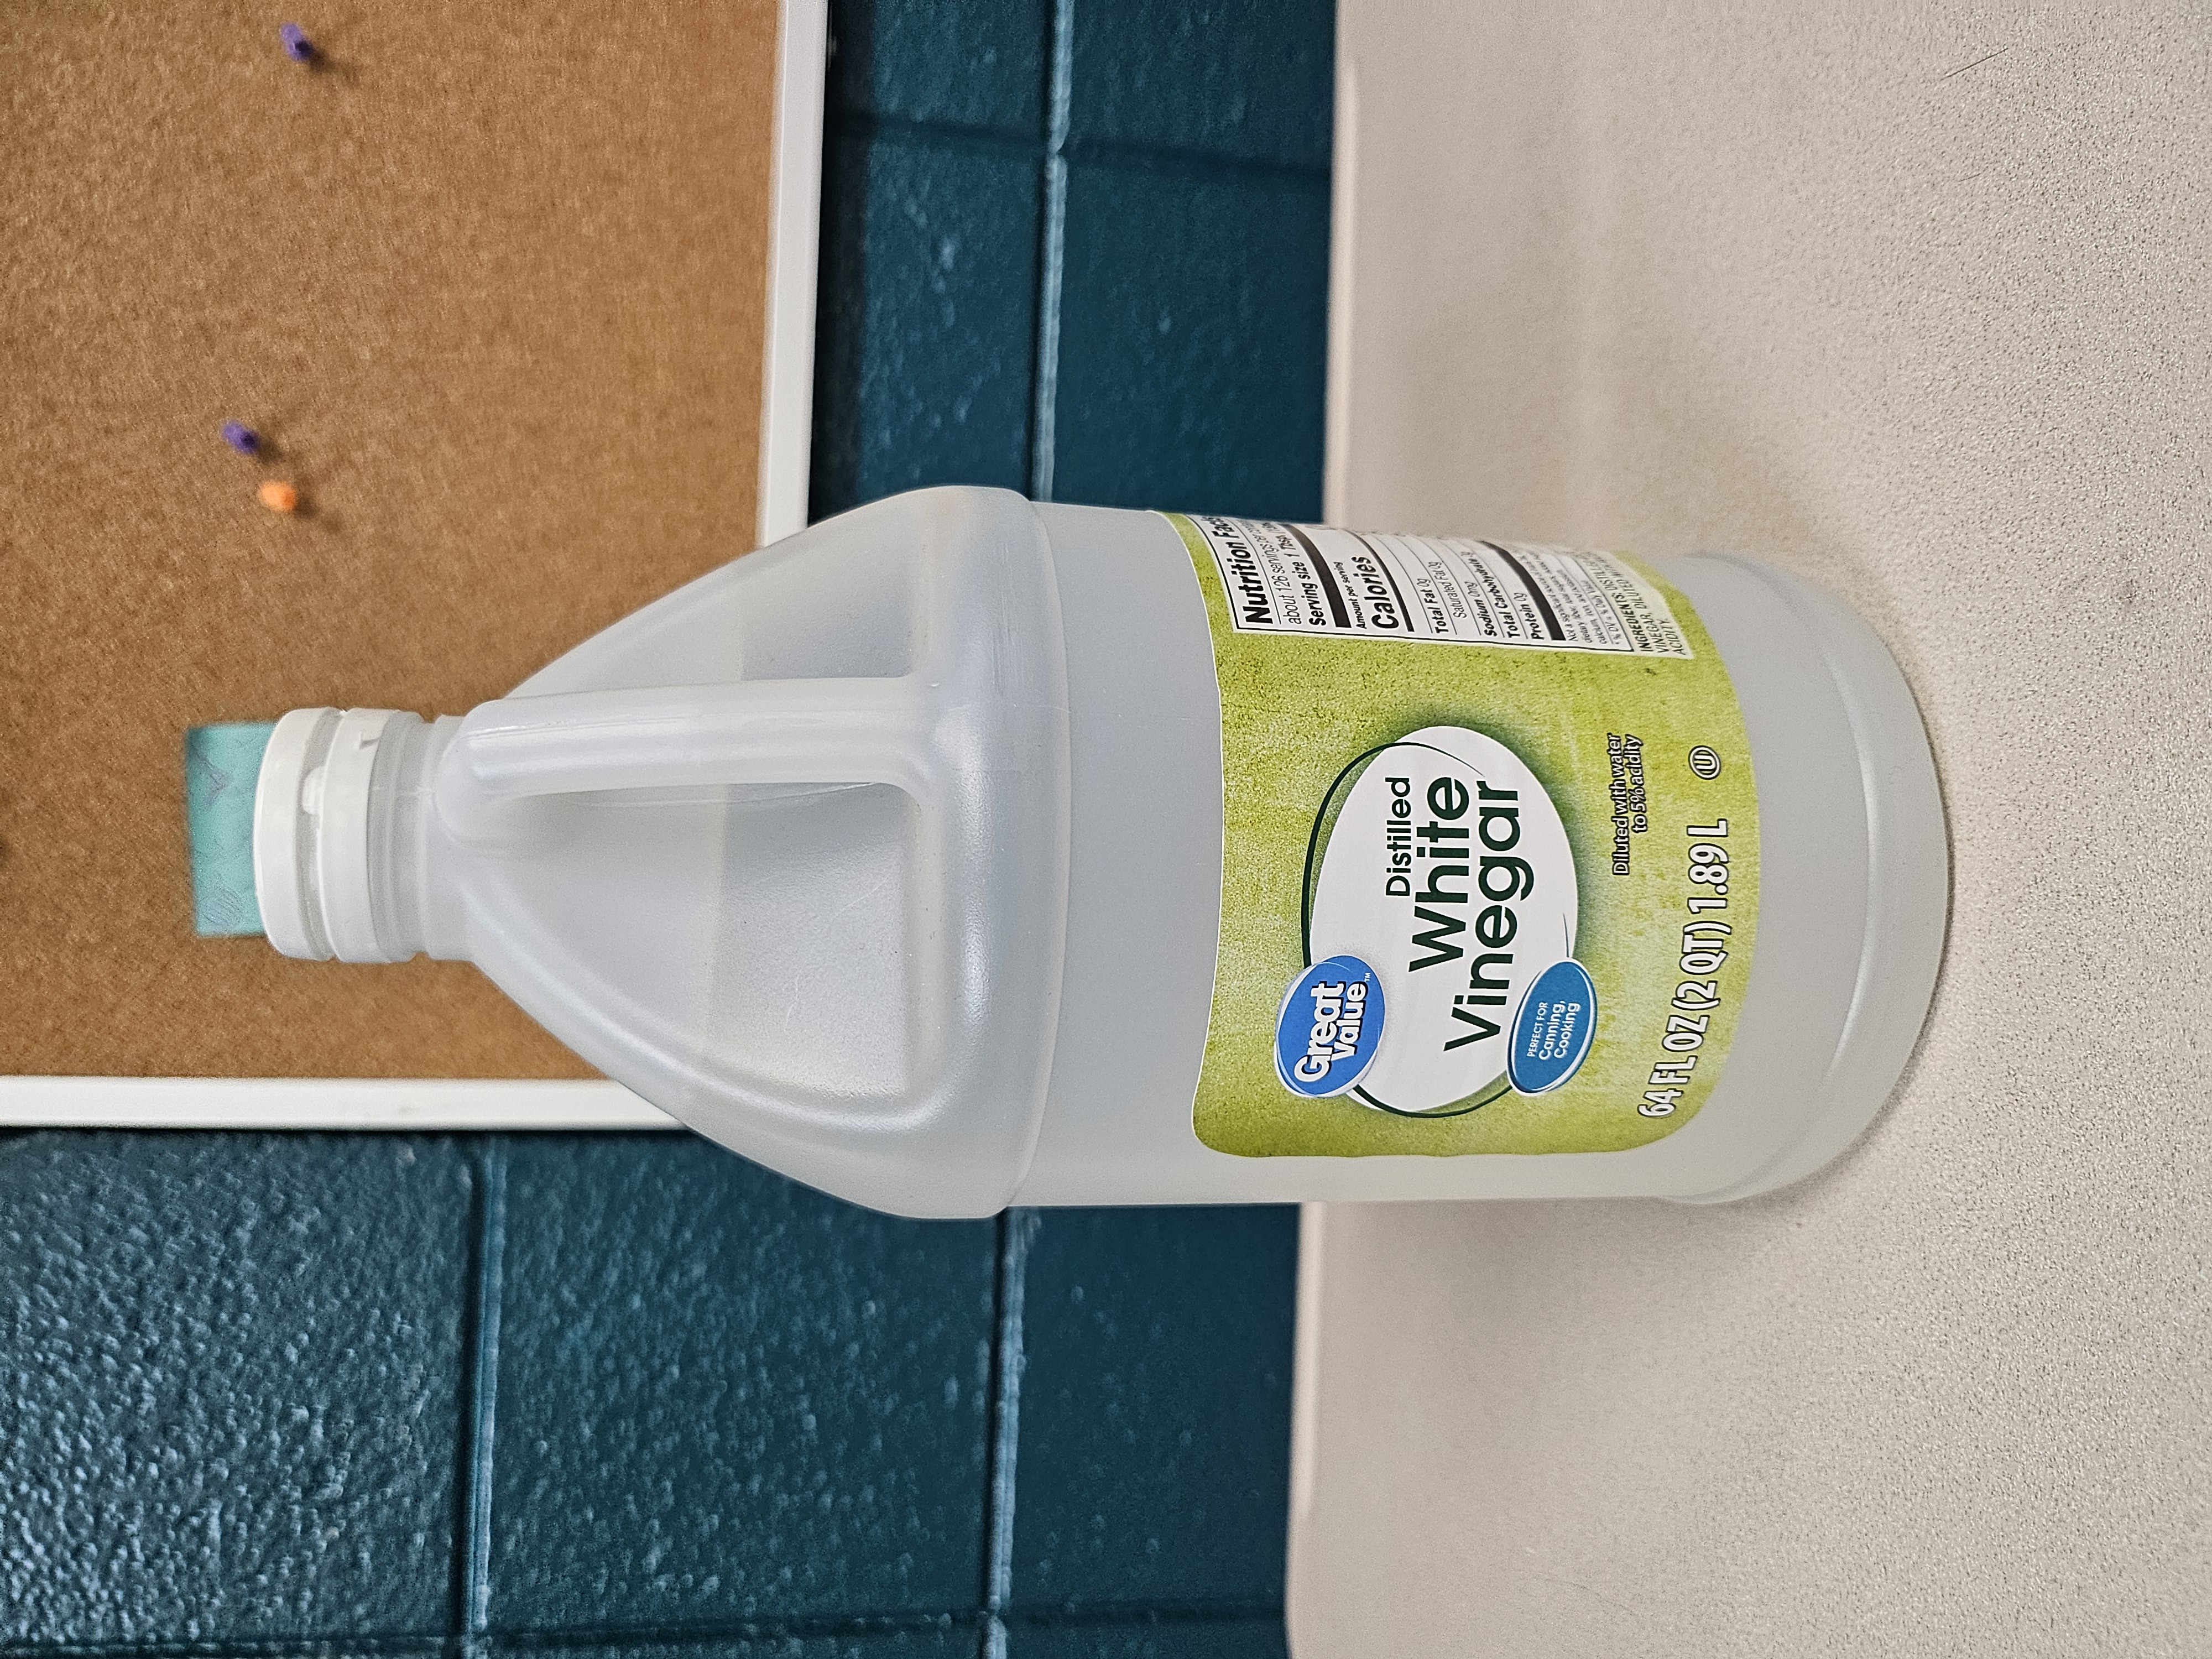
- White Vinegar (Snagged from my local Walmart)
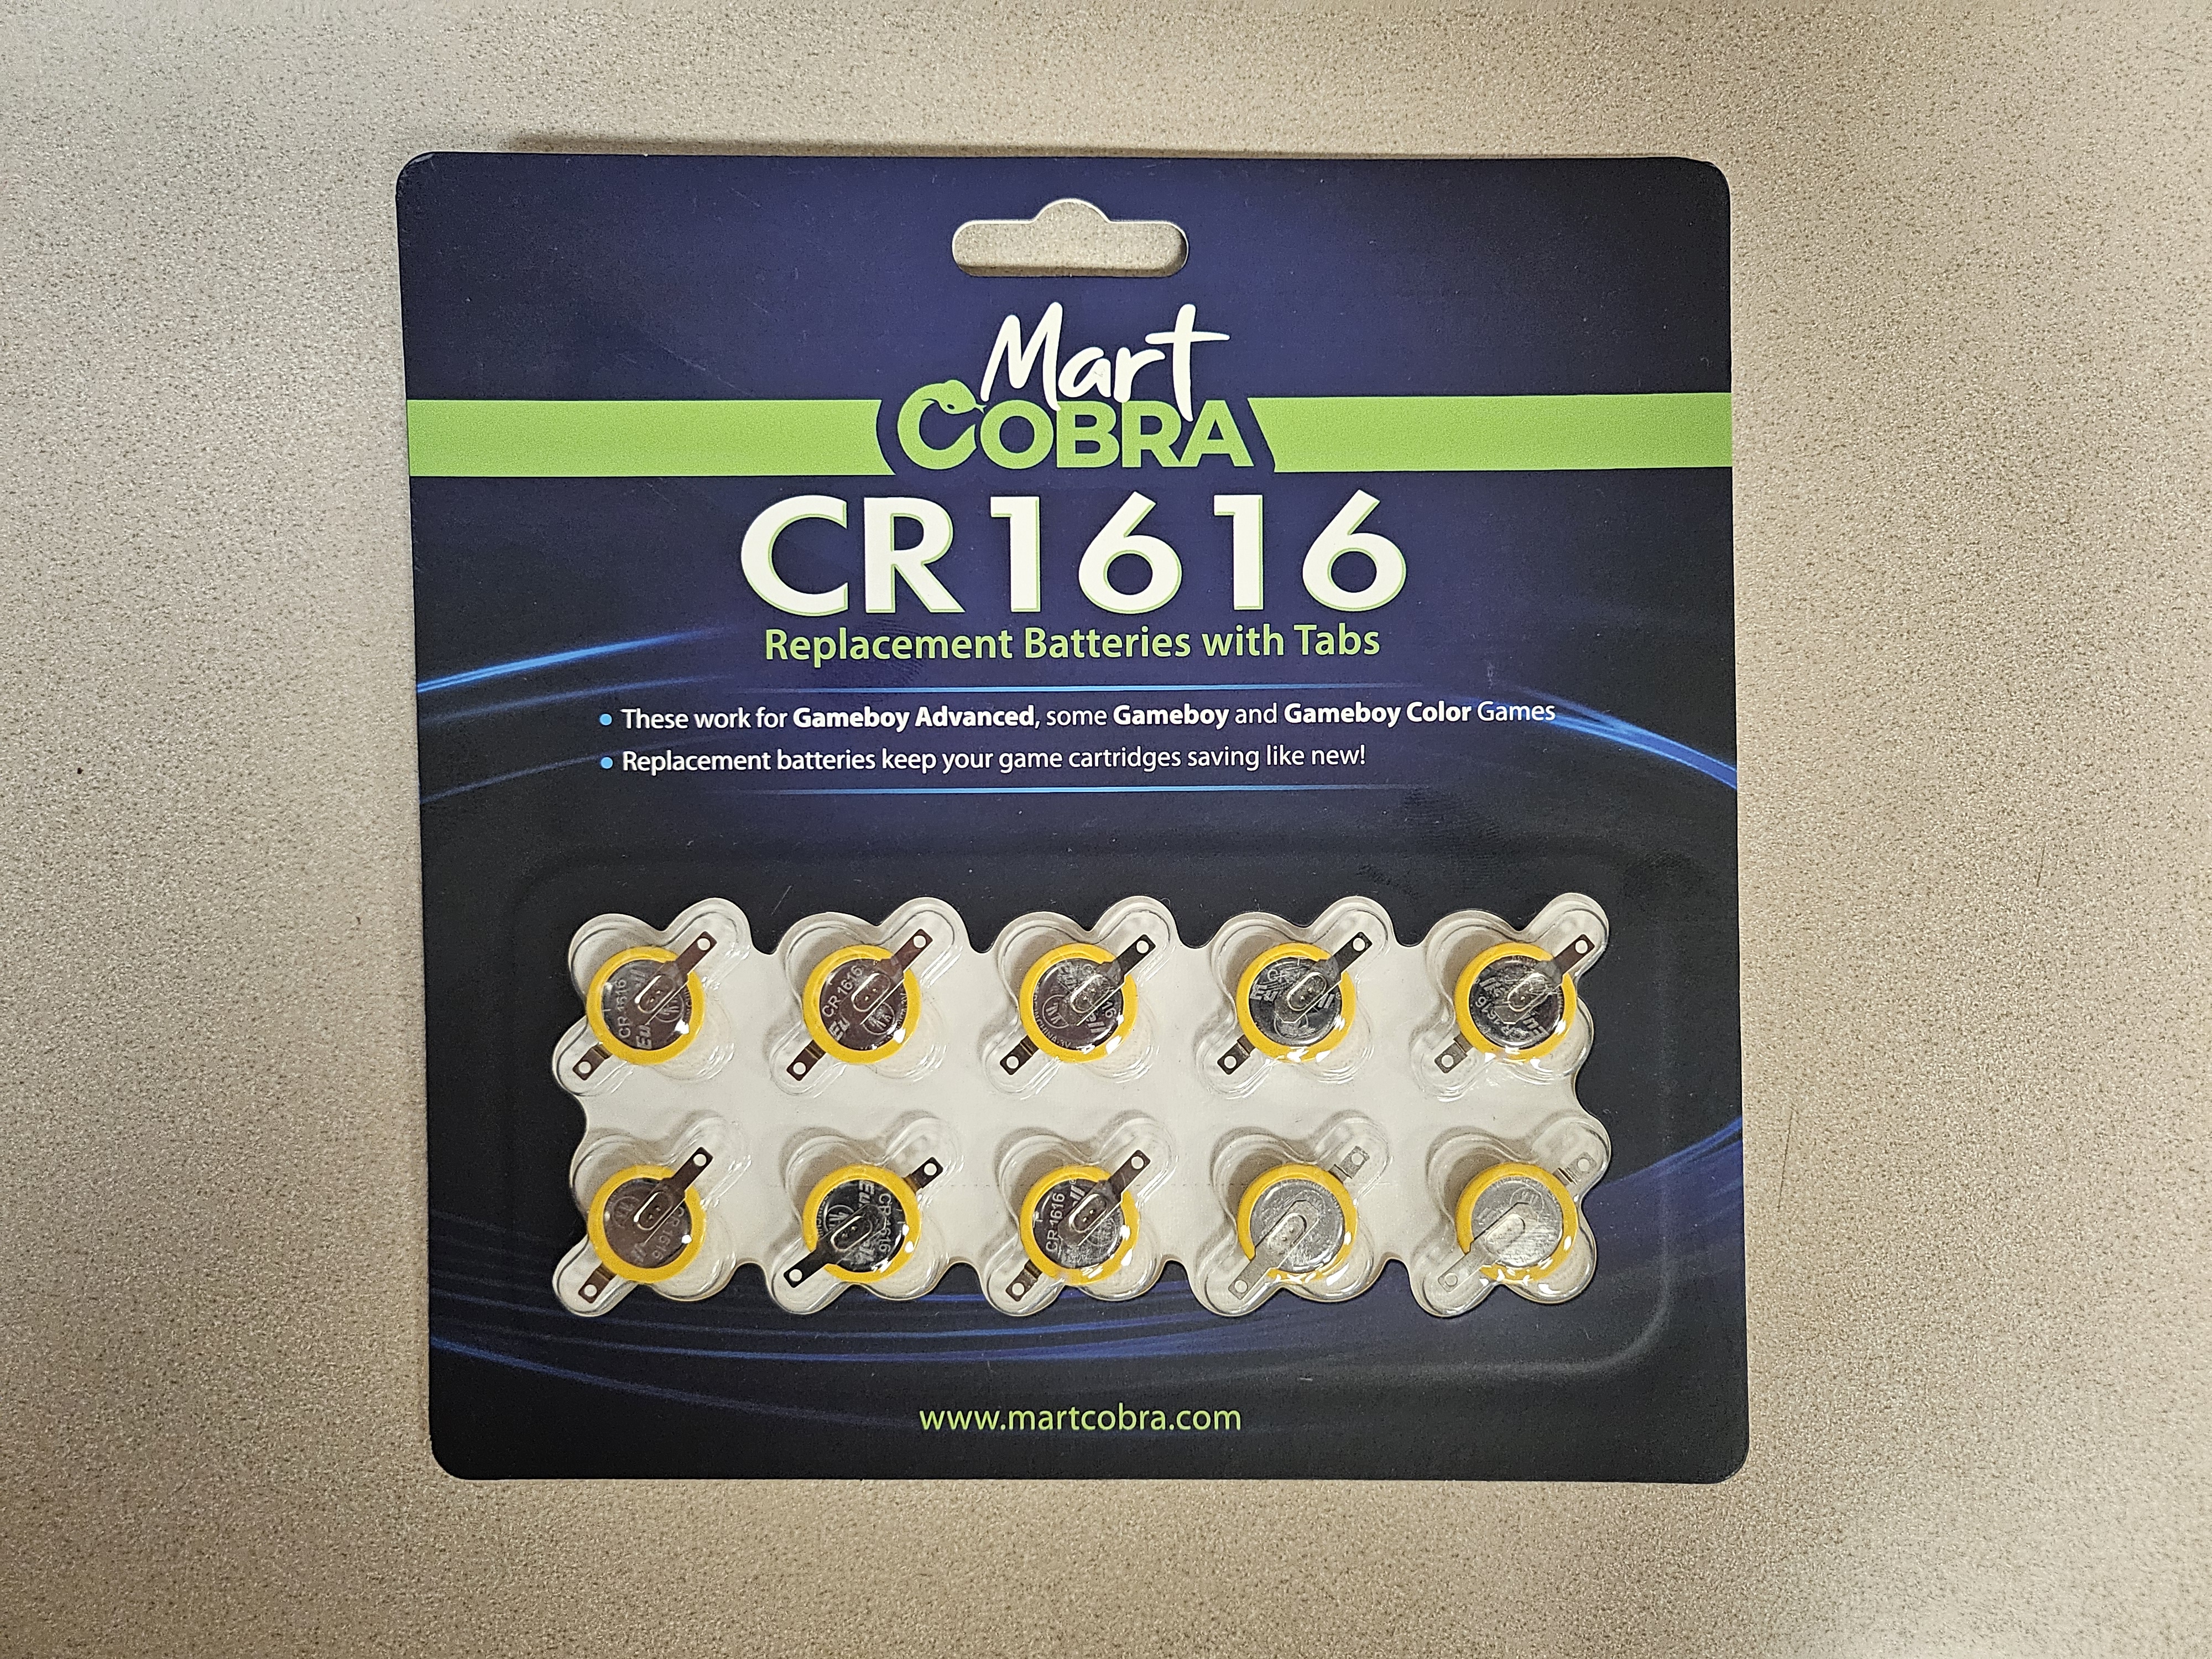
- CR1616 Batteries
- 1 Copy of Pokémon Ruby, 2 Copies of Pokémon Emerald
- Original Game Boy Advance
New Game Boy Advance Parts
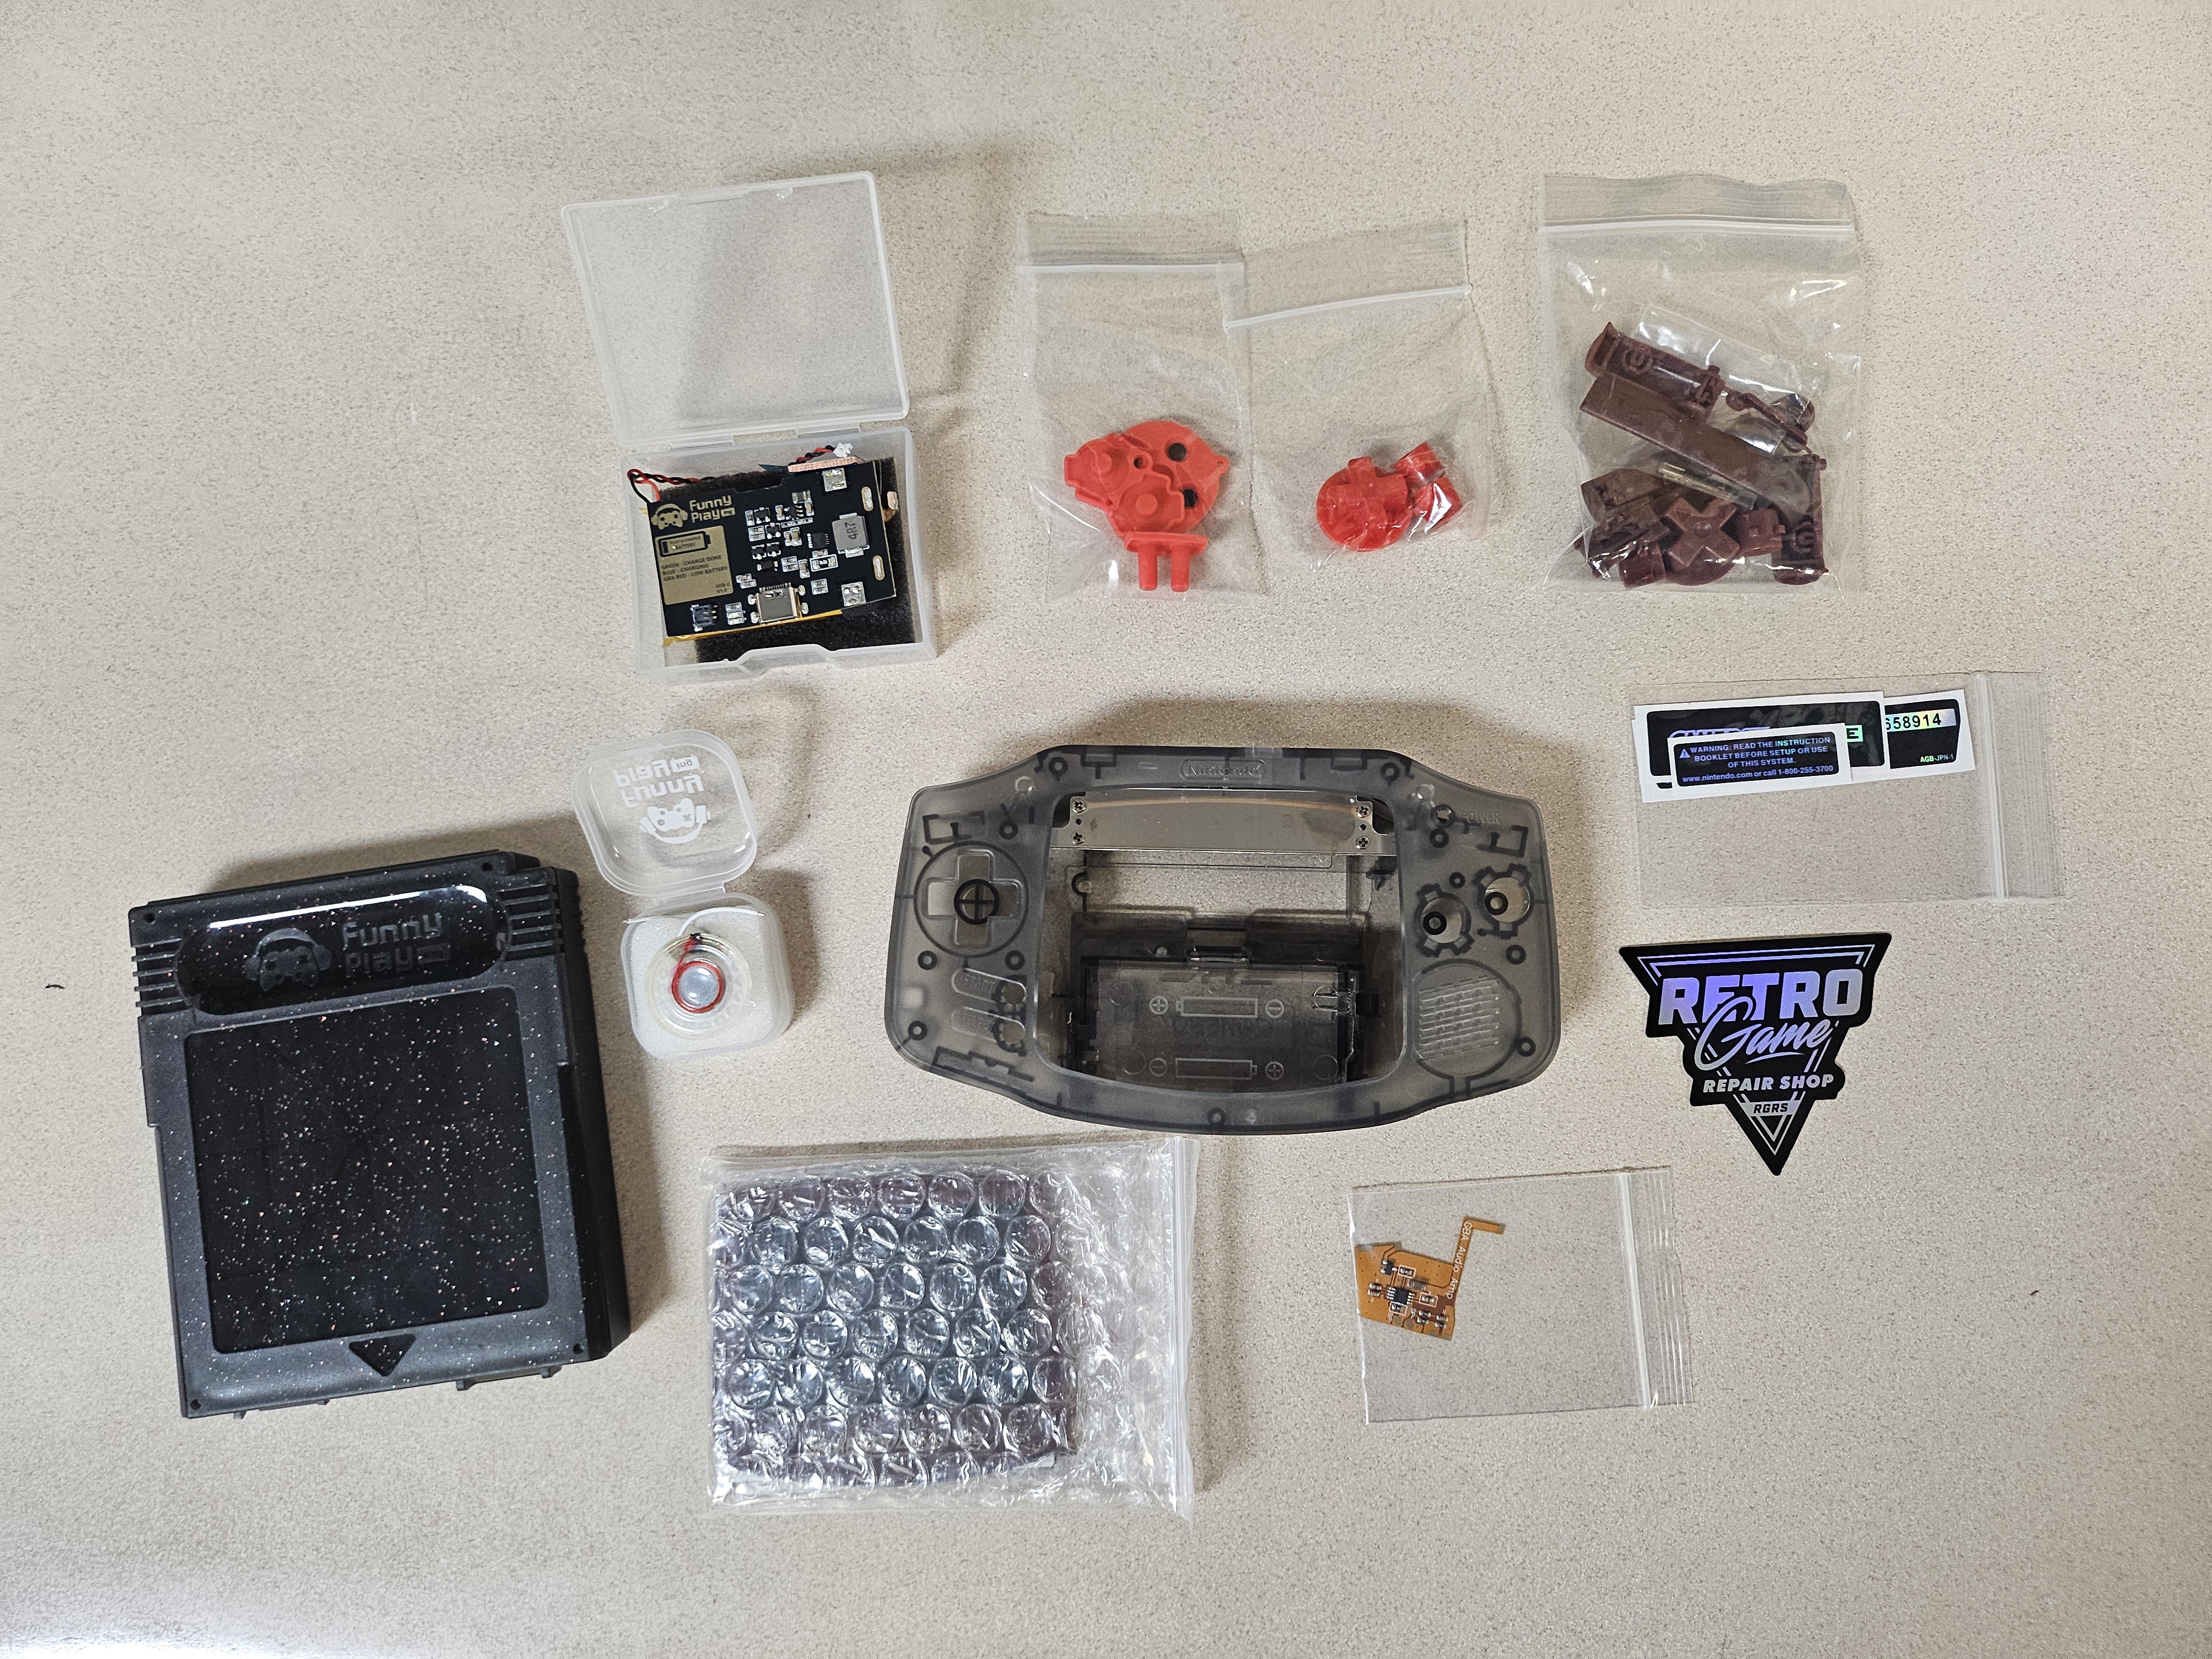
- FunnyPlaying Shell - Clear Black
- FunnyPlaying USB-C Recharable Battery - Clear Black Back
- FunnyPlaying Laminated ITA - Red
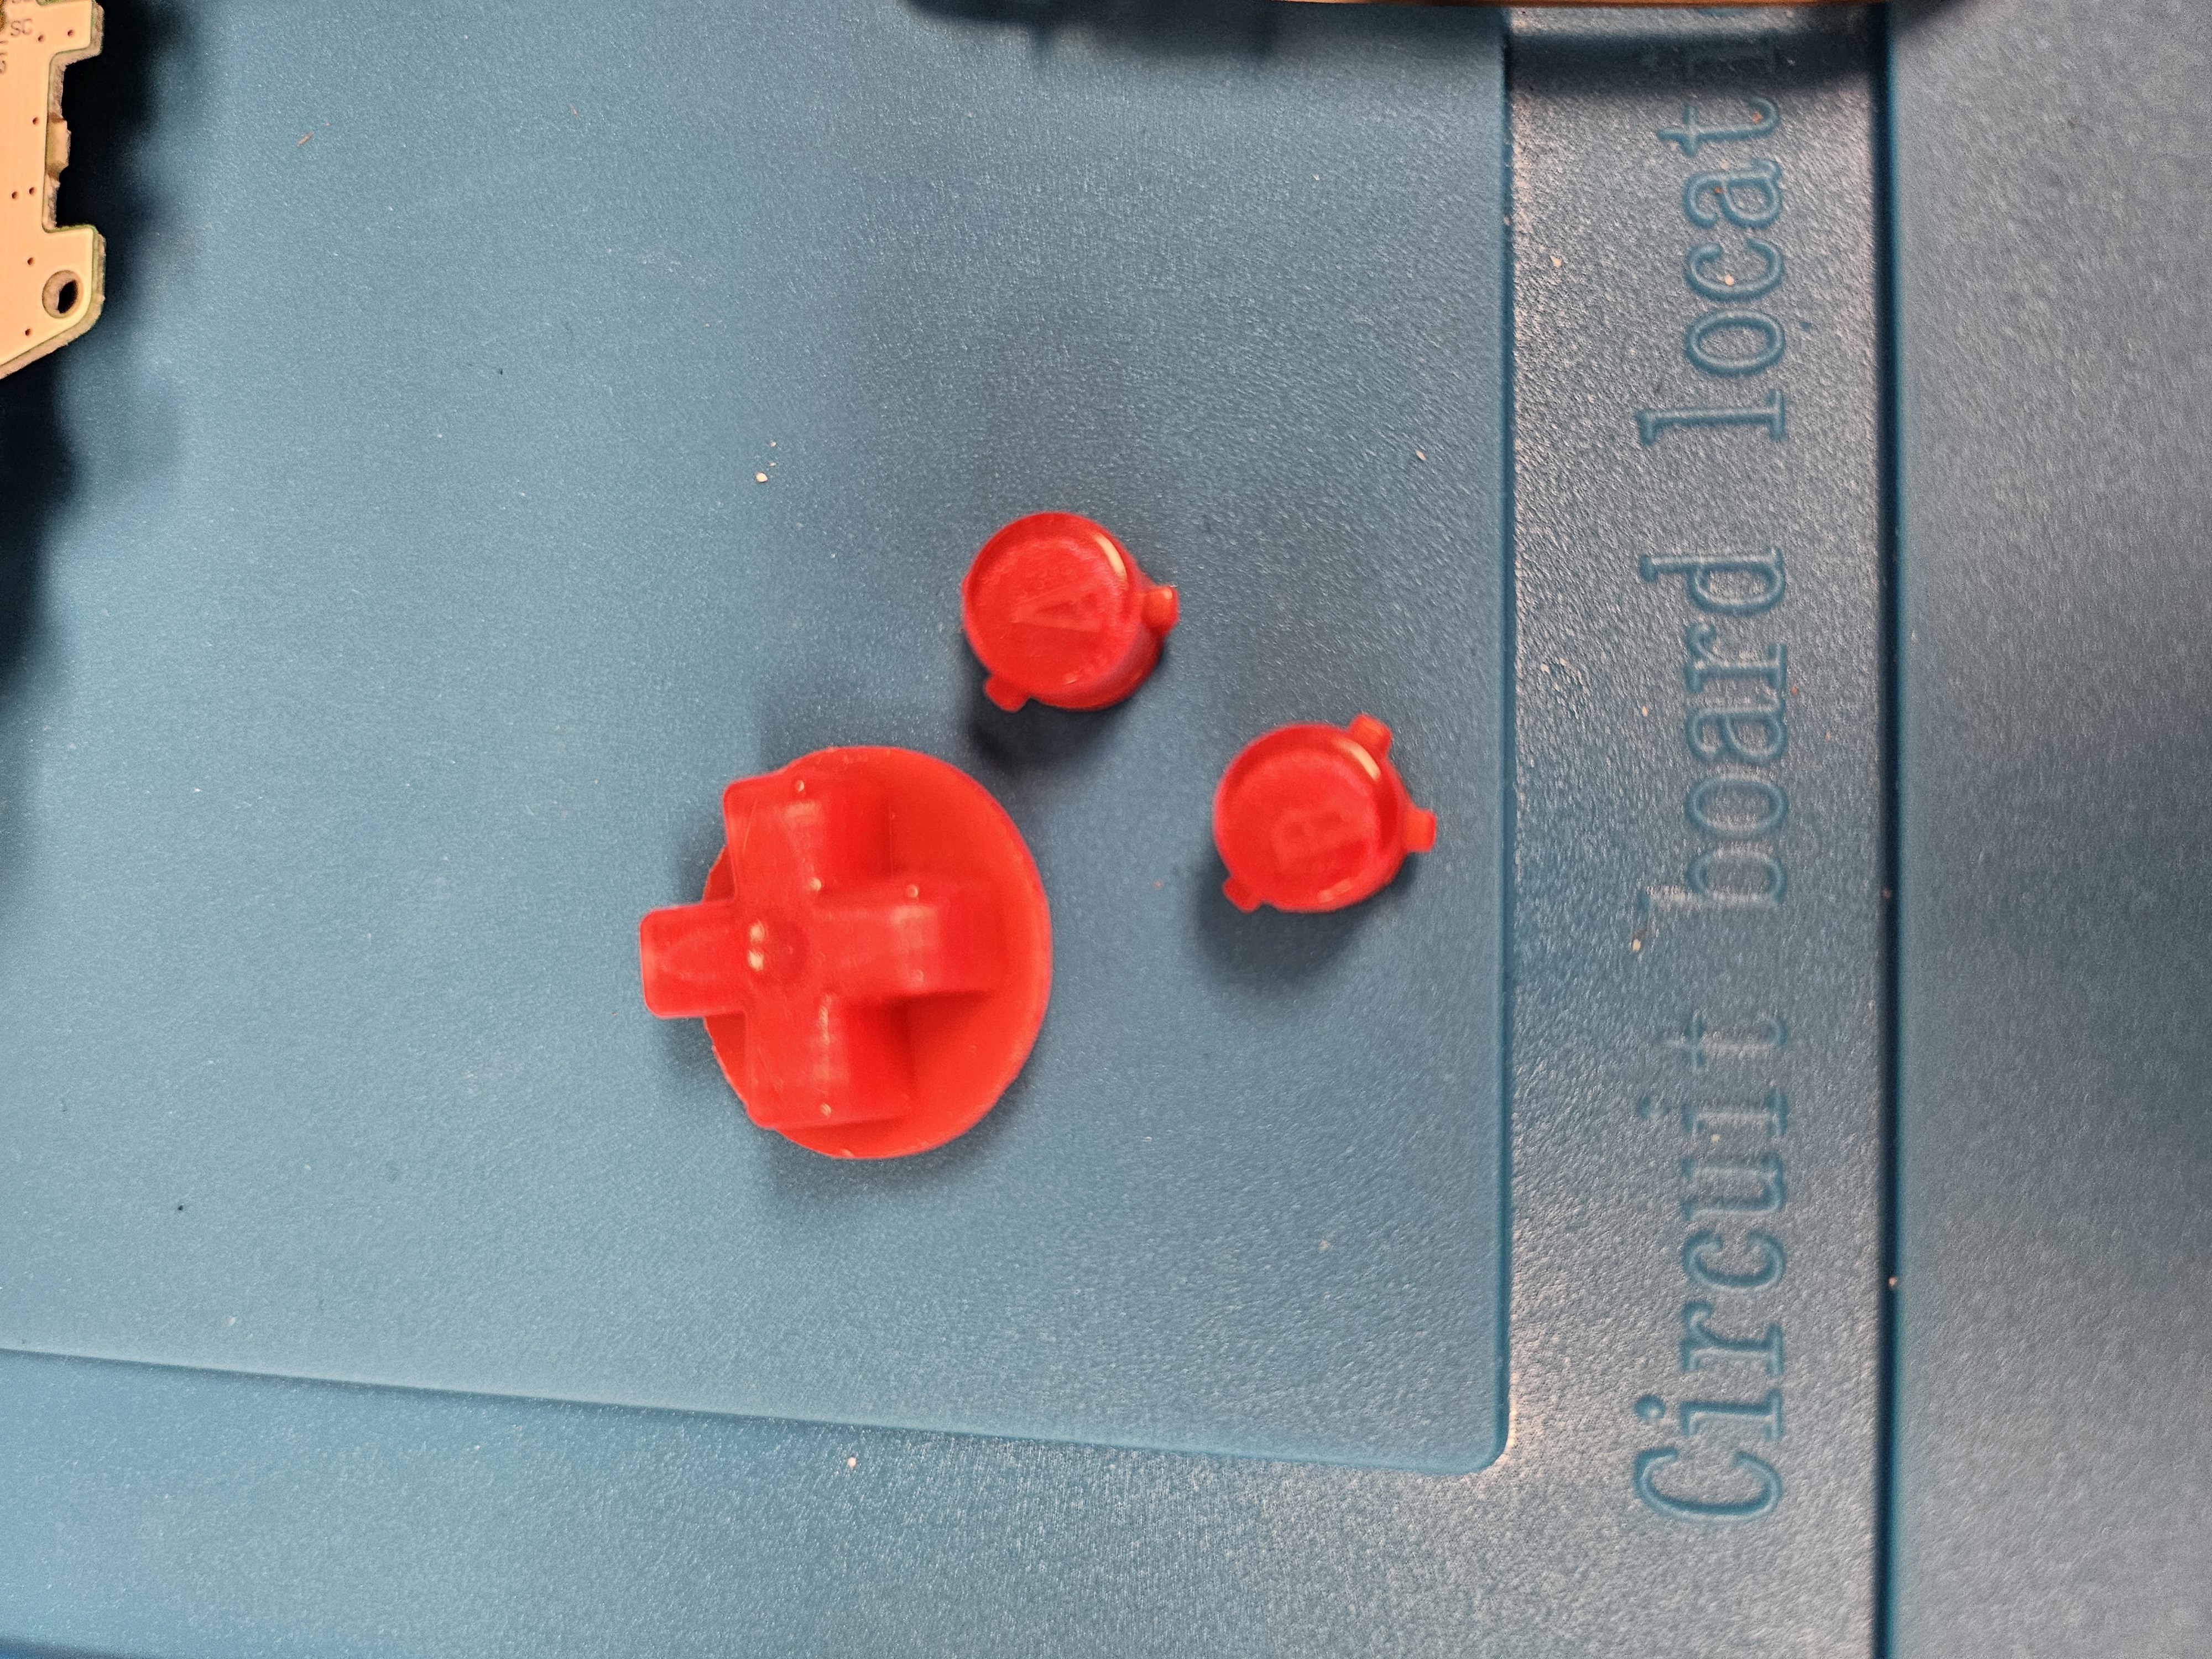
- Strawberry Candy Face Buttons
- FunnyPlaying Face and Side Buttons - Maroon
- FunnyPlaying Silicone Pads - Red
- FunnyPlaying Speaker
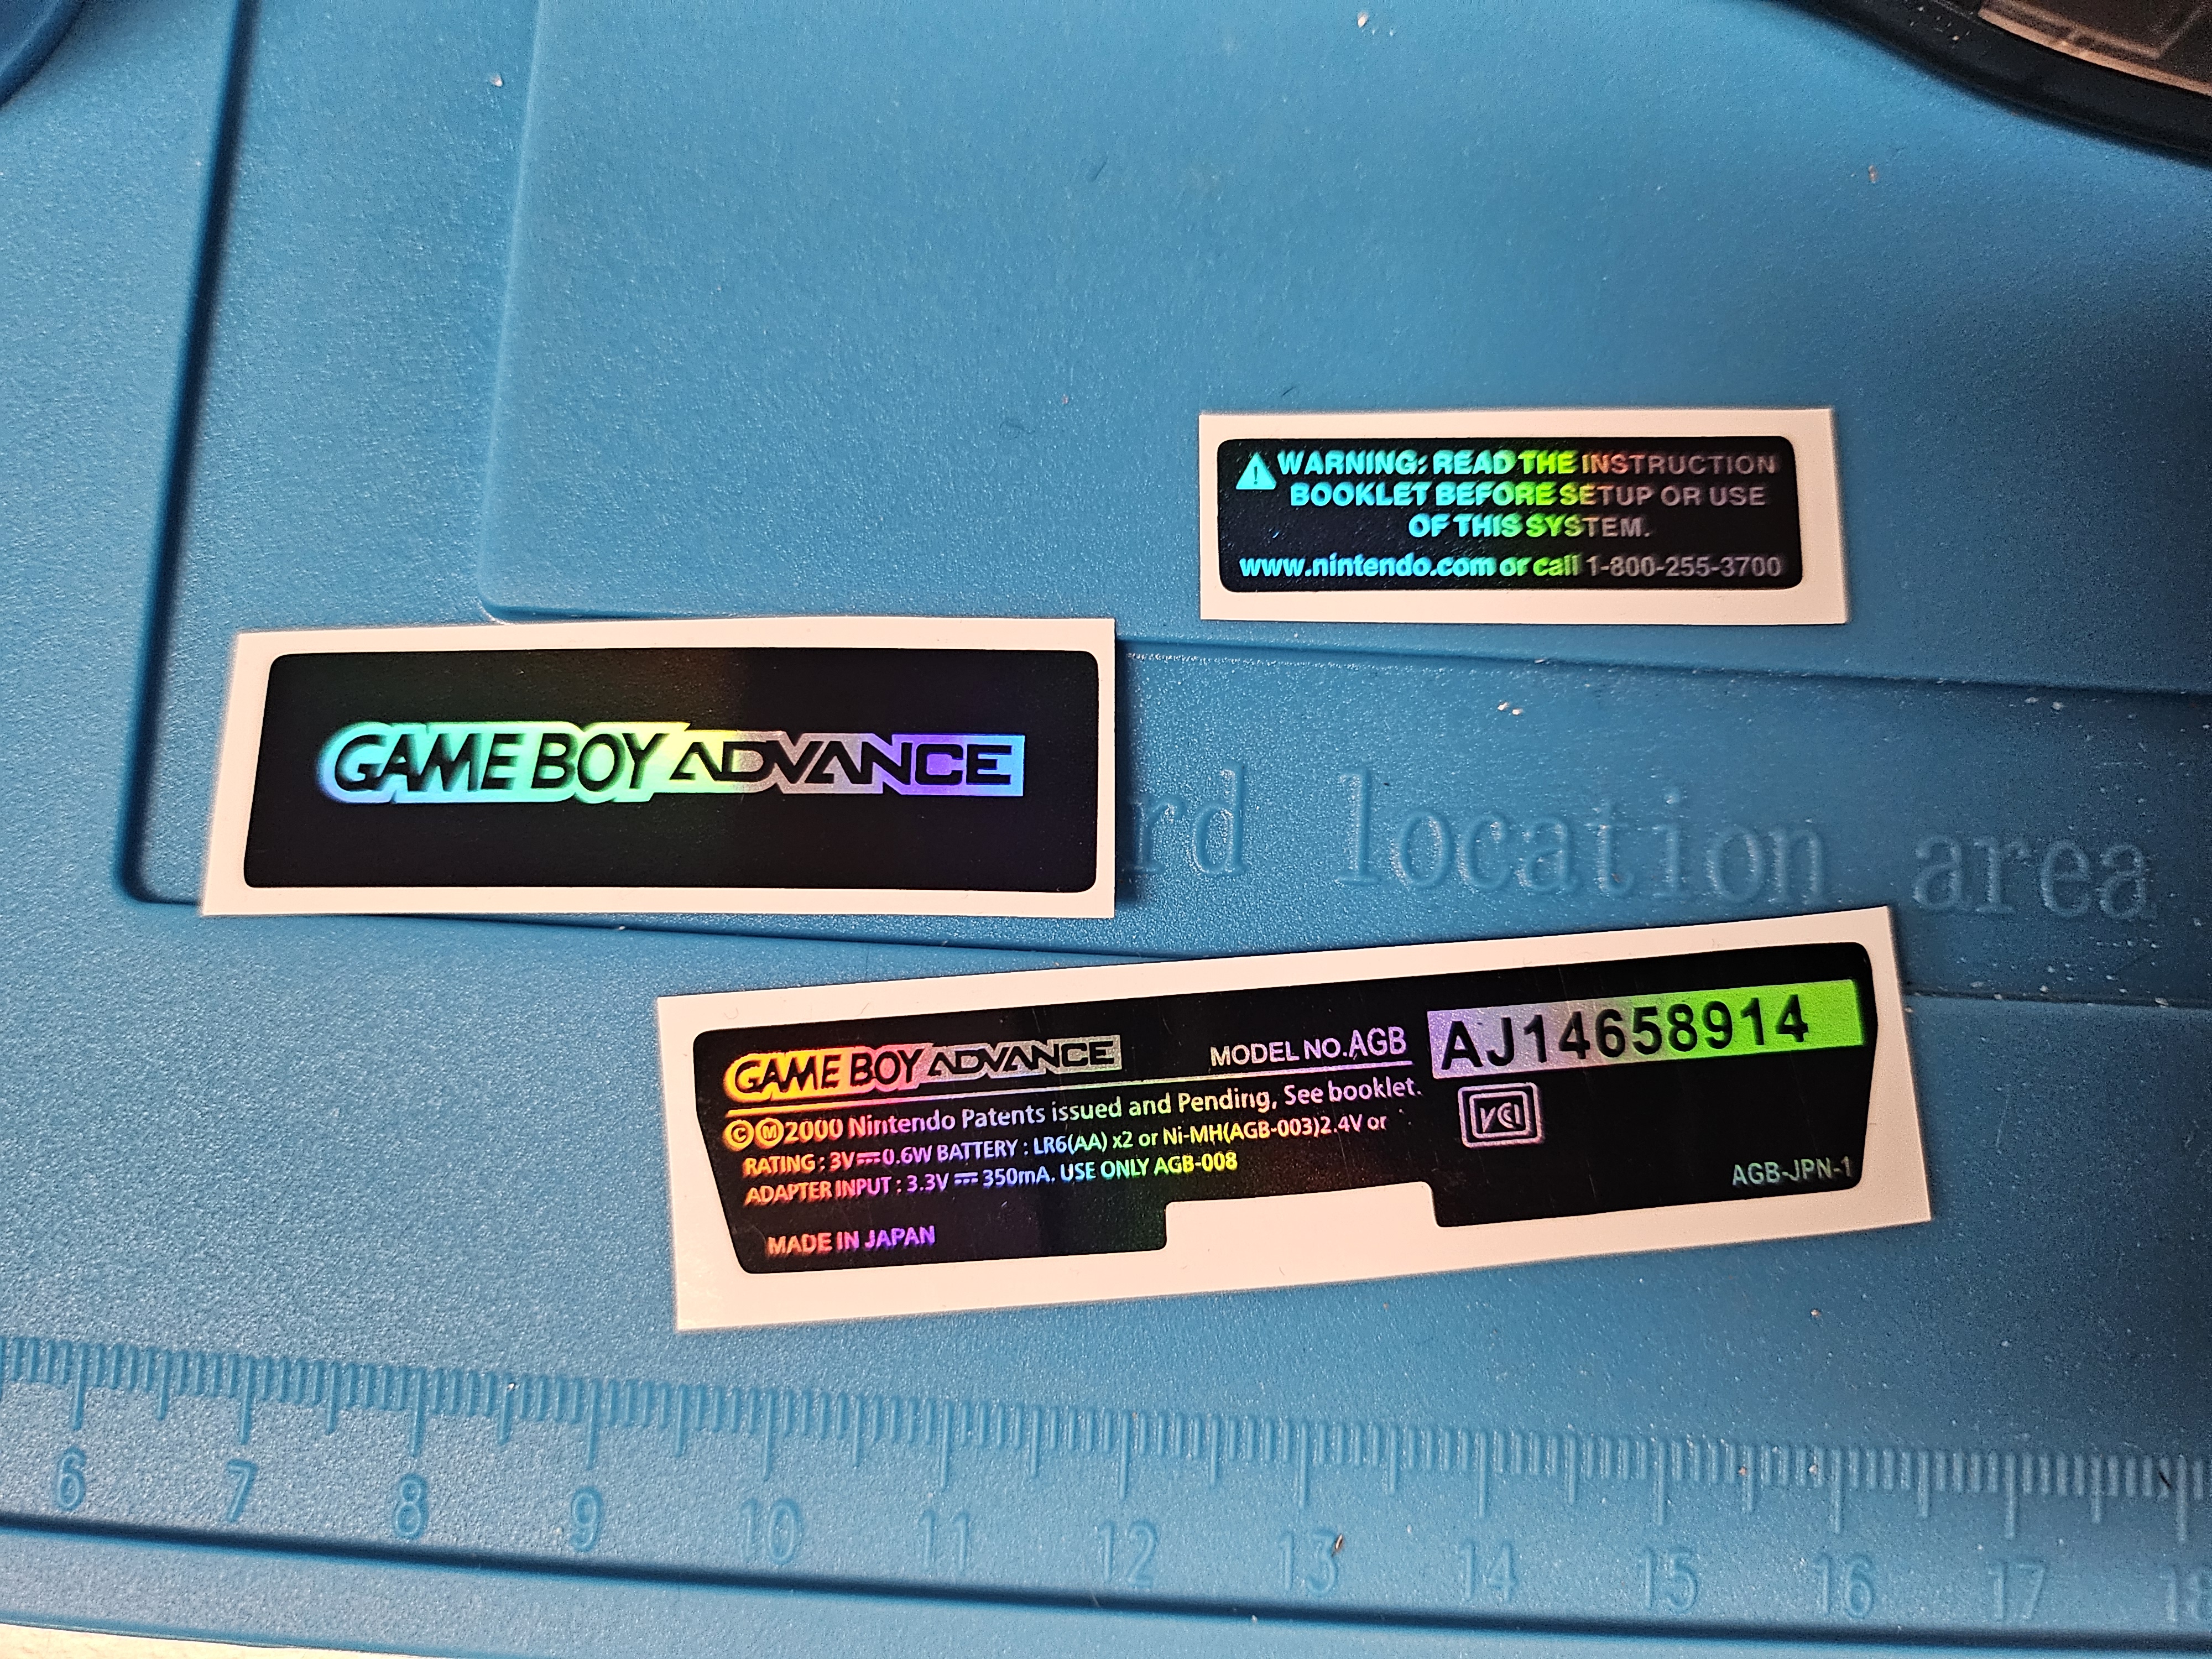
- Holographic Sticker Set
Useful Terminology
- PCB (Printed Circuit Board) - This is the motherboard of the Game Boy
- OEM (Original Equipment Manufacturer) - Any piece made originally by the company who made the device, so anything made by Nintendo was OEM for the Game Boy
- Pads - These are pieces of exposed copper on the PCB to solder components to like wires and battery contacts. If a pad gets messed up, it makes the project a lot harder.
- GBA (Game Boy Advance) - Anything related to the Game Boy Advance
- SP (Special) - Refers to my original silver Game Boy Advance SP
- Soldering Iron - Long metal pick that heats up the solder, reaching well over 315° C (600° F)
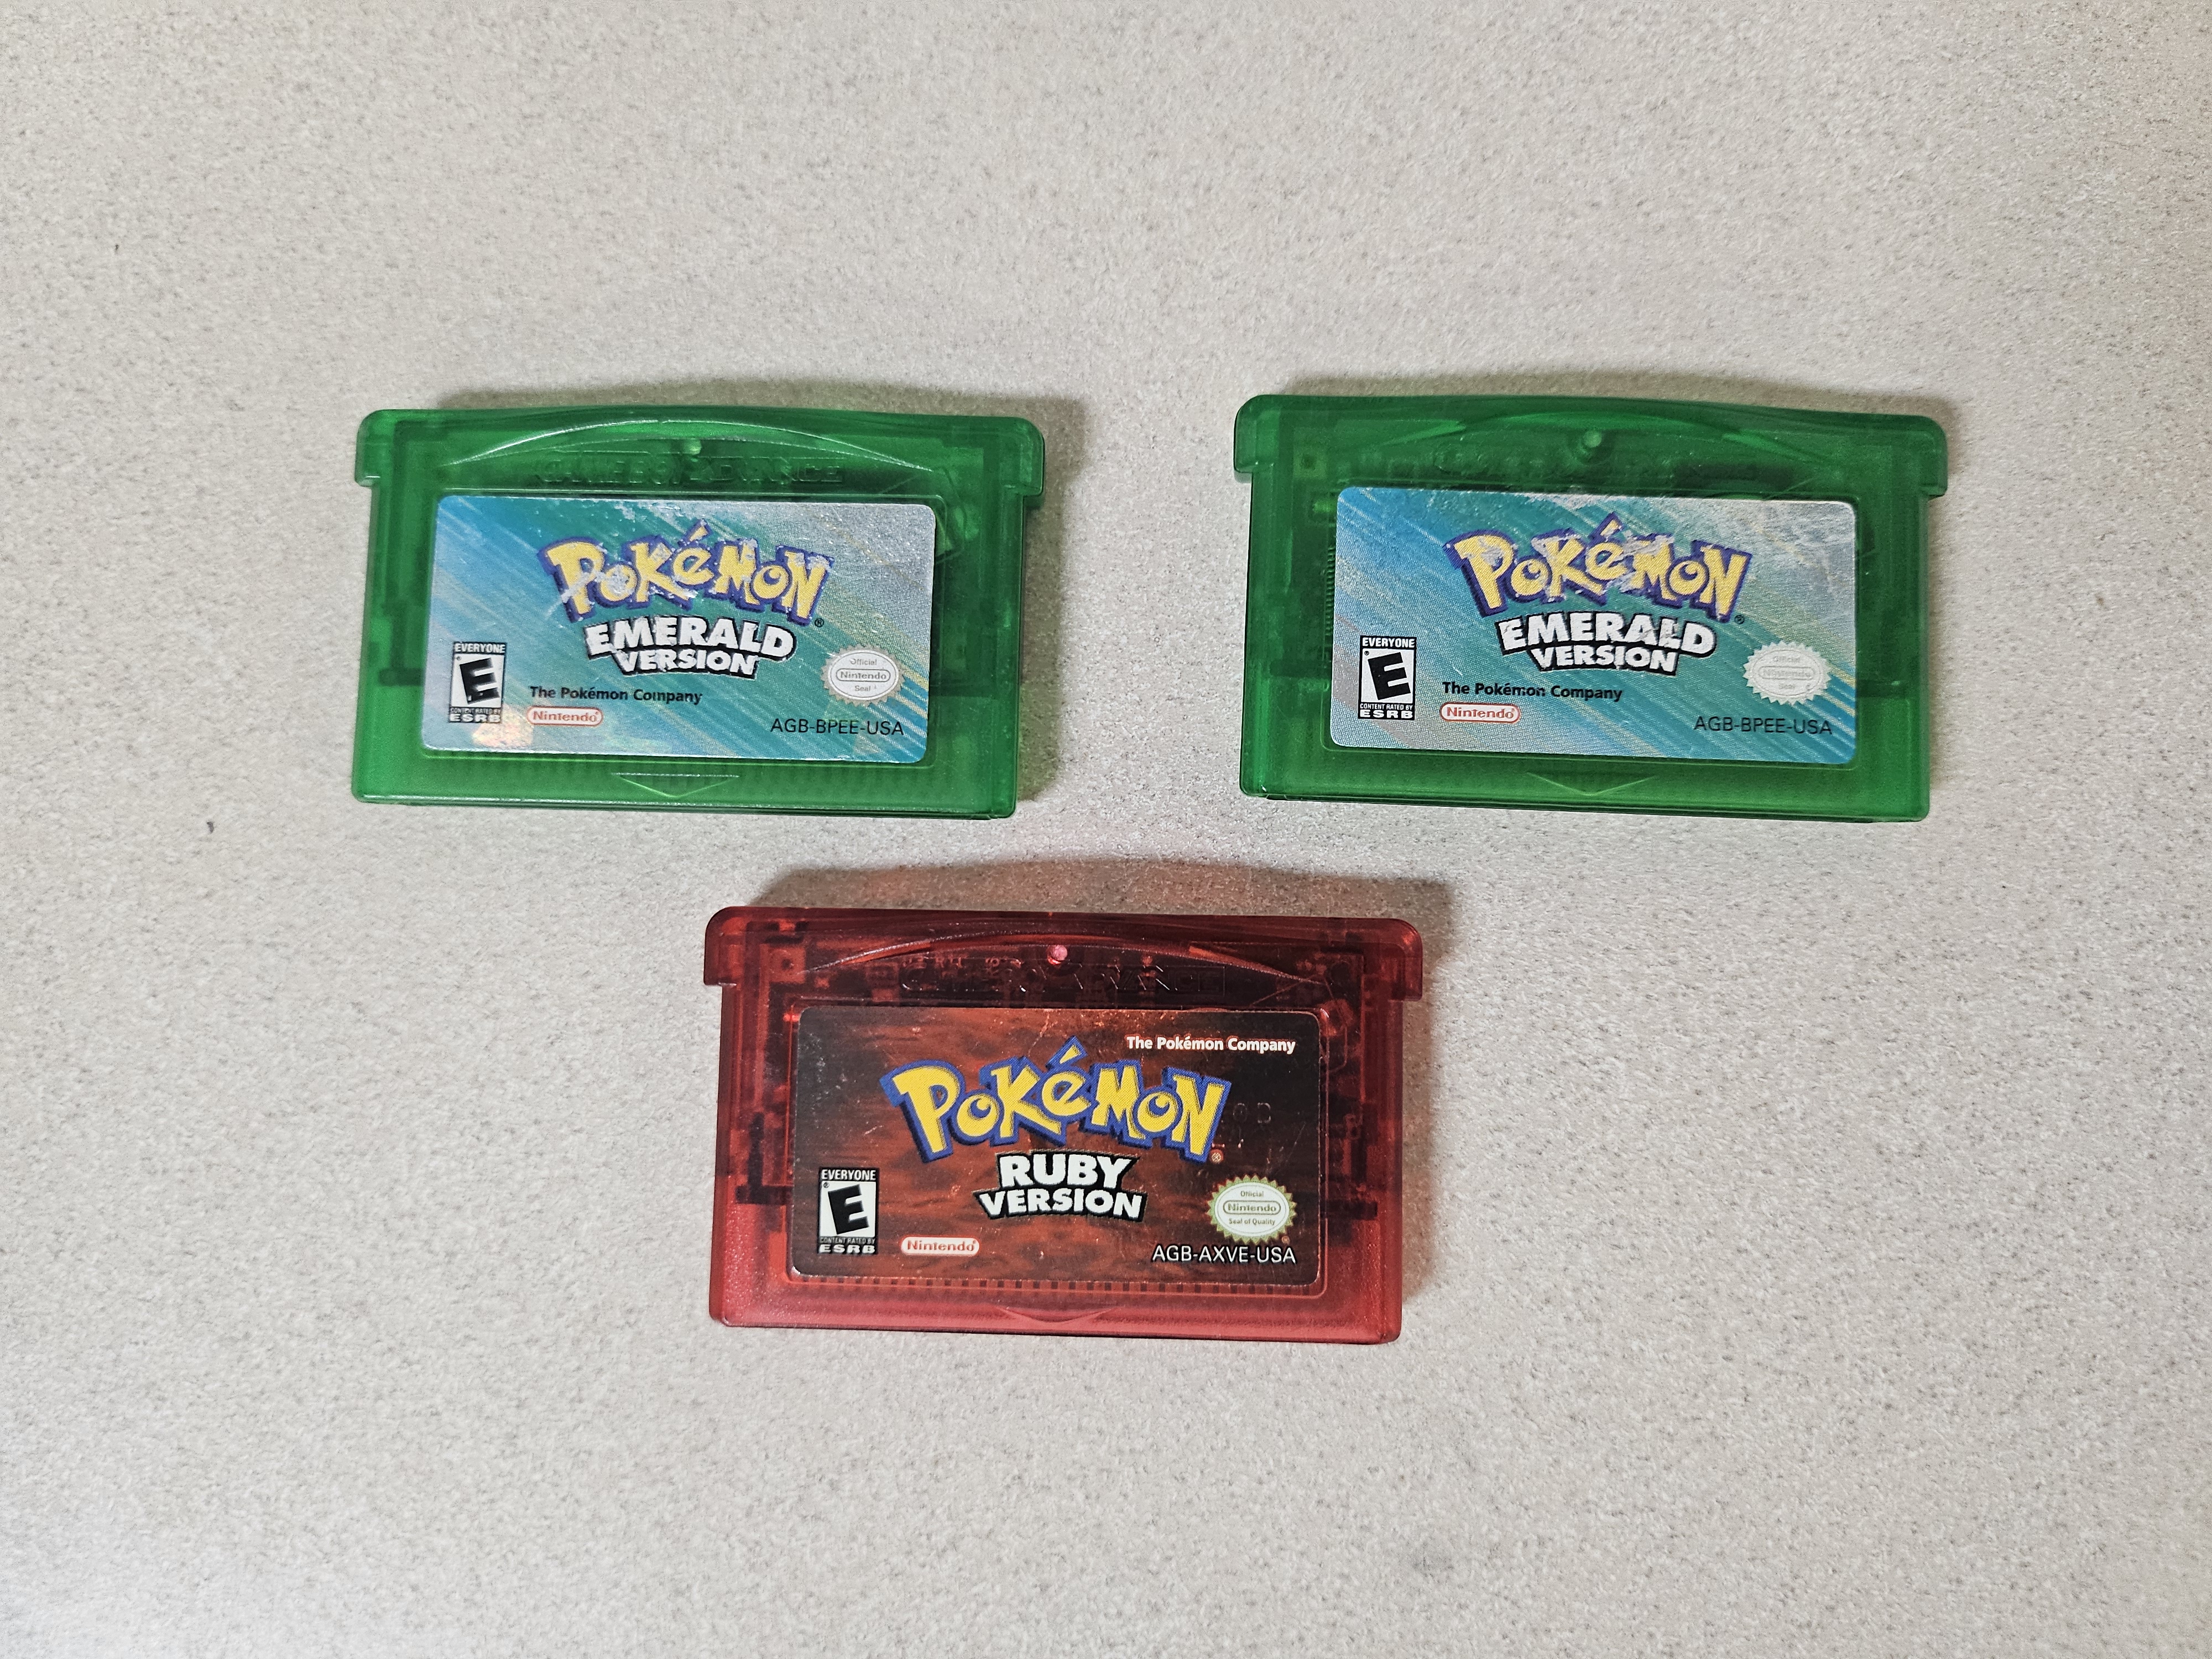
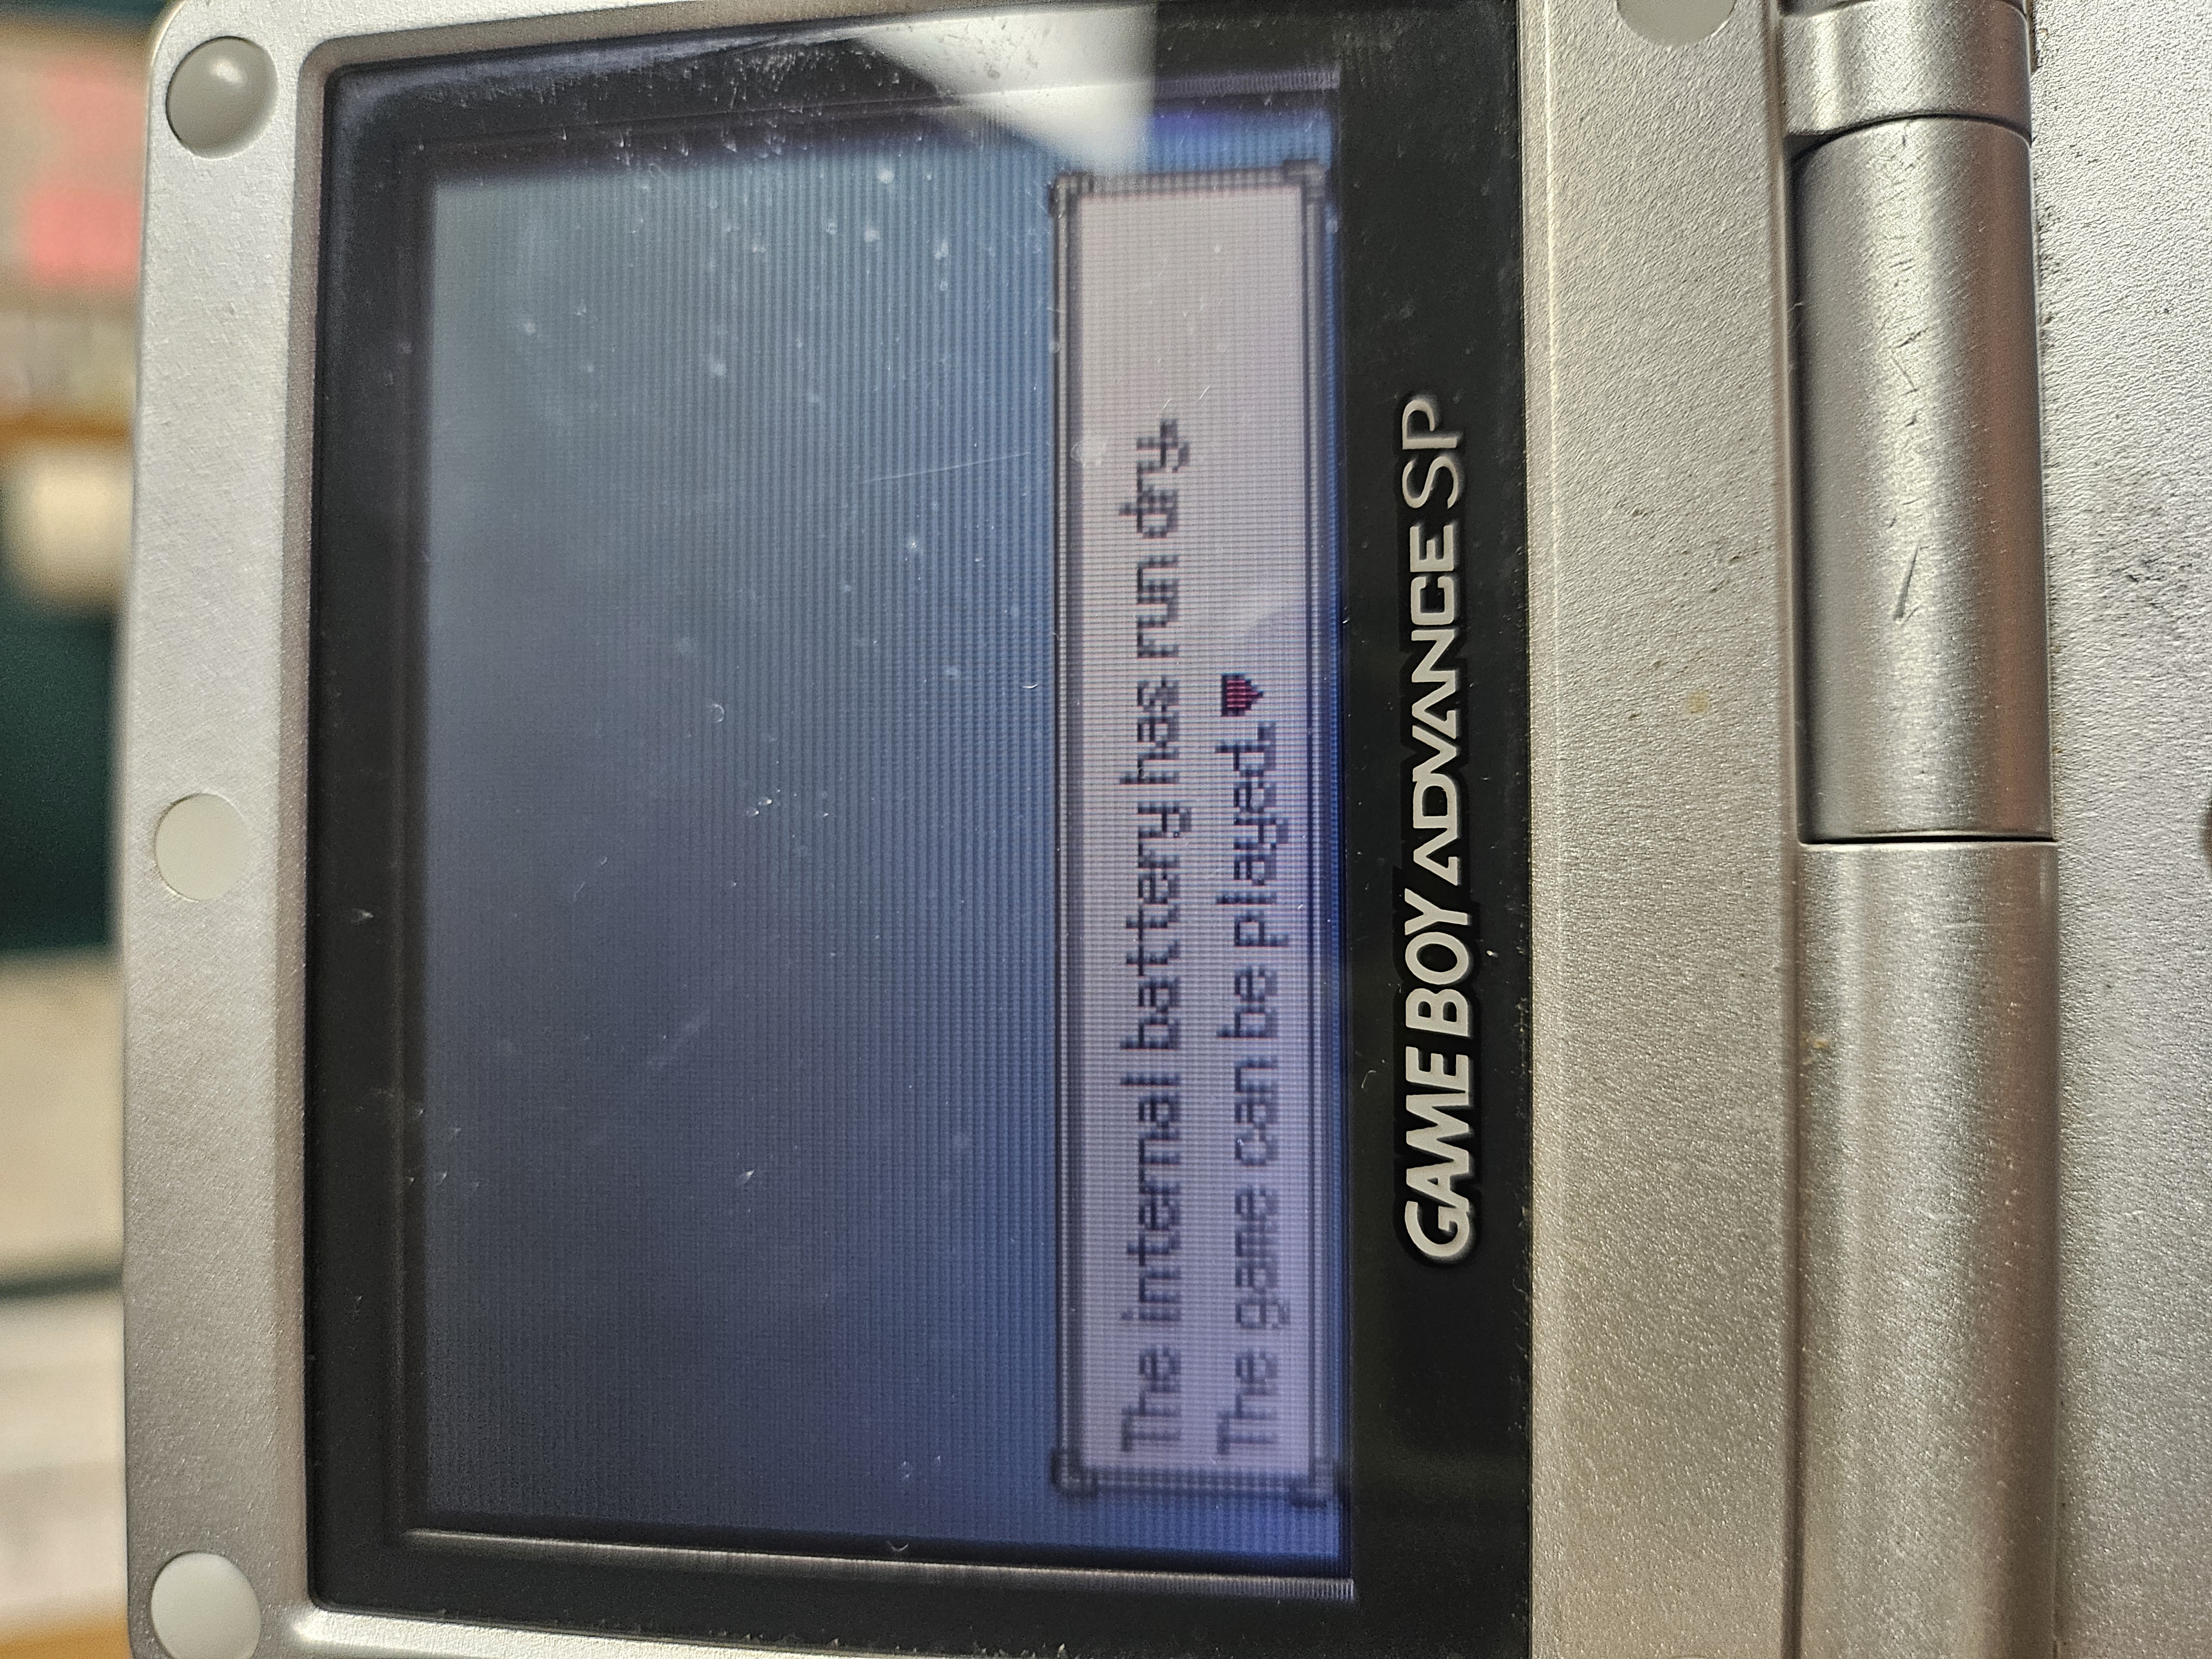
I knew I’d have to learn how to solder early on in order to get the best result possible for installing the mods. On top of that, I knew I wanted to replace the internal batteries inside my older Pokémon games. Like before I watched a ton of YouTube videos on how to solder, but nothing can prepare you like the real thing. Using a soldering station I borrowed from a coworker, I started with Pokémon Ruby as in my mind, it was the most expendable piece of hardware that I was going to be working on. I had on hand my SP and used it to test the cartridges with the batteries. As was expected with booting up each game, I was presented with the dreaded message “The internal battery has run dry.” I turned on this video about replacing internal batteries for GBA games and got to work.
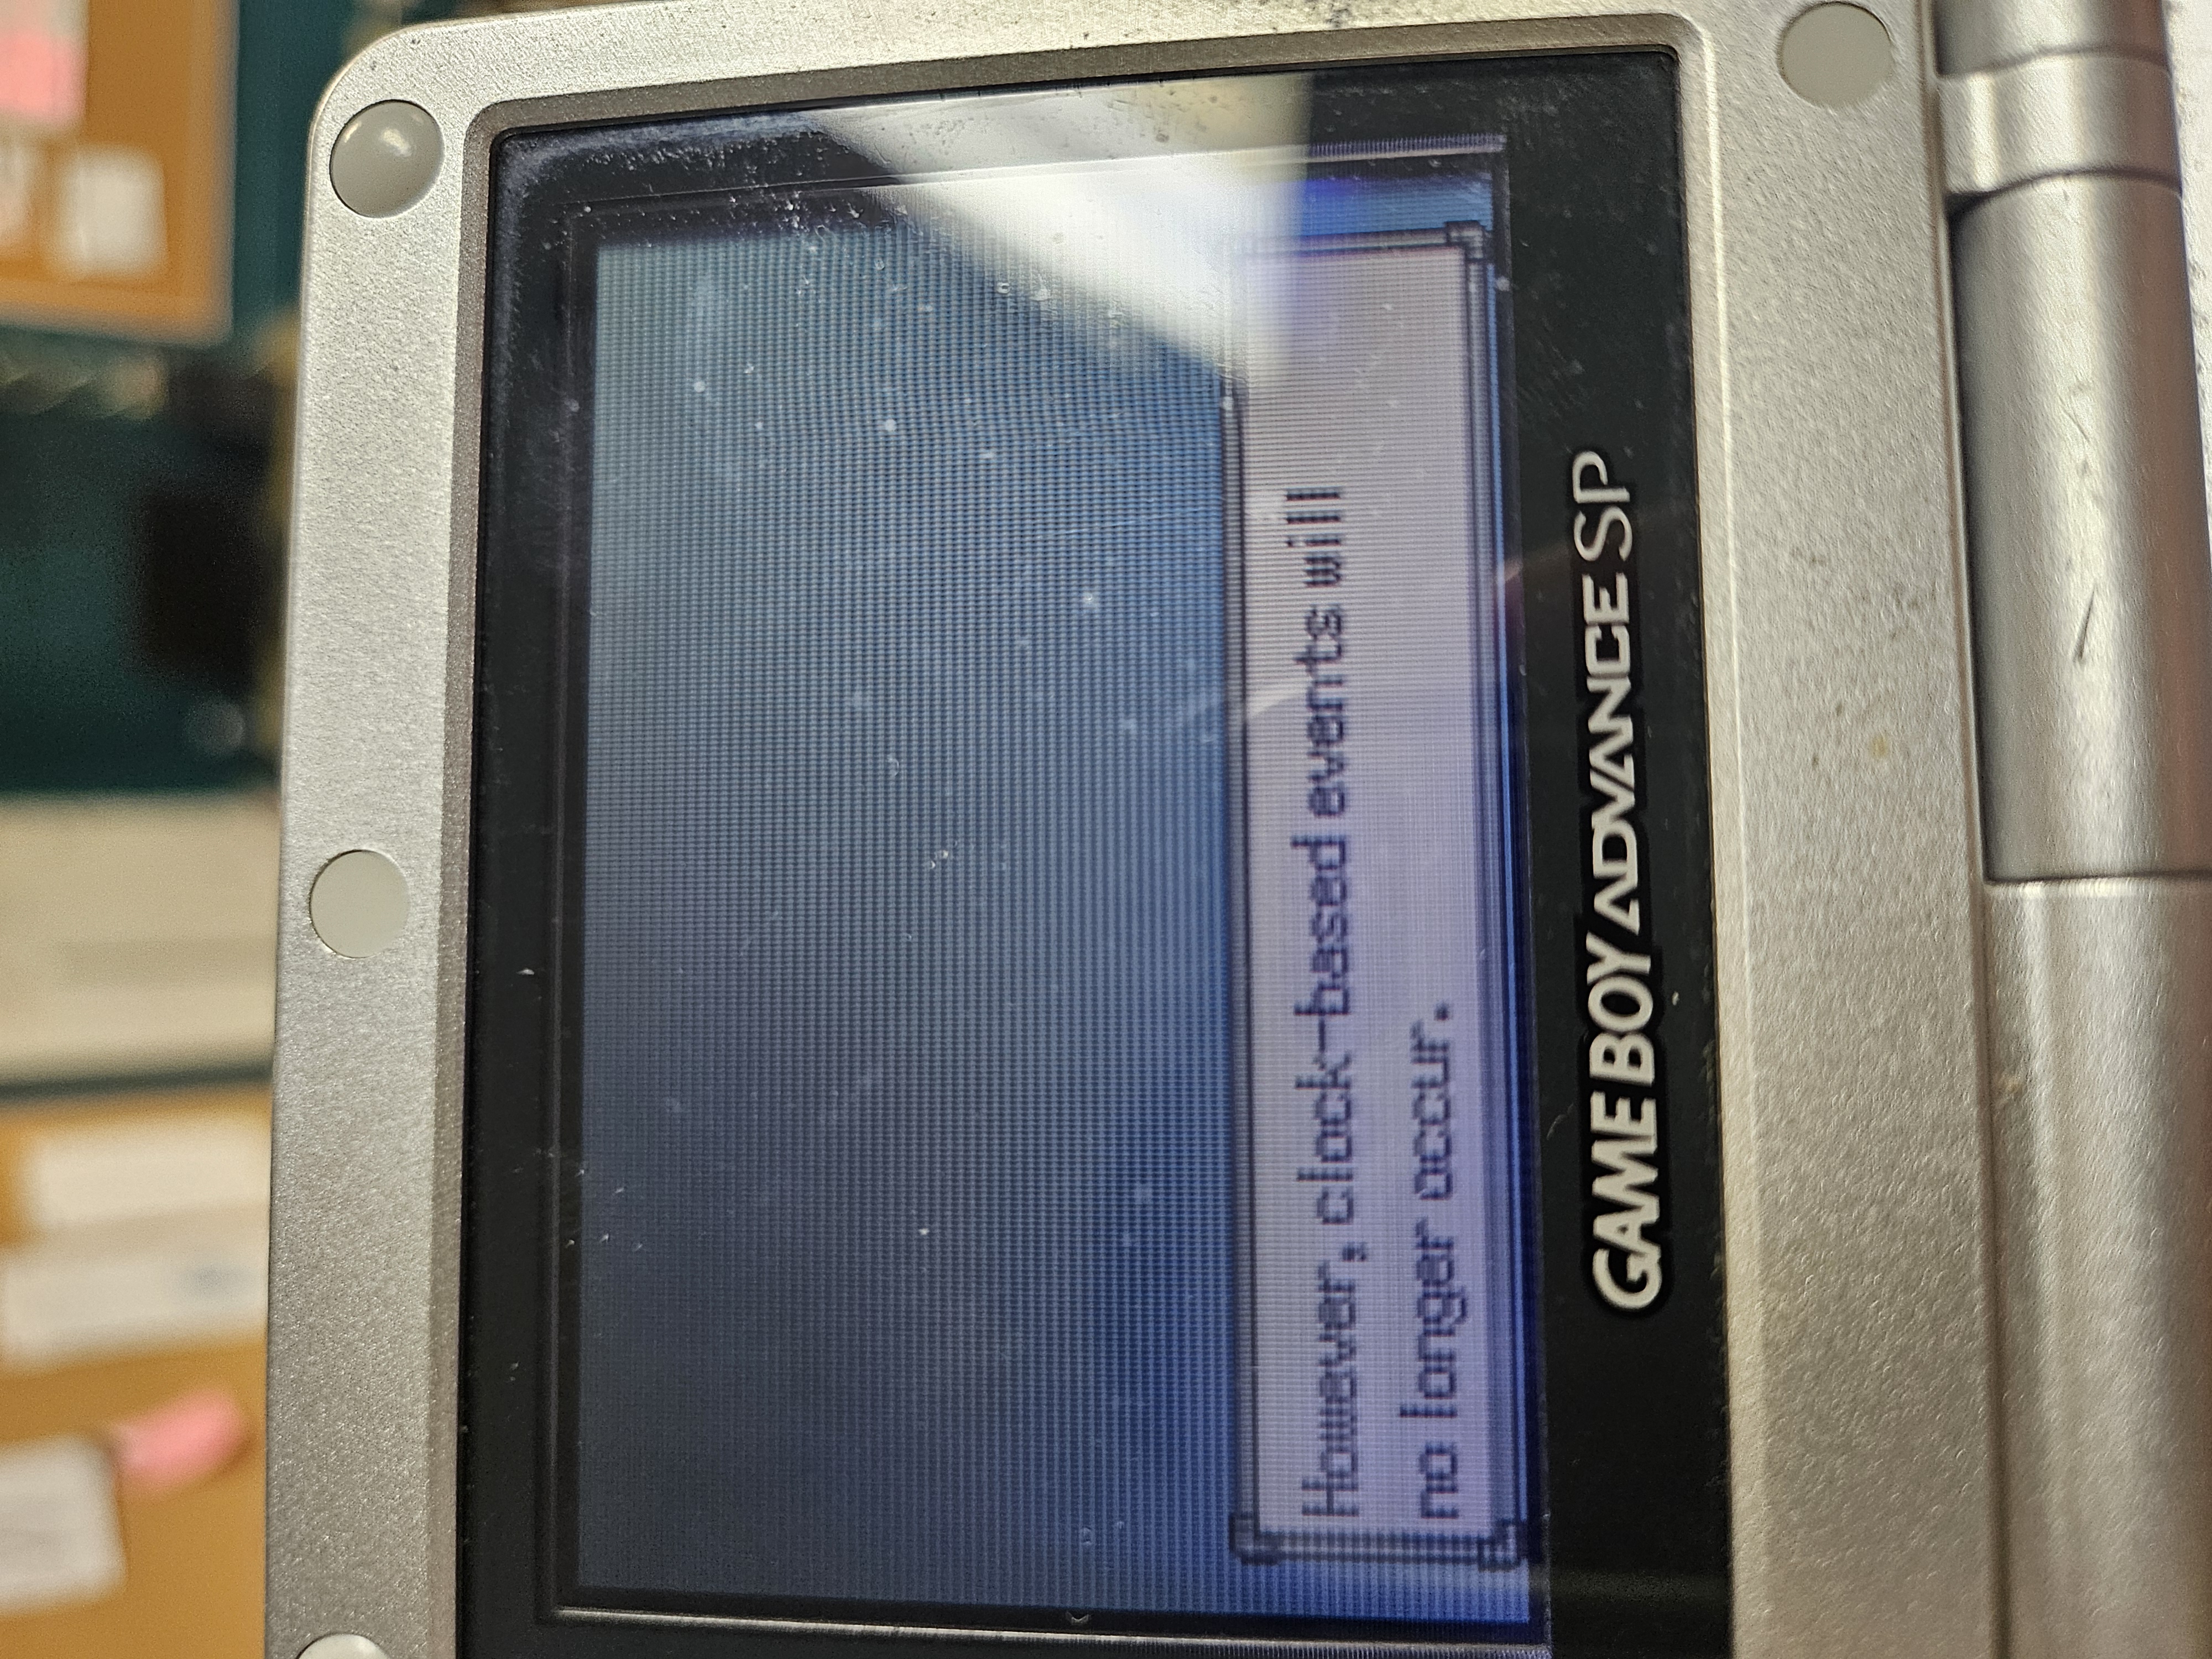
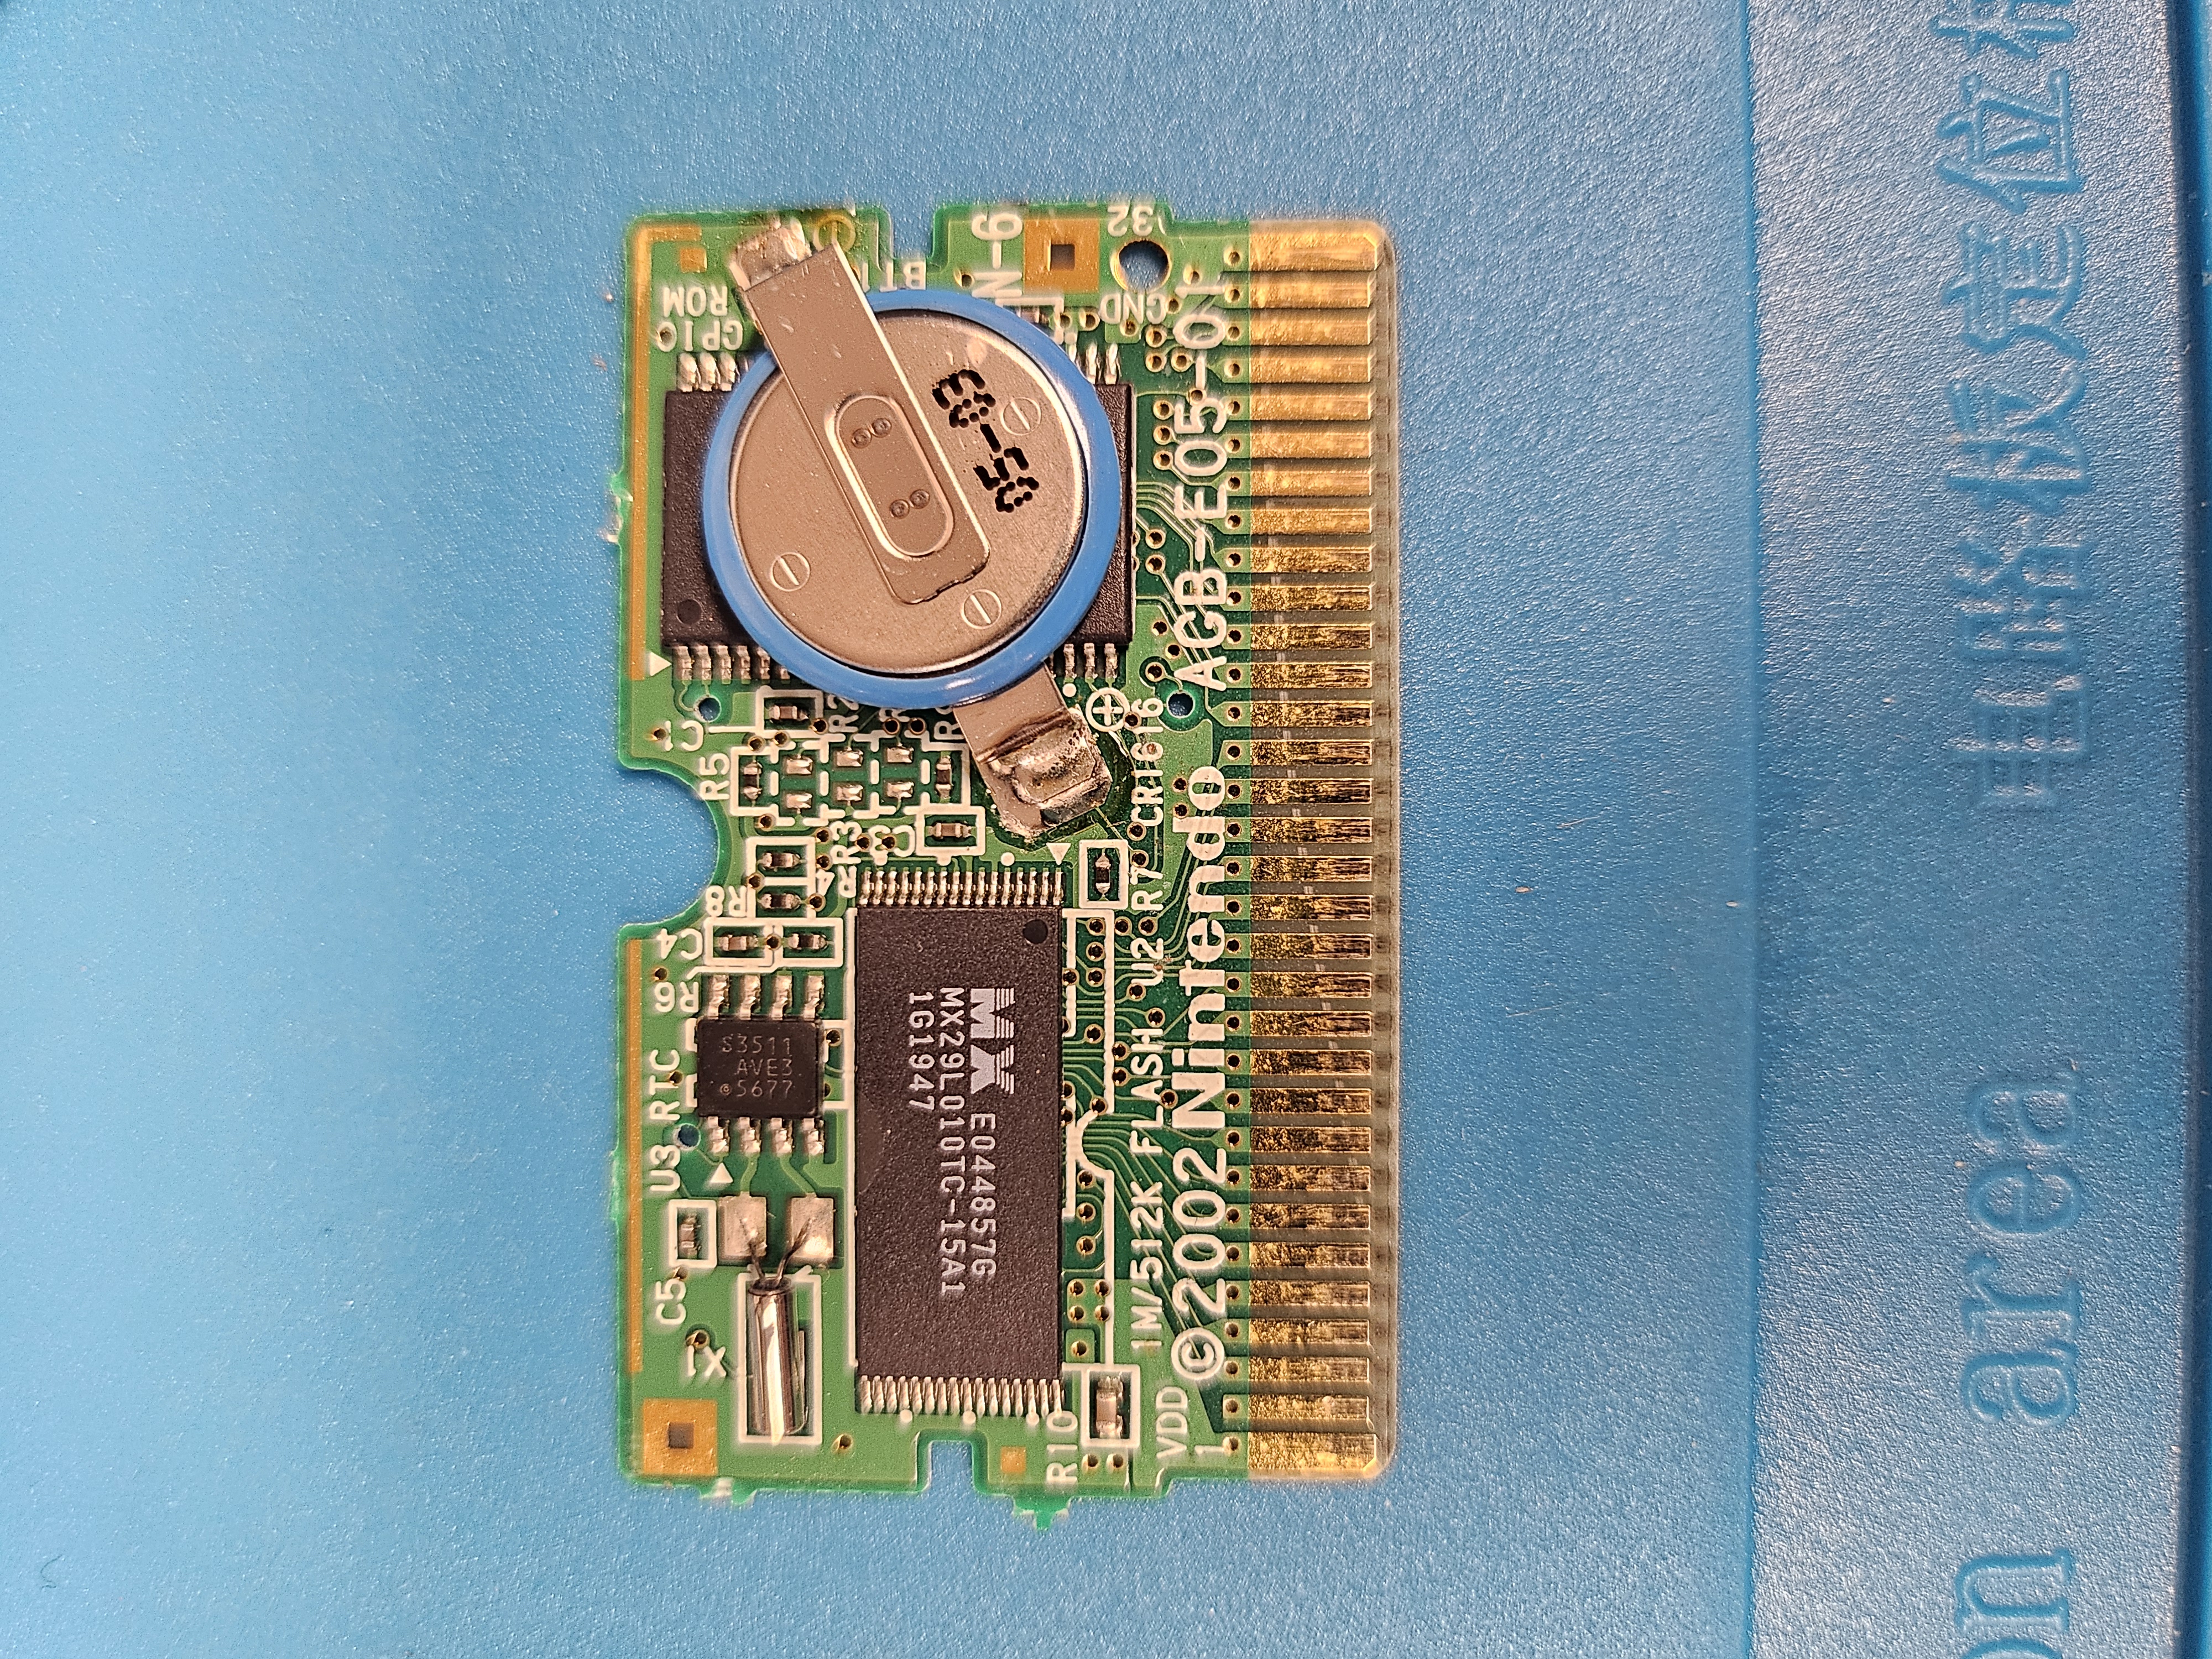
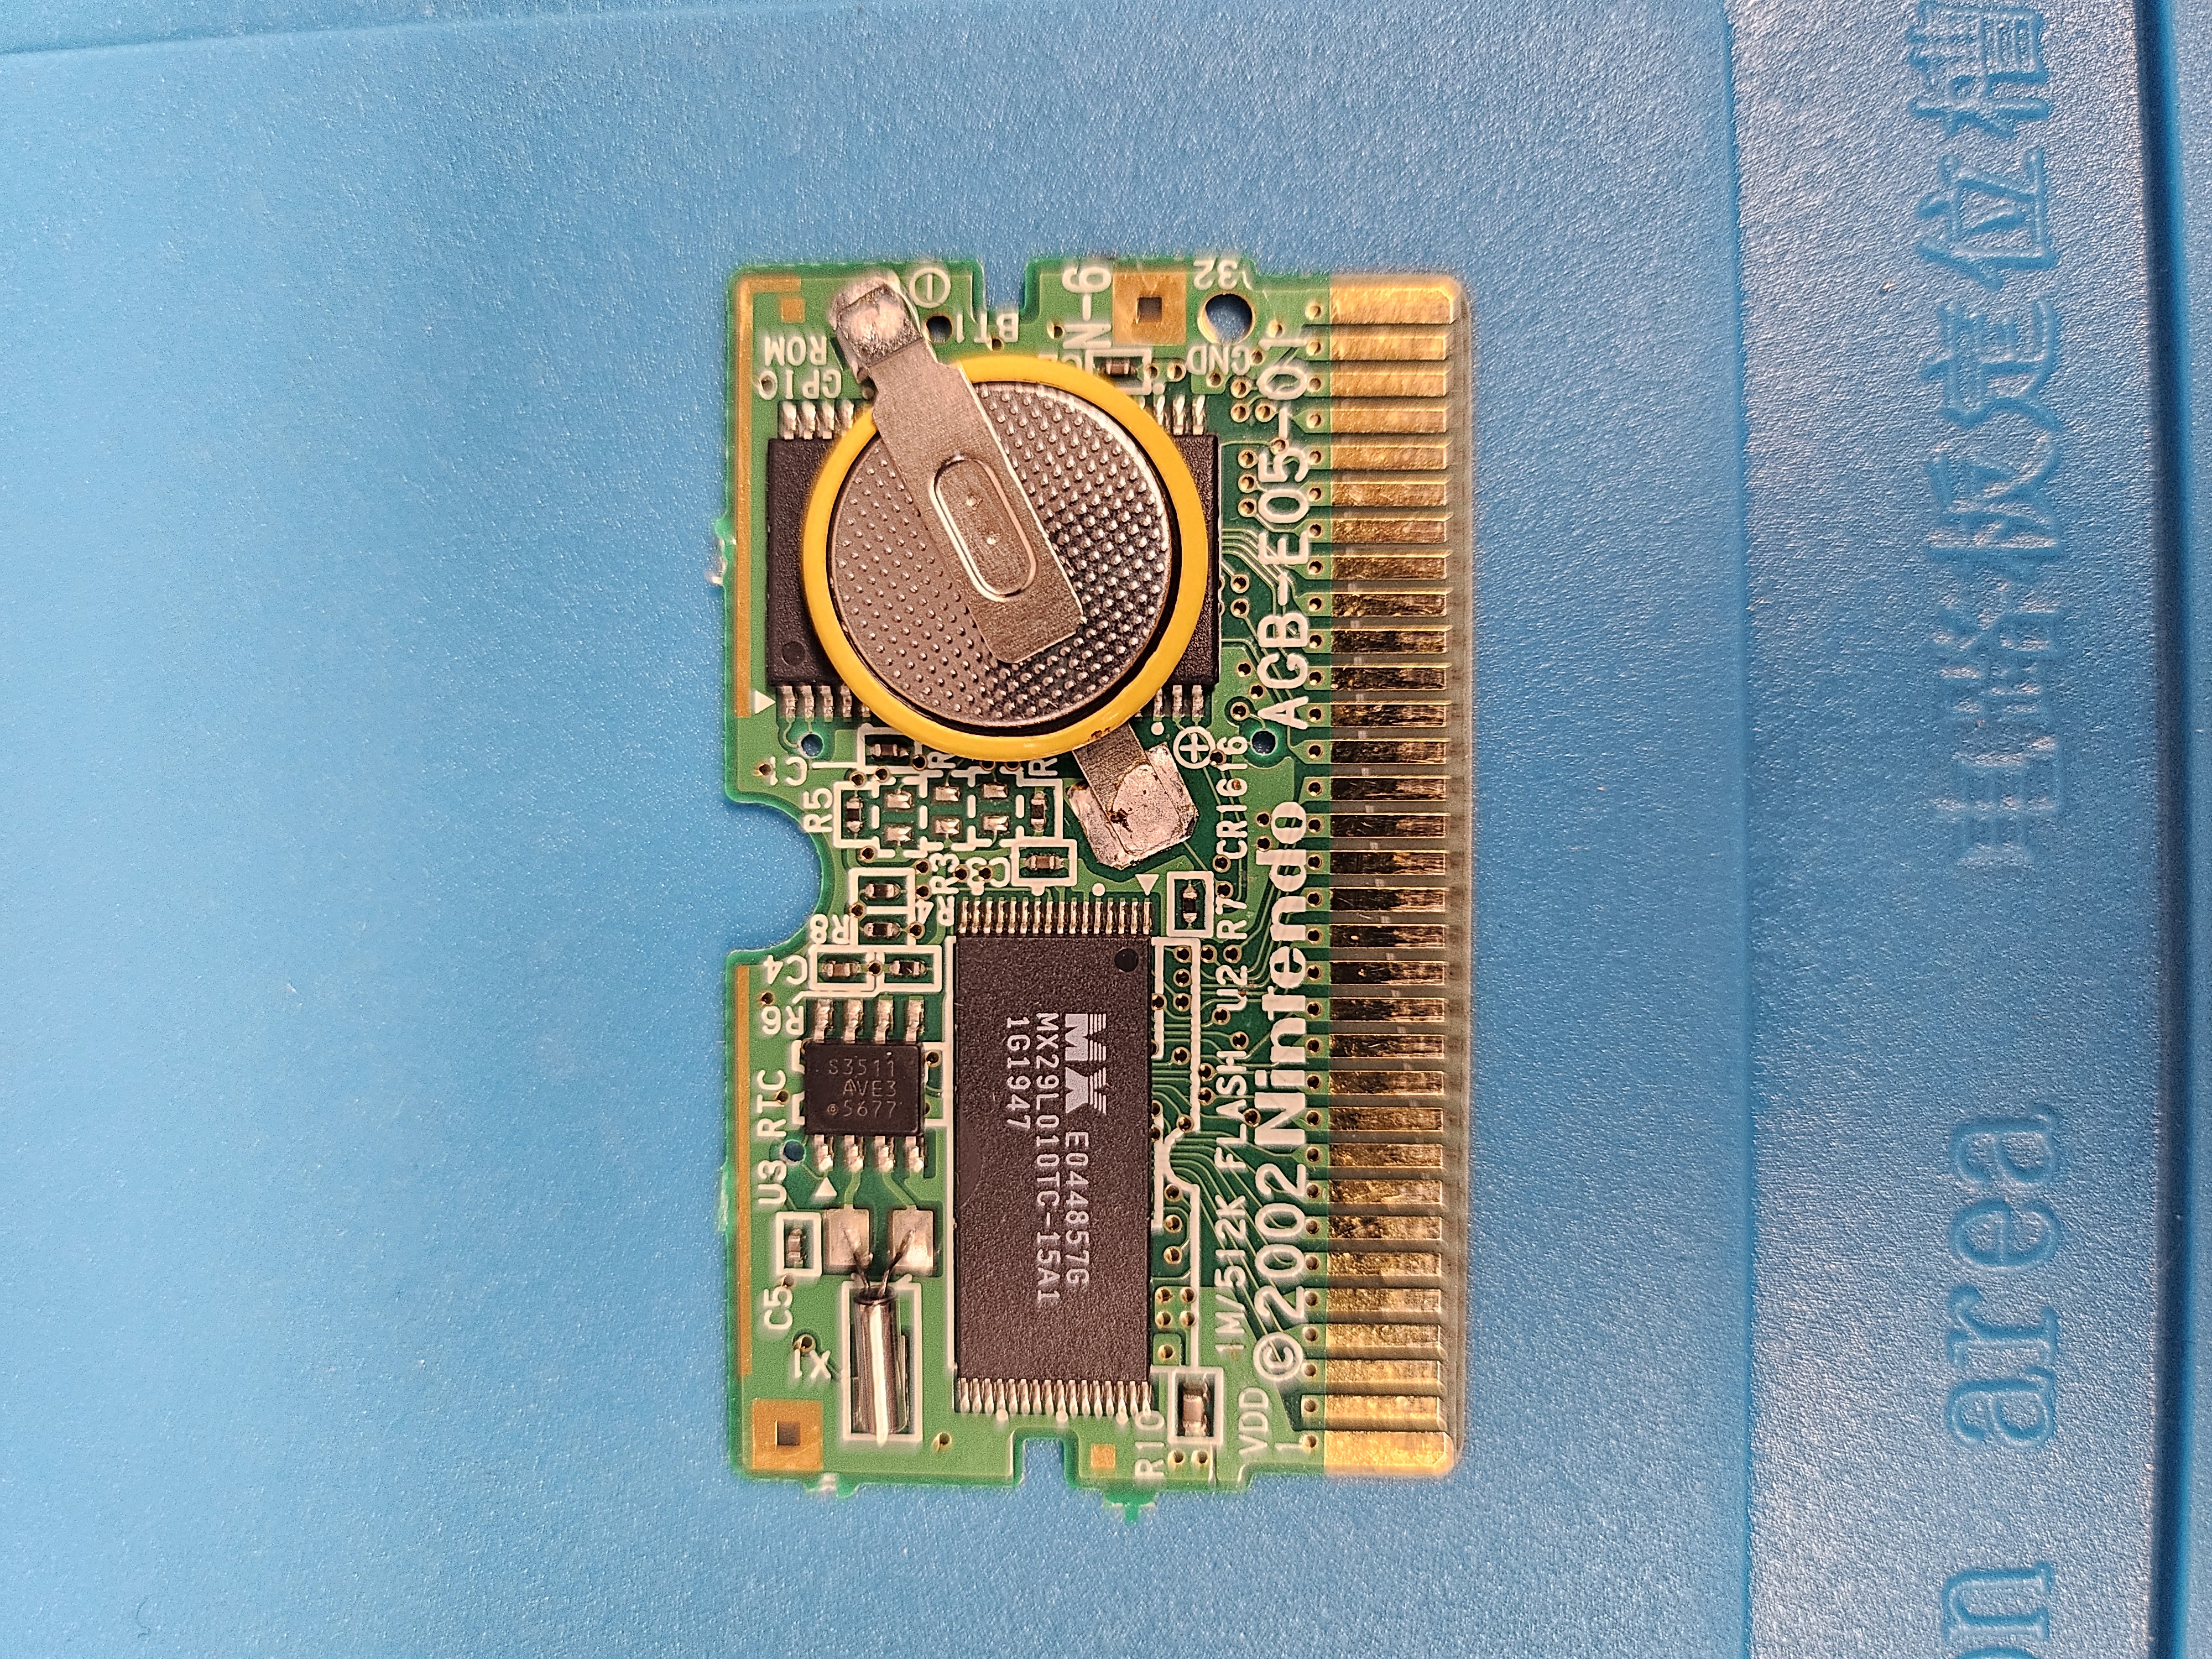
I unscrewed the tiny screw on the back of the Ruby cartridge and carefully removed the PCB. I initially used a pair of “helping hands” which was supposed to elevate the PCB and make it easier to work on, but it didn’t so I just placed it on my silicon mat that I bought specifically because of its heat resistance. I switched on the soldering station and put on my safety glasses before unfurling my iFixit Toolkit. I used a pair of soft tweezers to hold onto the battery as I used the iron to heat up the solder keeping the battery tabs attached to the PCB. Once the solder liquified, I had a limited amount of time to pull the tabs away before the solder resolidified. It was hard at first while getting used to handling everything, but eventually I got the battery out! I used a toothbrush dipped in isopropyl alcohol to scrub the surface of the PCB clean. Next was the hard part. I used the tweezers again to grab the replacement battery and made sure to match the positive and negative ends of the tabs to the pads of the PCB. I had tried using desoldering wick to remove all the solder from the pads and come in with completely new solder, but one of the supplies I had forgotten to buy was flux, which would have made this process way easier. I initially considered giving up on this for the day, but since I was borrowing the soldering station and I had already cleared my evening, I wanted to at least try. So instead I reheated the solder already on the pads and slipped the tabs of the new battery in on both sides. Then I added some new solder to secure and even out the connection. When I was done, I brushed the PCB one more time with isopropyl alcohol before reassembling the cartridge. I clicked Ruby into my SP and flicked the power on. As the logo flashed on screen, I held my breath at the brief pause that followed. Then, the logo for Pokémon Ruby appeared with no internal battery message. I literally cheered I was so happy. My first soldering job was a success! For my two copies of Emerald, the process was identical. I got better and more confident with soldering and handling my tools, and within an hour had successfully replaced all the batteries of my Pokémon games.
The victory celebrations were cut short because I still had a lot of work to do. I cleared away everything from the mat and set down my original Game Boy Advance. One of the reasons I brought my SP with me to test the Pokémon games was not only because I preferred the device, but because my GBA was unusable. You see, when I had only used my GBA for link cable shenanigans, I kept in it a pair of batteries so I could use it right away. Those batteries were never removed until I discovered them years down the line covered with turquoise corrosion. At the time I had assumed my Game Boy Advance was dead, so I tossed it into a box filled with tons of other abandoned pieces of hardware from my youth. When doing research on modding Game Boys, I had learned that you can remove corrosion from electronics with white vinegar. It felt like a stretch, but if I could get rid of the corrosion, I figured there was a chance my Game Boy could be resuscitated since despite abandoning it, I did take care of it.
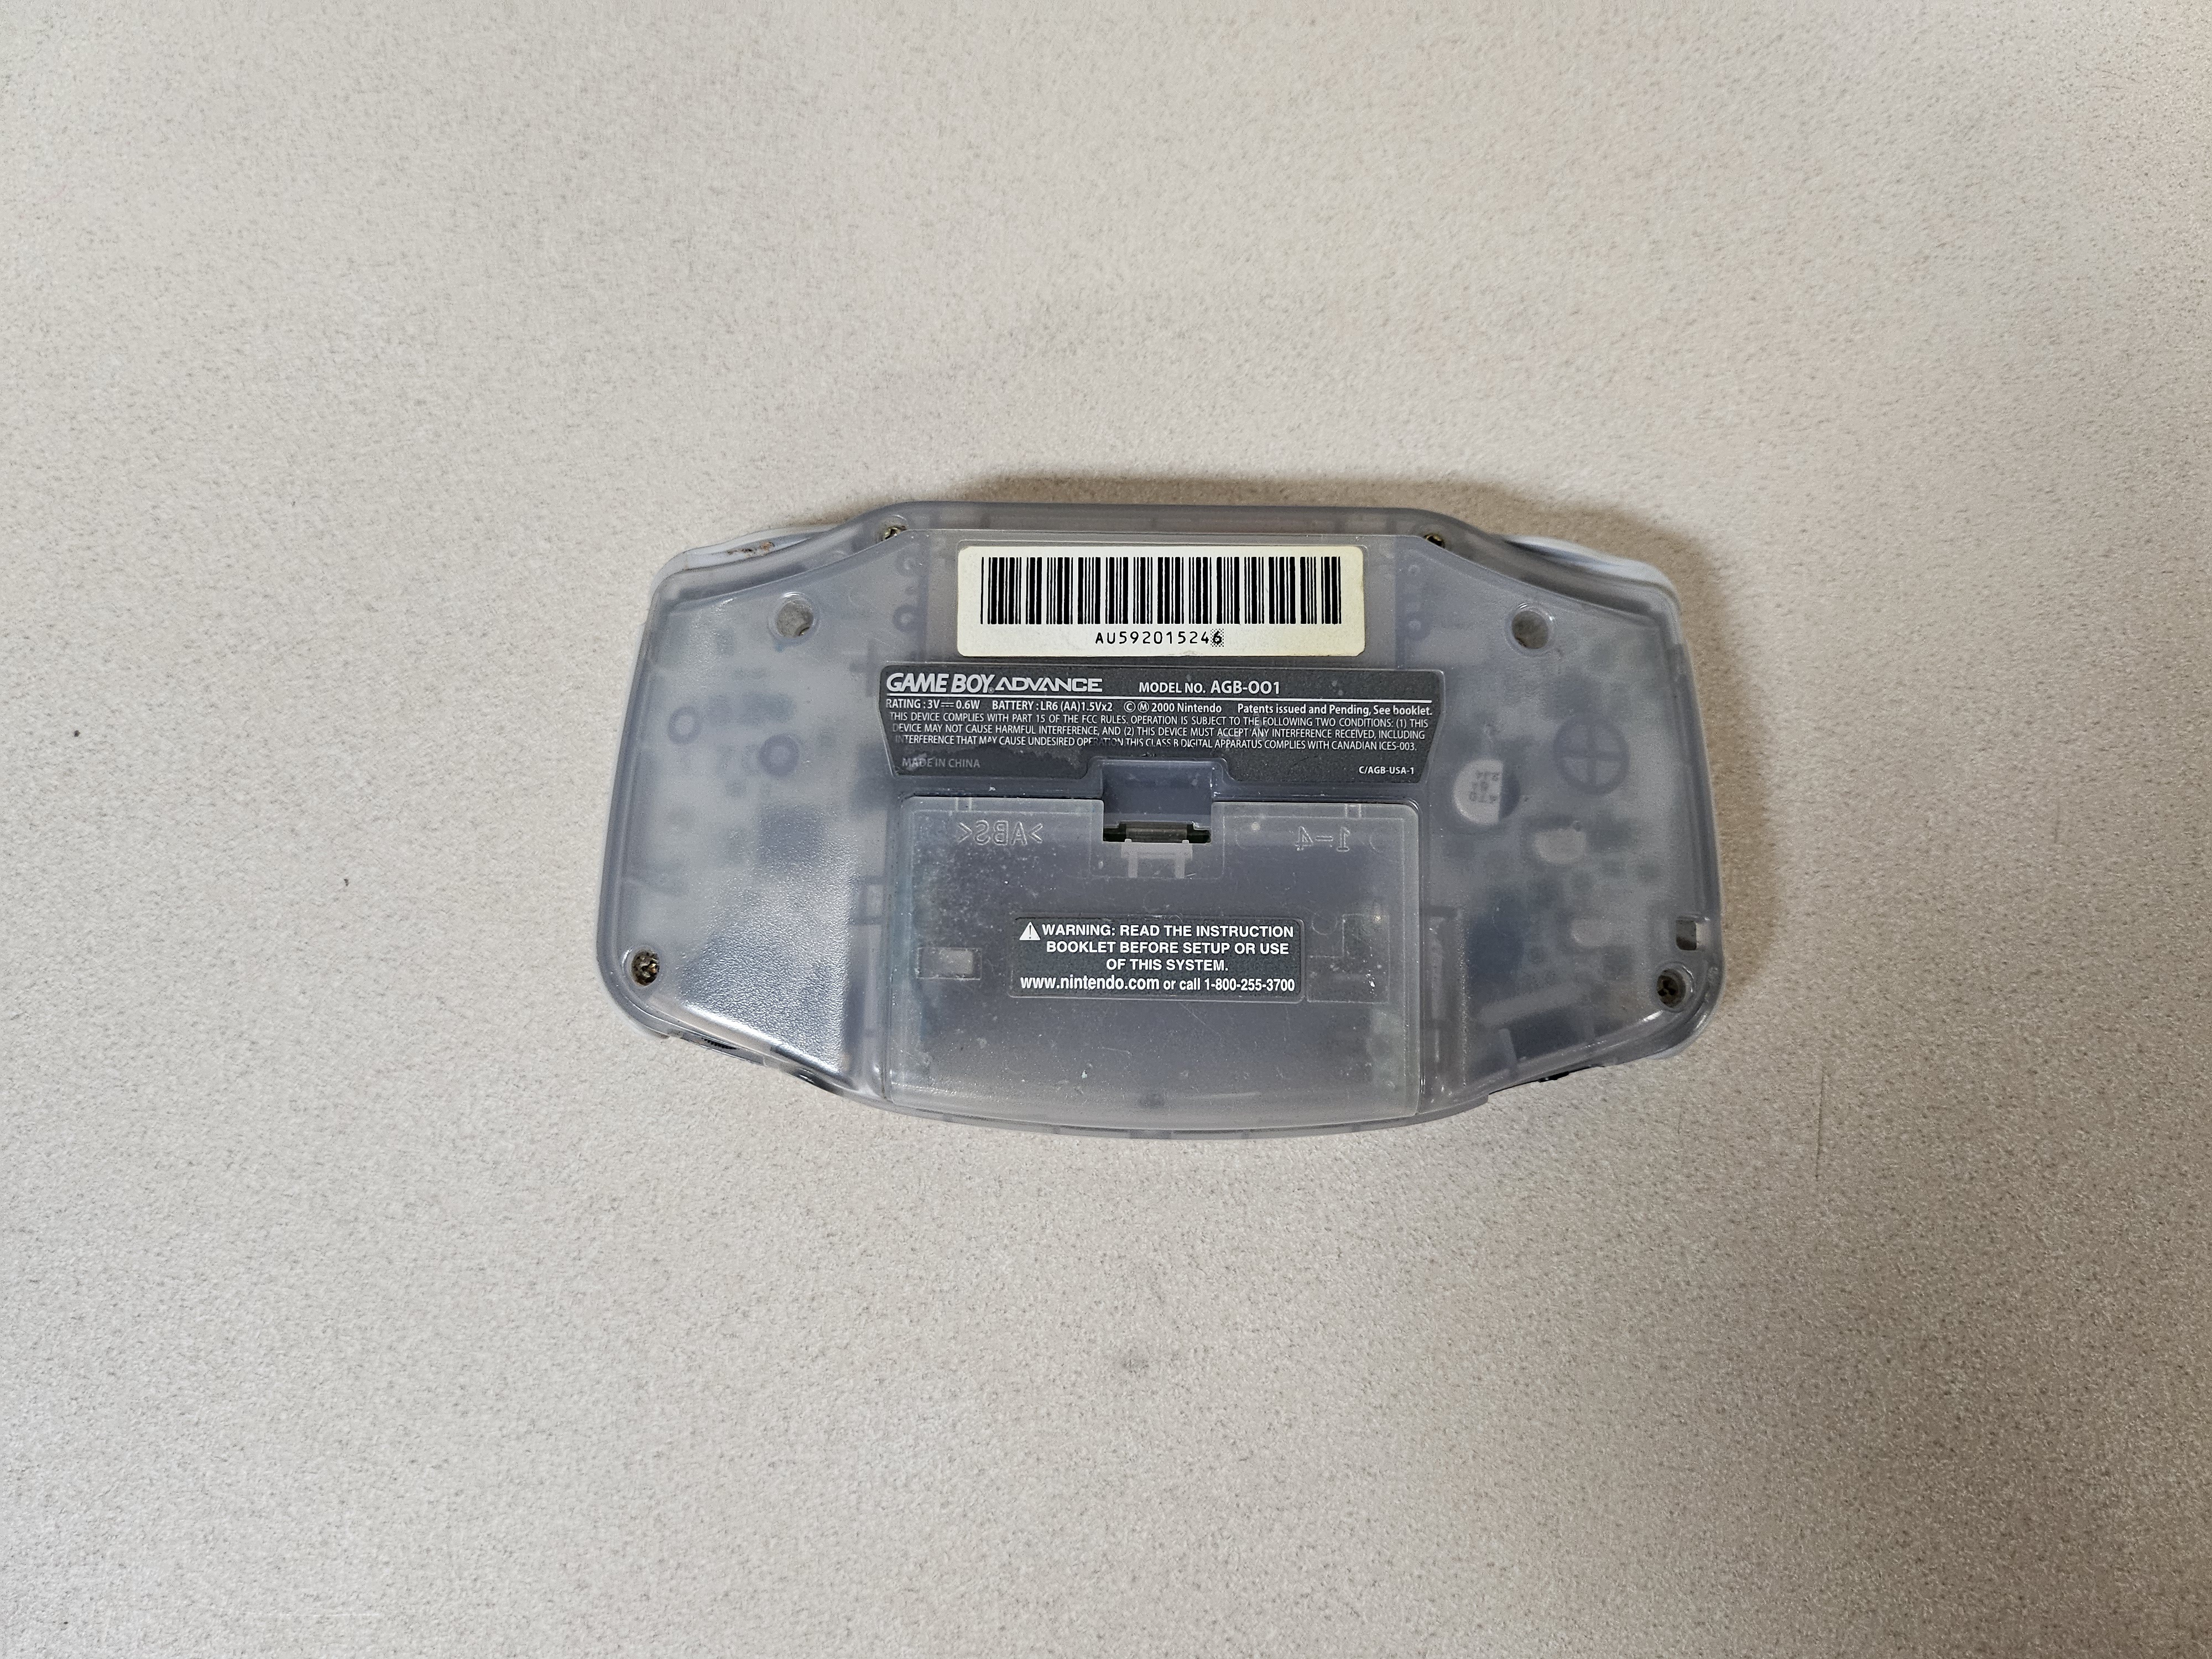
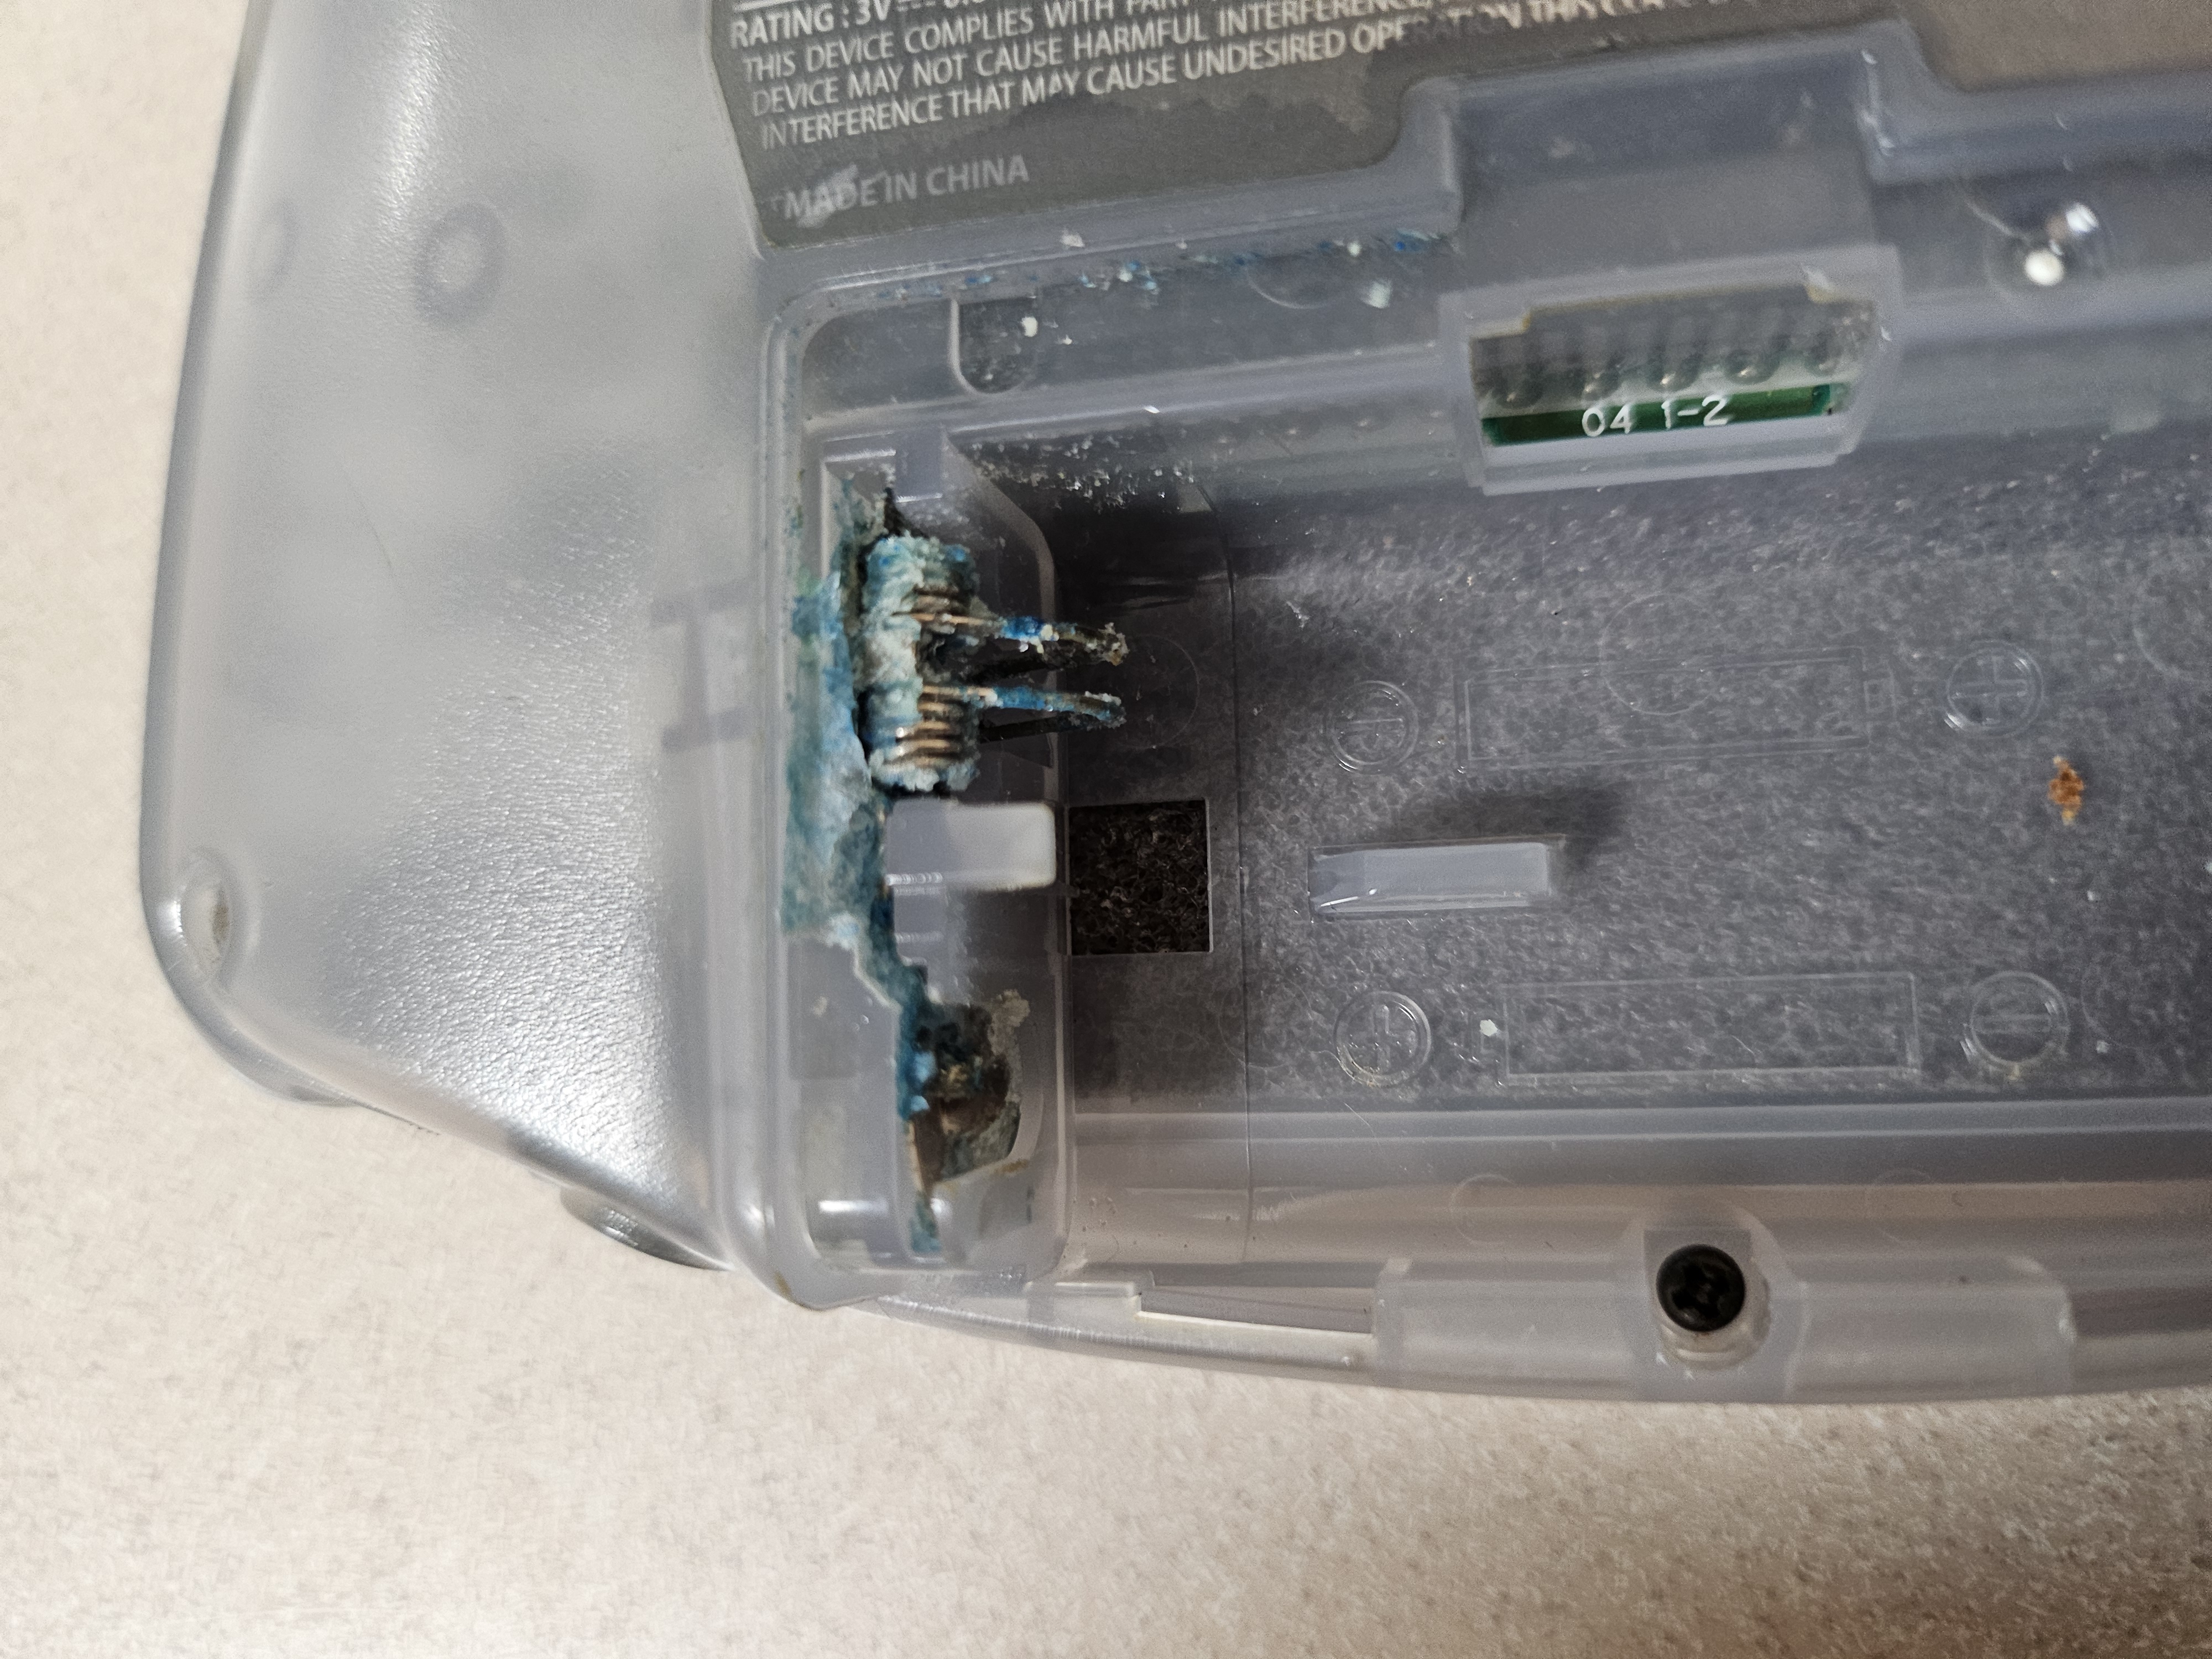
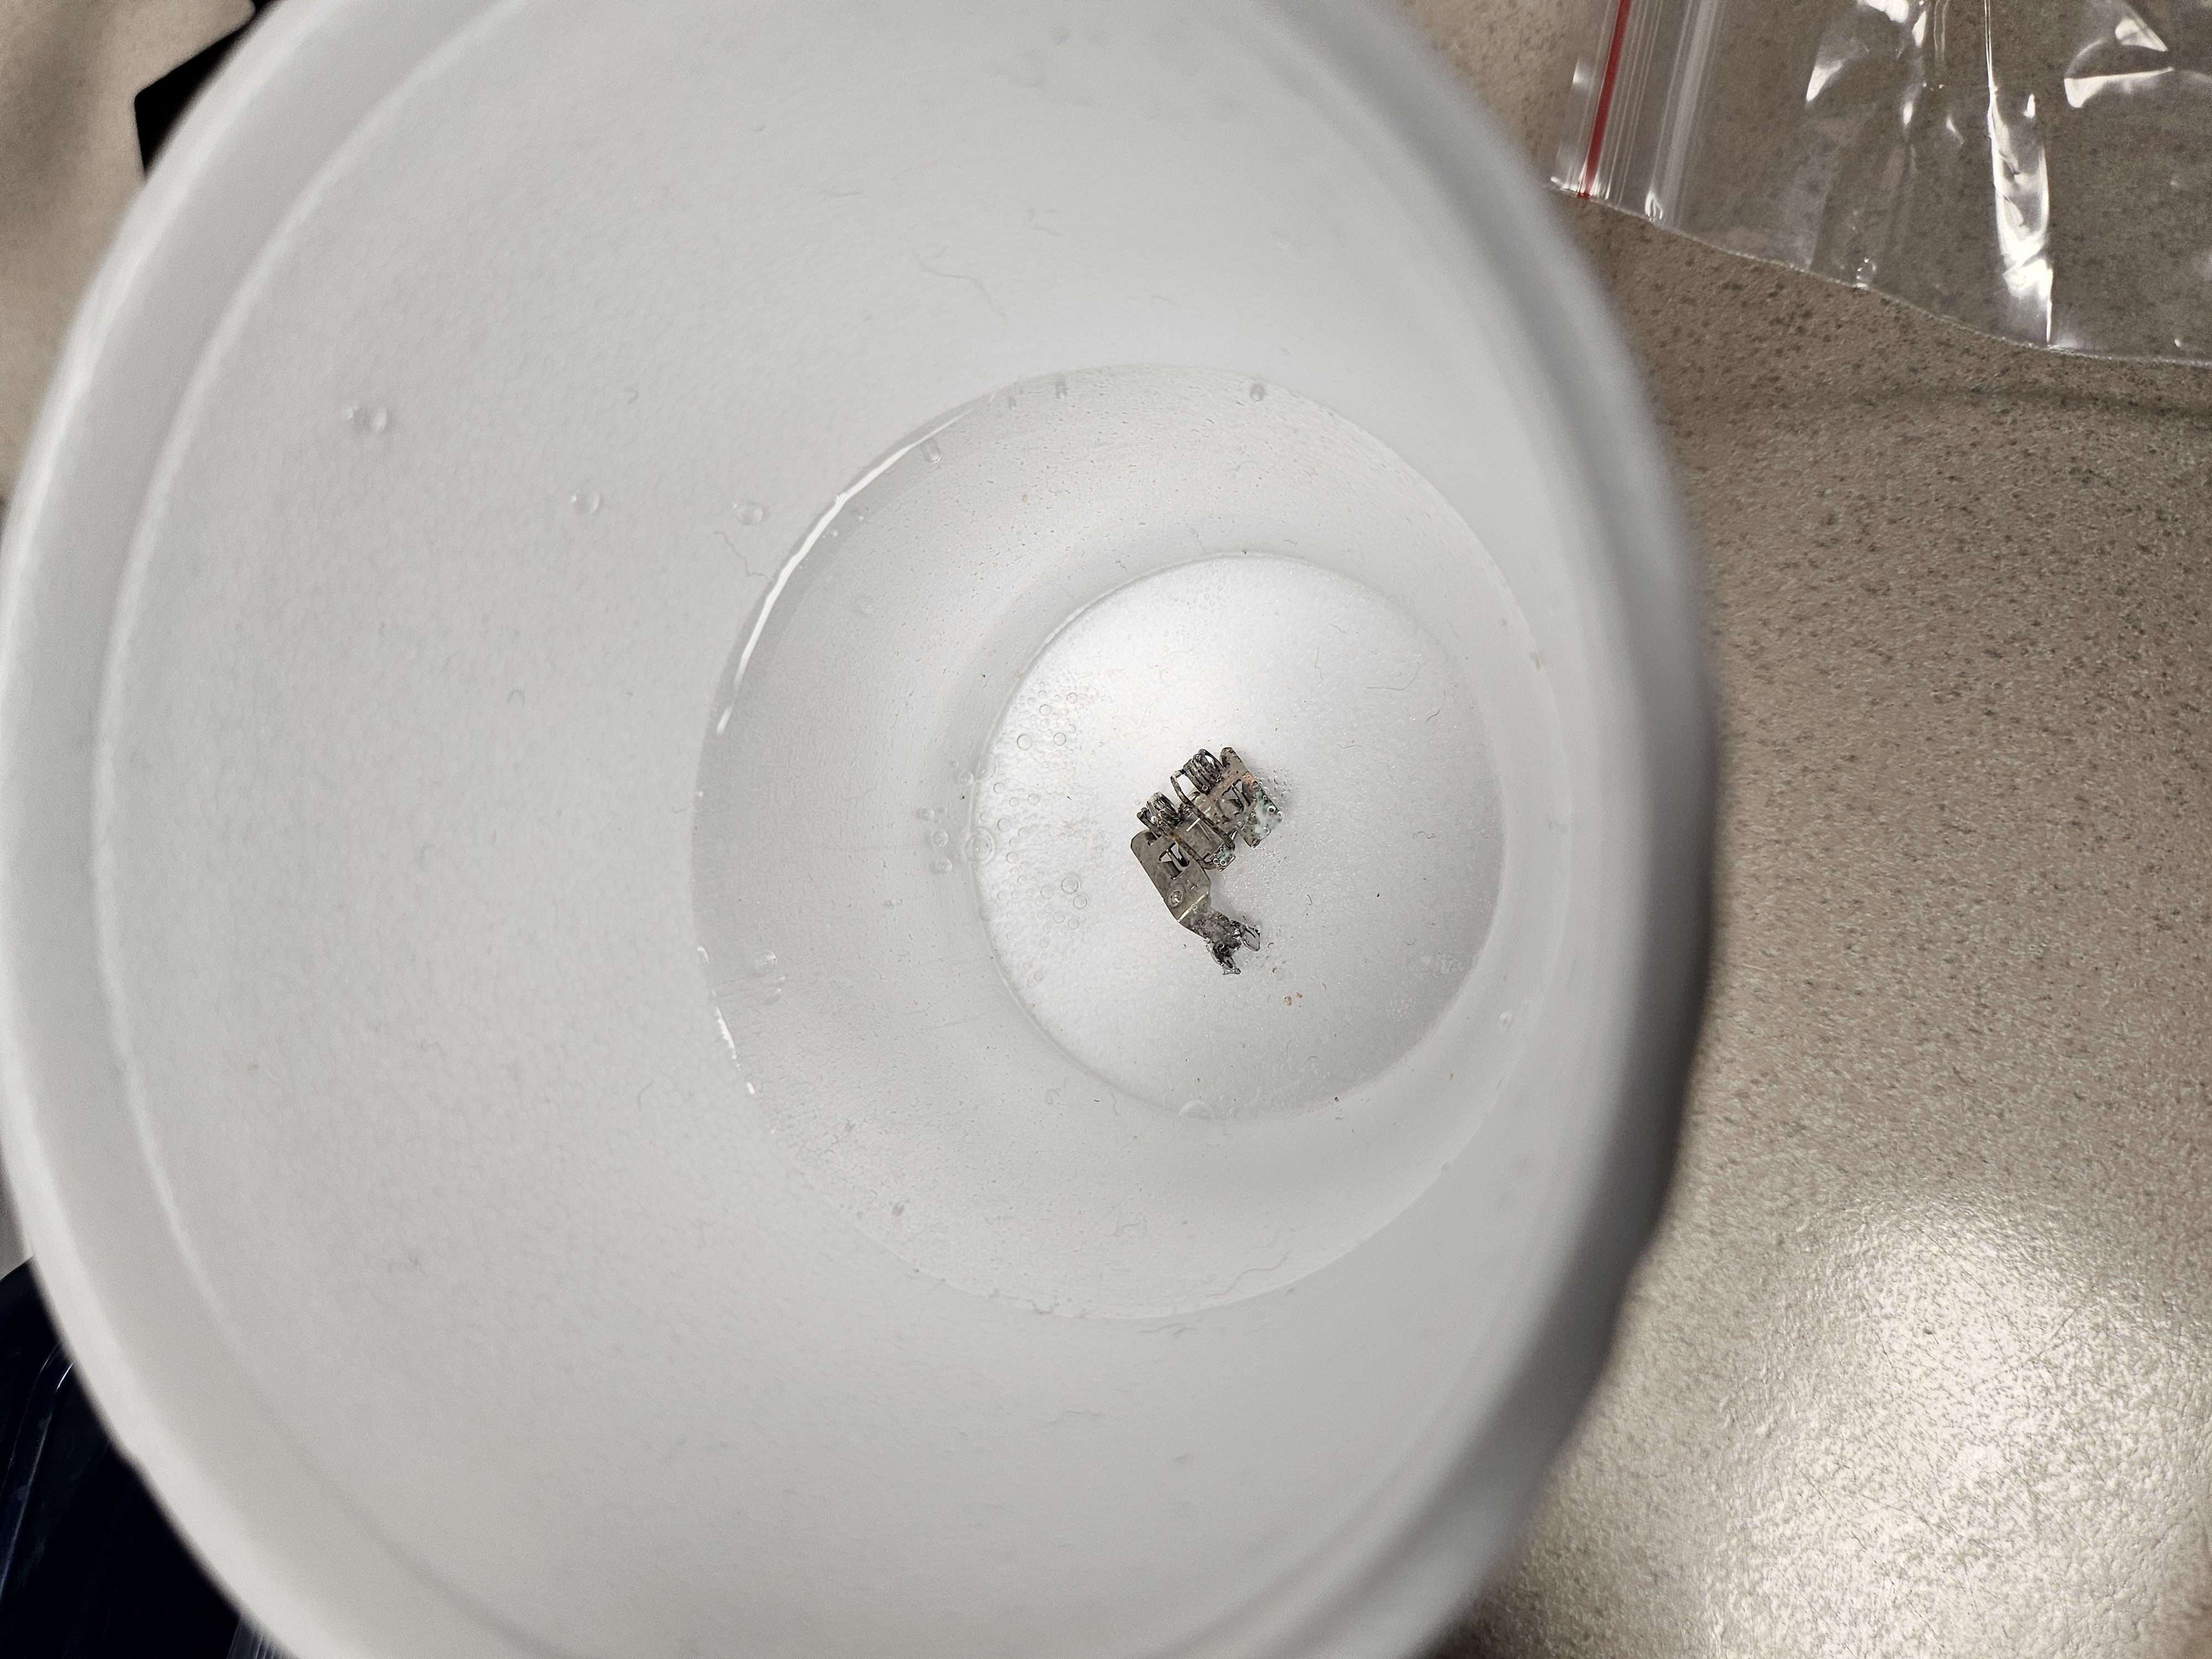
First step, disassembly. I unscrewed the back shell and exposed the PCB as the Glacial shell chipped and cracked. The exterior screws were disgusting, some sprinkled with flakes of corrosion, but most were covered in dirt. I had considered cleaning the screws, but luckily the FunnyPlaying shell comes with all new screws, which was nice. I then unscrewed the PCB and moved the front of the shell to the side, as I would be replacing all of it. I inspected the battery contact and was hoping the corrosion was limited to just the plate that could be easily removed, but sadly the piece soldered to the PCB itself was also covered in corrosion. Luckily with my new soldering skills, I desoldered the battery contact and dunked it in a new cup filled with white vinegar. The chemical reaction happened instantly, the corrosion vanishing like a magic trick. I let it sit for a bit while I used my trusty toothbrush and isopropyl alcohol to clean the rest of the PCB. I was careful not to brush too hard so I didn’t damage anything, but I wanted to make sure it was as clean as could be.
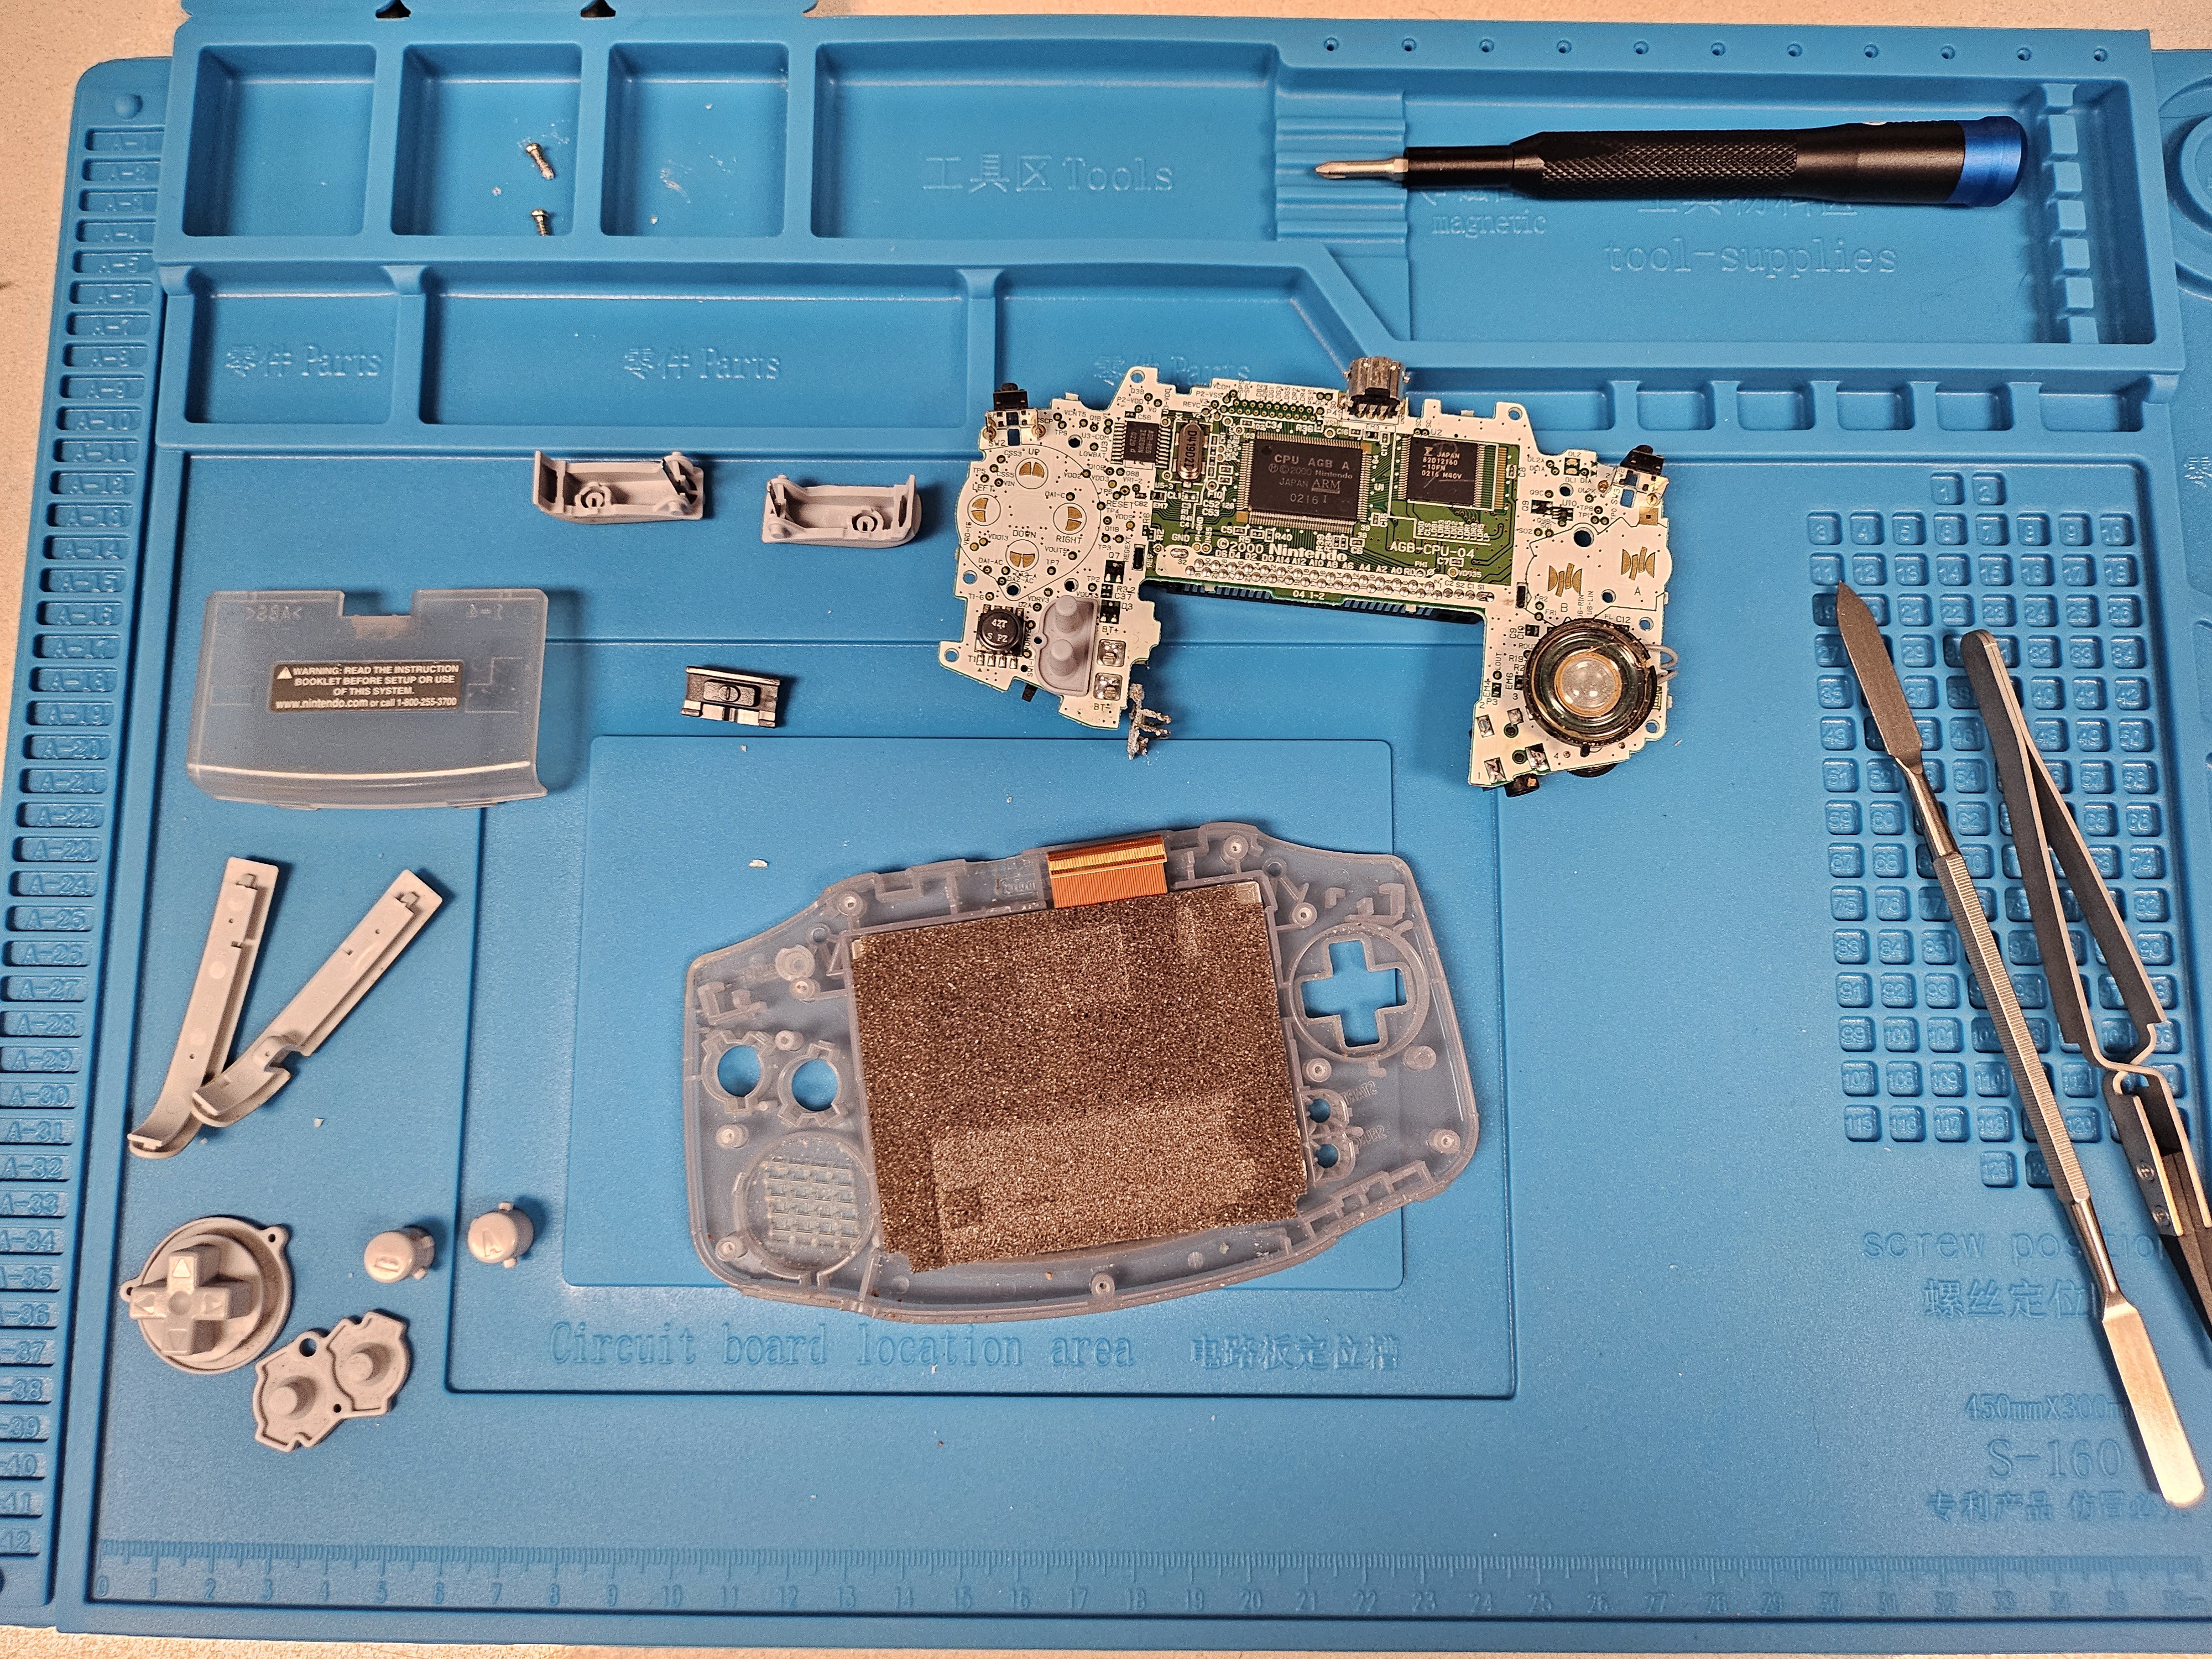
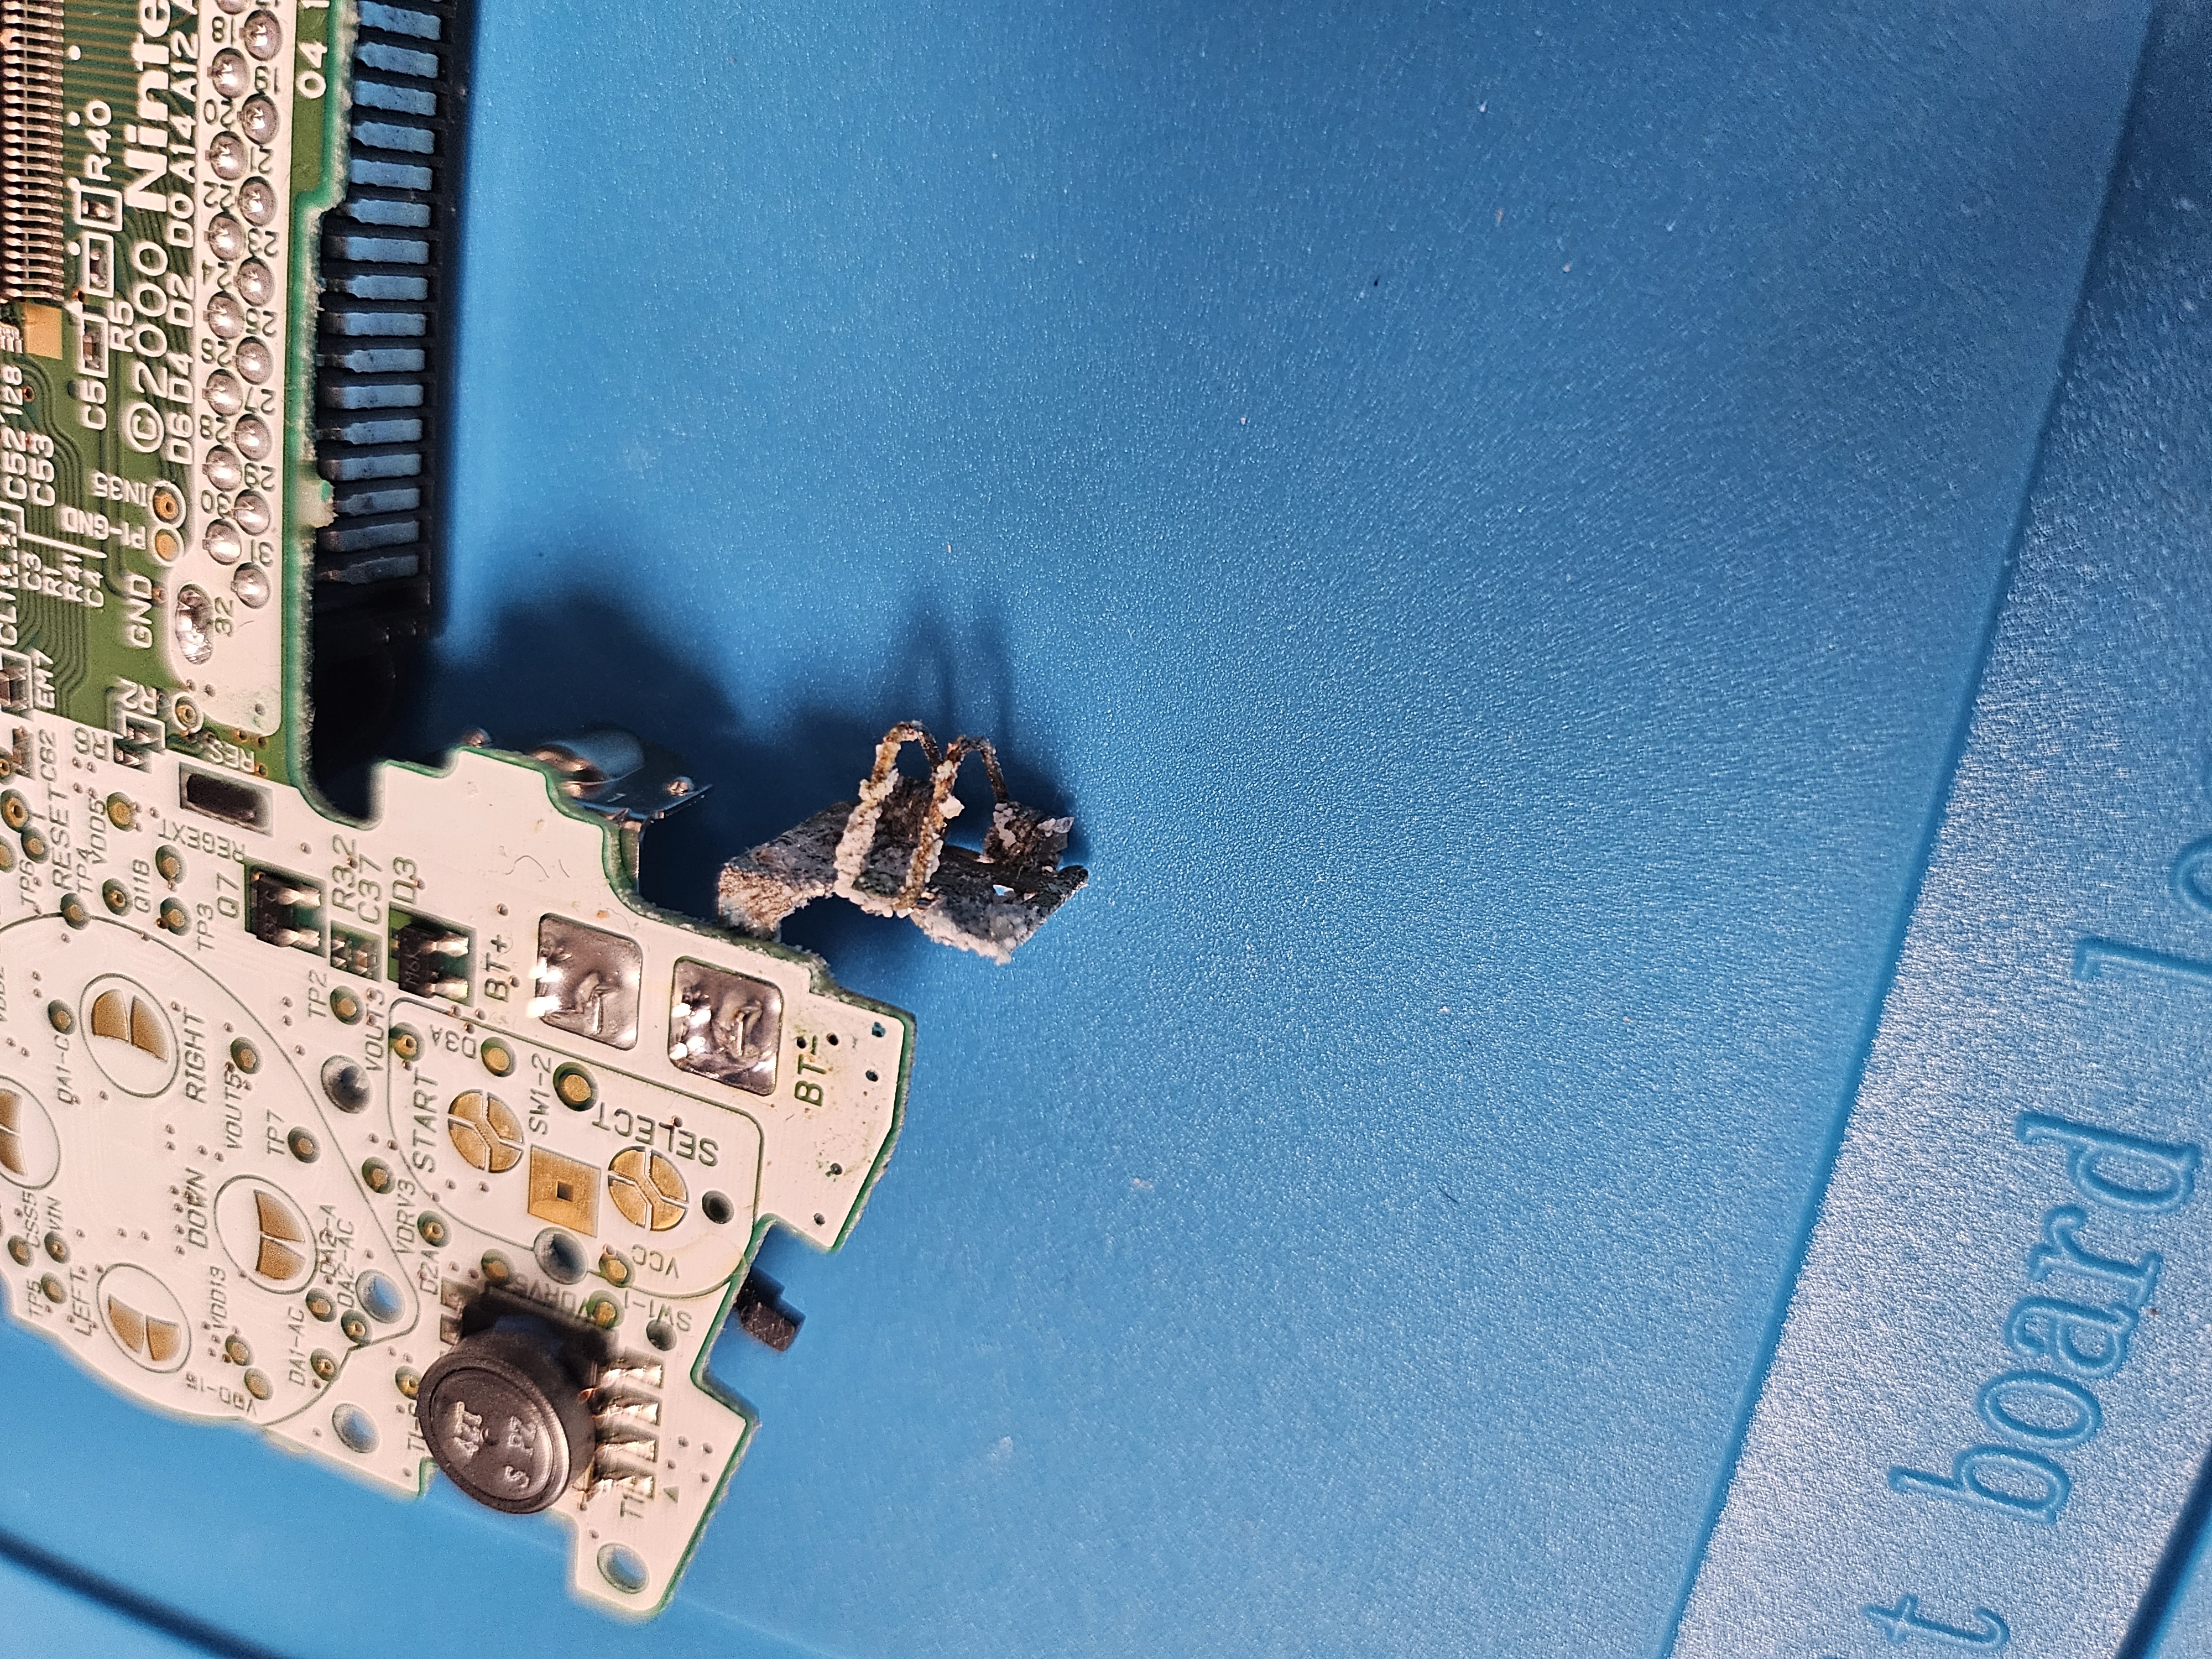
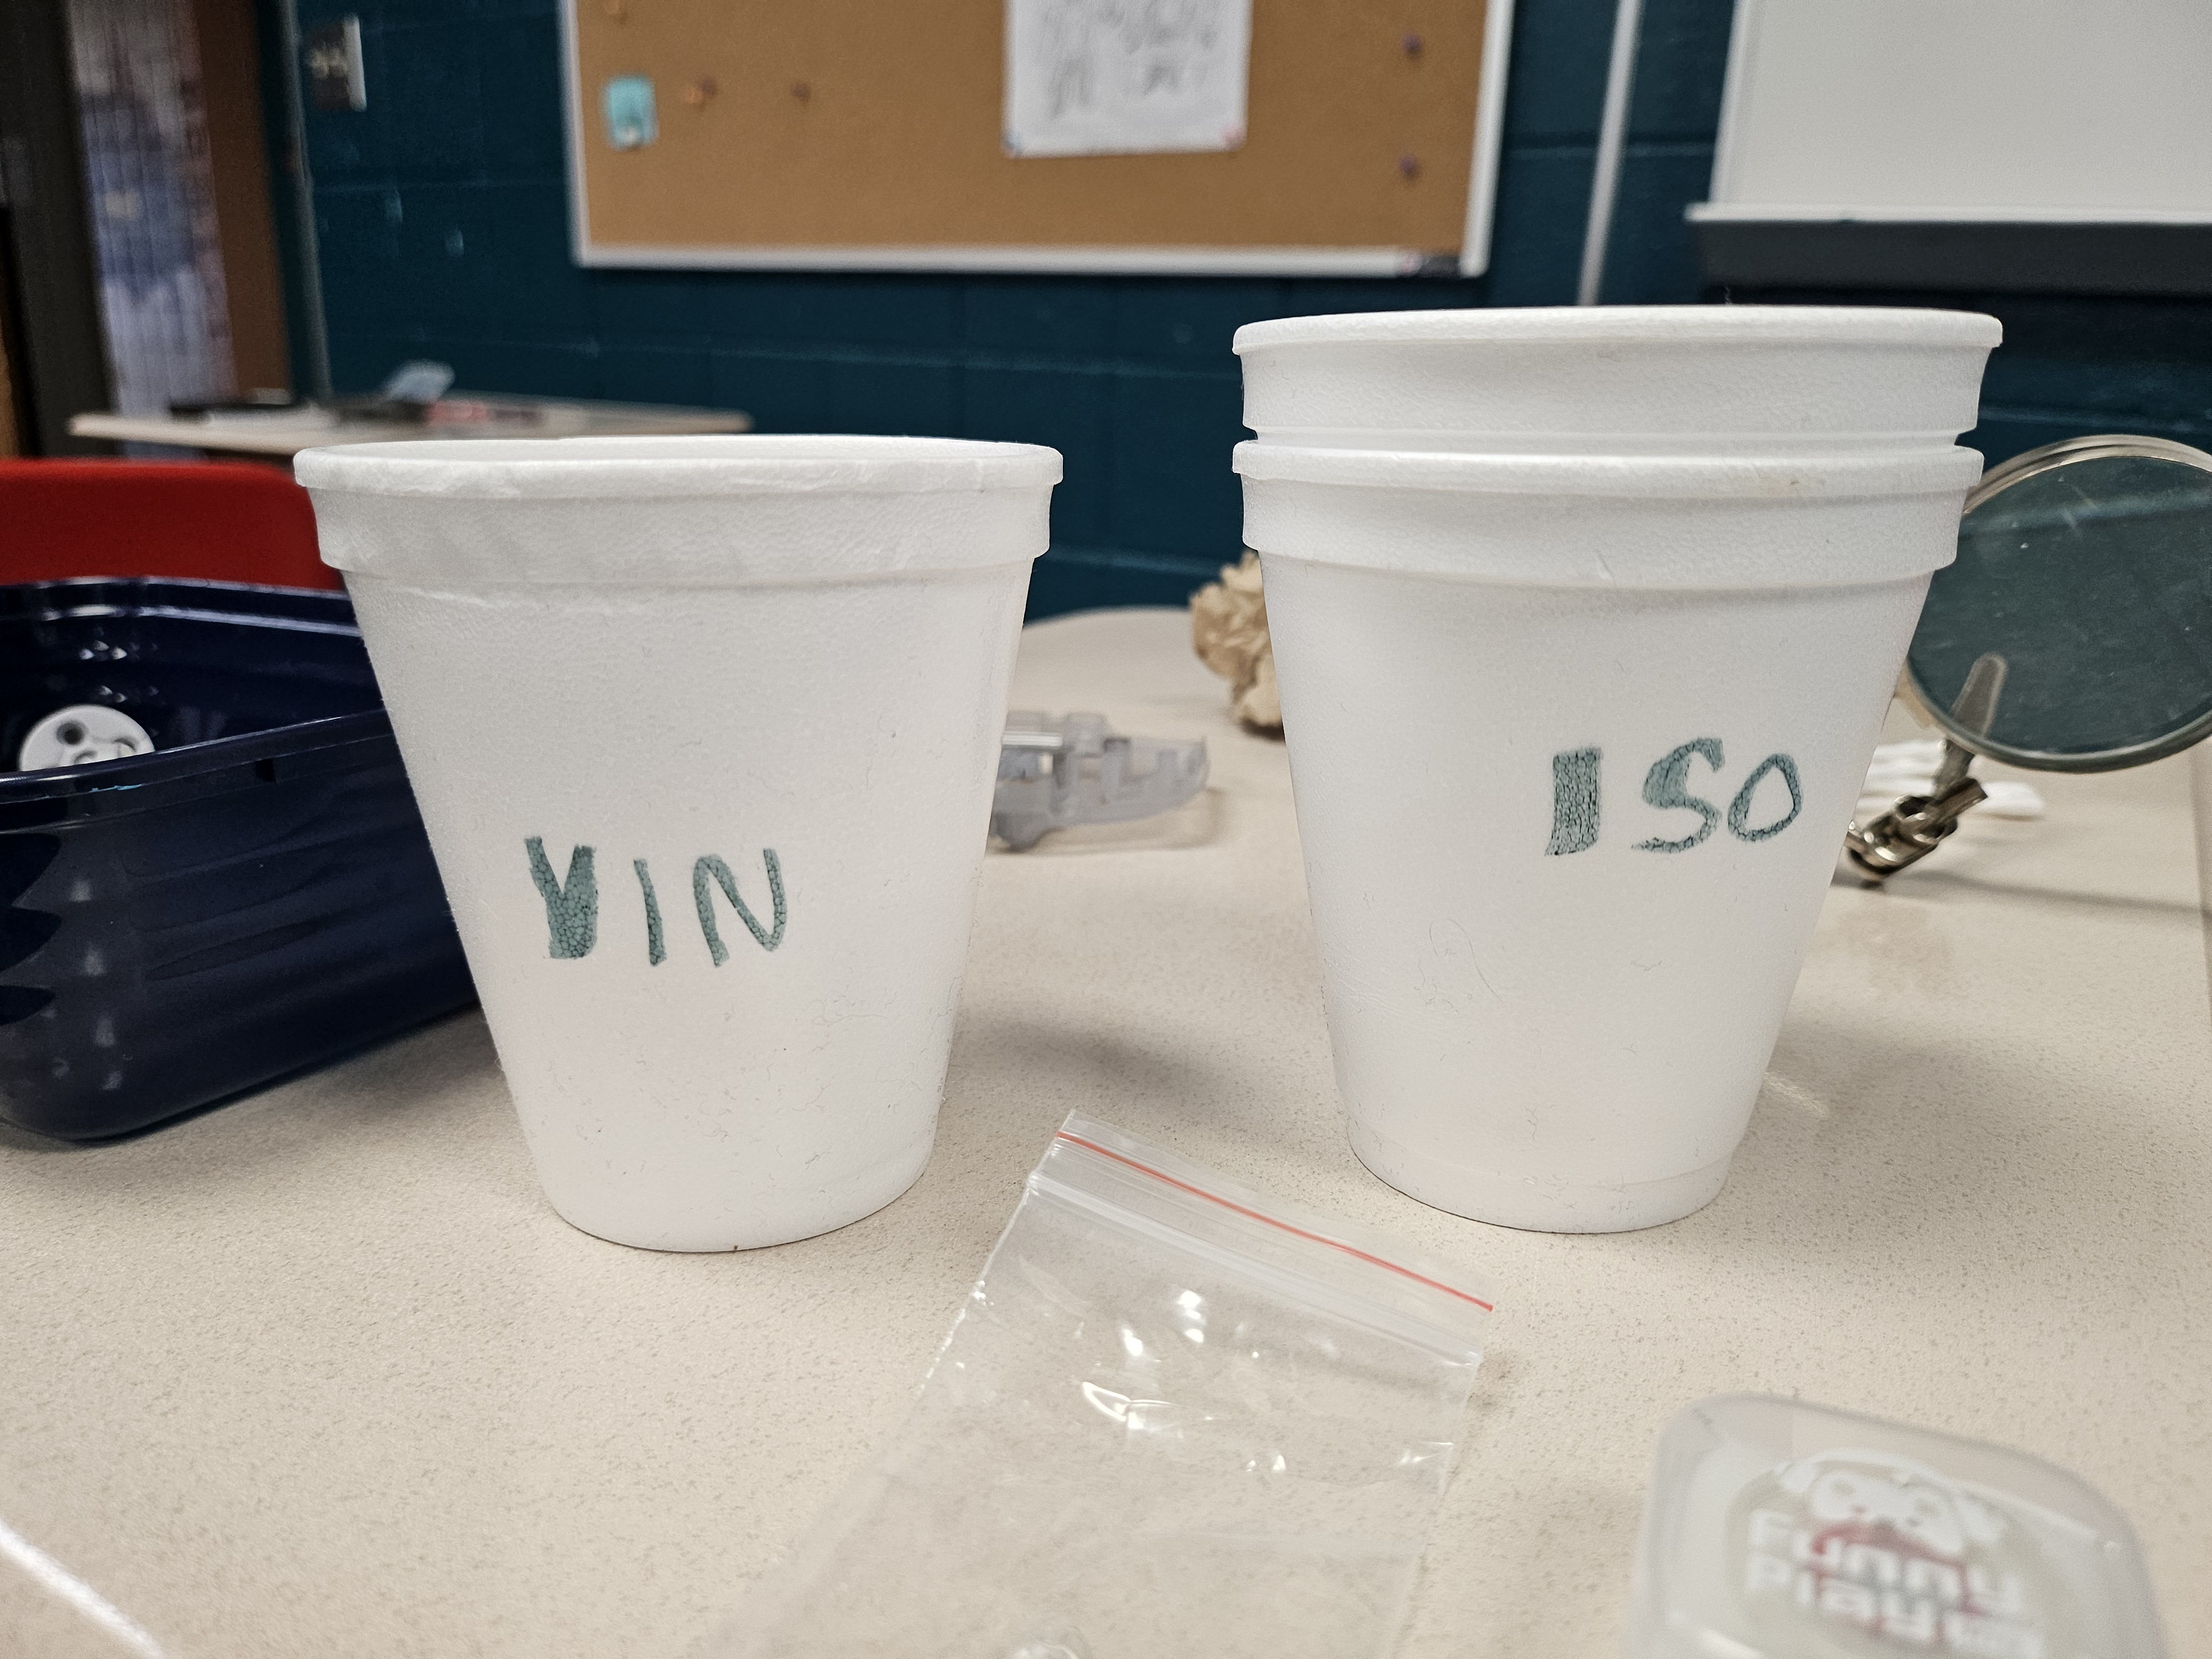
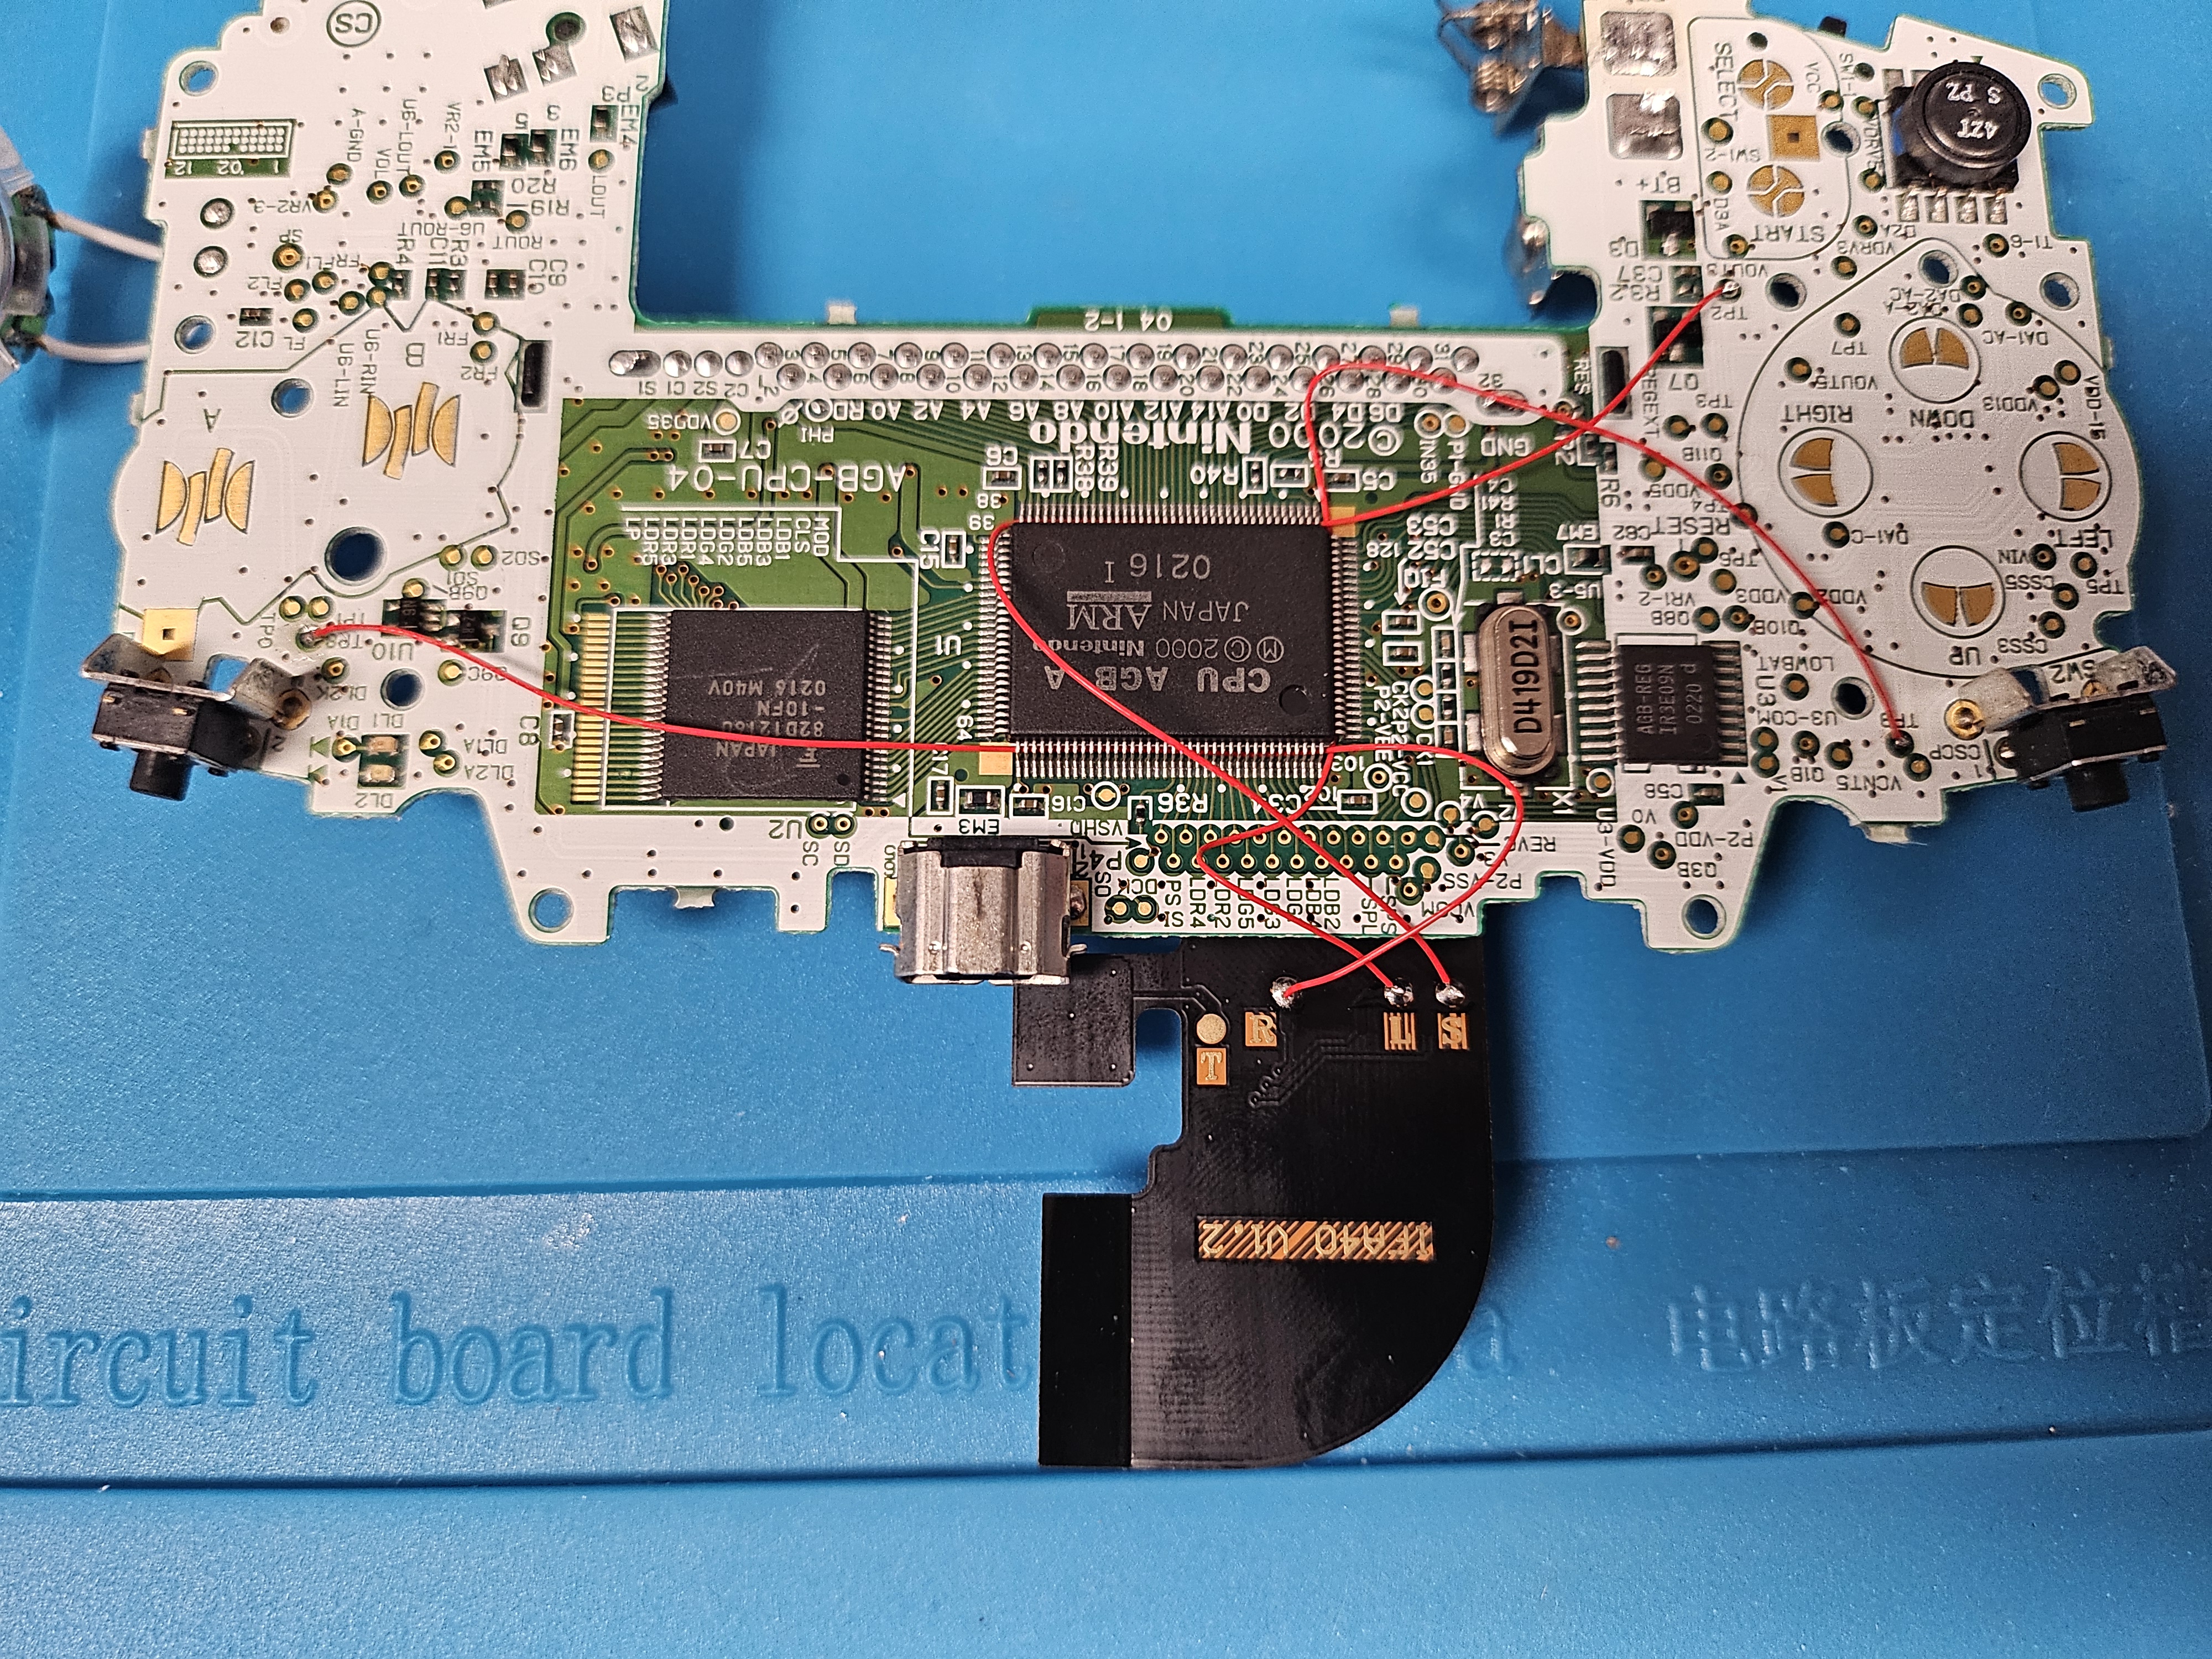
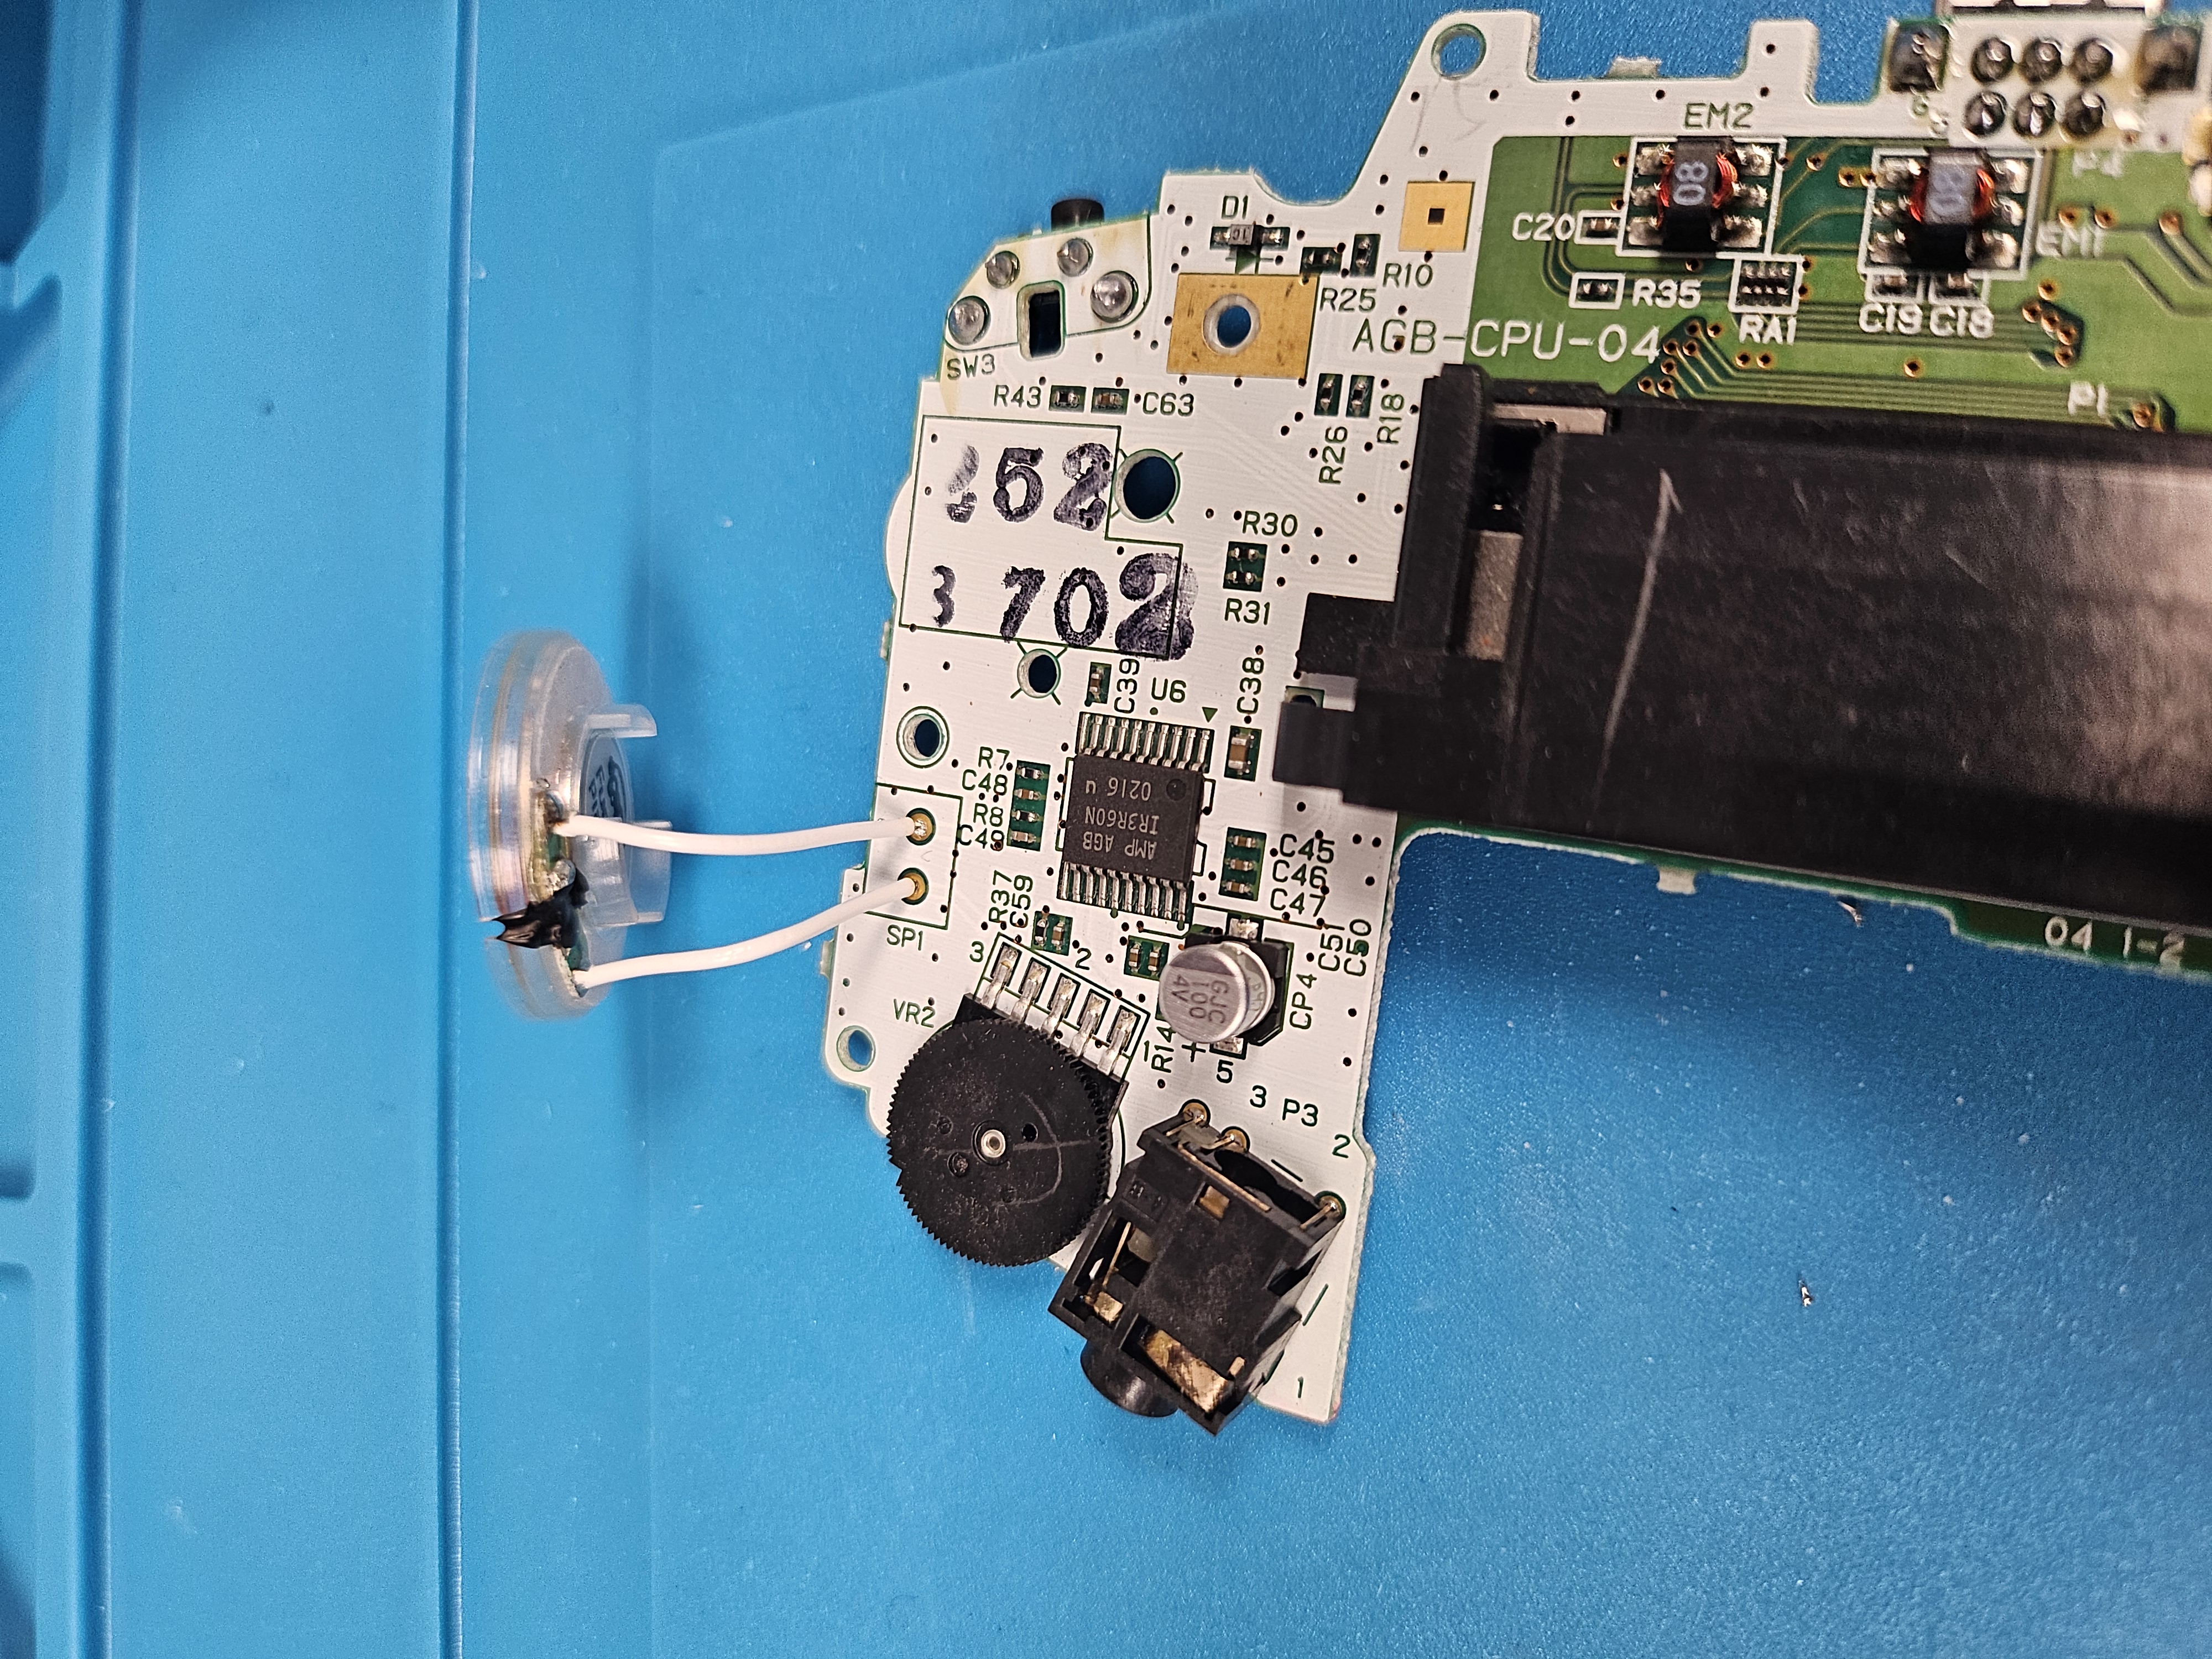
From this point I knew I only needed to solder three more times — reattach the battery contact, uninstall the old speaker and install a new one, and install three thin wires to give me button access to the screen controls. First, the battery contact. This was easily the hardest soldering job, as it took a bit of force to get it out in the first place, and it needed entirely new solder. I had to flip the PCB upside down and navigate placing the contact by feel, heating up the pad and pushing the contact through with those tweezers I used earlier. Once the first notch was in, I heated up the second pad and shoved the second notch through. While applying new solder, I adjusted the placement to straighten the contact out. It was hard to judge from the appearance alone if the contact was straight, so I had to place it back into the old shell for a moment to see if it lined up. It was one of the many “moments of truth” that occurred during this project, and was by far not the most important one. With some minor adjustments and placing the back shell on, the battery contact was proven to be in the correct place! It’s important to note that I have not tested the battery contact yet, which I probably should have, I was putting faith that this was the only major problem preventing my GBA from turning on. Next was the new speaker, which was removed and replaced in a similar manor as the battery contact. Heat up the existing solder, pull out the wire, do that again, then blind navigate the wires back into the holes in the PCB while heating up the pads. It was a little harder pushing the wires through, but outside of that it wasn’t much trouble. I had triple checked to make sure that the speaker was facing the right way. Finally was the screen wires. The FunnyPlaying ITA Screen controls for brightness, mode, and placement can all be accessed through a touchpad sensor. Optionally, three wires could be installed to access this same menu. I didn’t want to rely on the touchpad sensor, and with all my soldering equipment out, I decided to get those wires in. I had to watch a specific install video for the wires, as their placement on the PCB was new, so this was the first time these pads were going to be used. To make this easy, I first added a dot of solder onto each of the three pads, then came back afterwards to attach the wire. I also had to plug in the screen’s ribbon cable that these wires would attach to. It was a pain to manipulate the wires and to keep them in place as the solder cooled, but once that was done, I was officially done with soldering! This was easily the hardest and most time consuming step of the whole process. After this, it was just putting the pieces together.
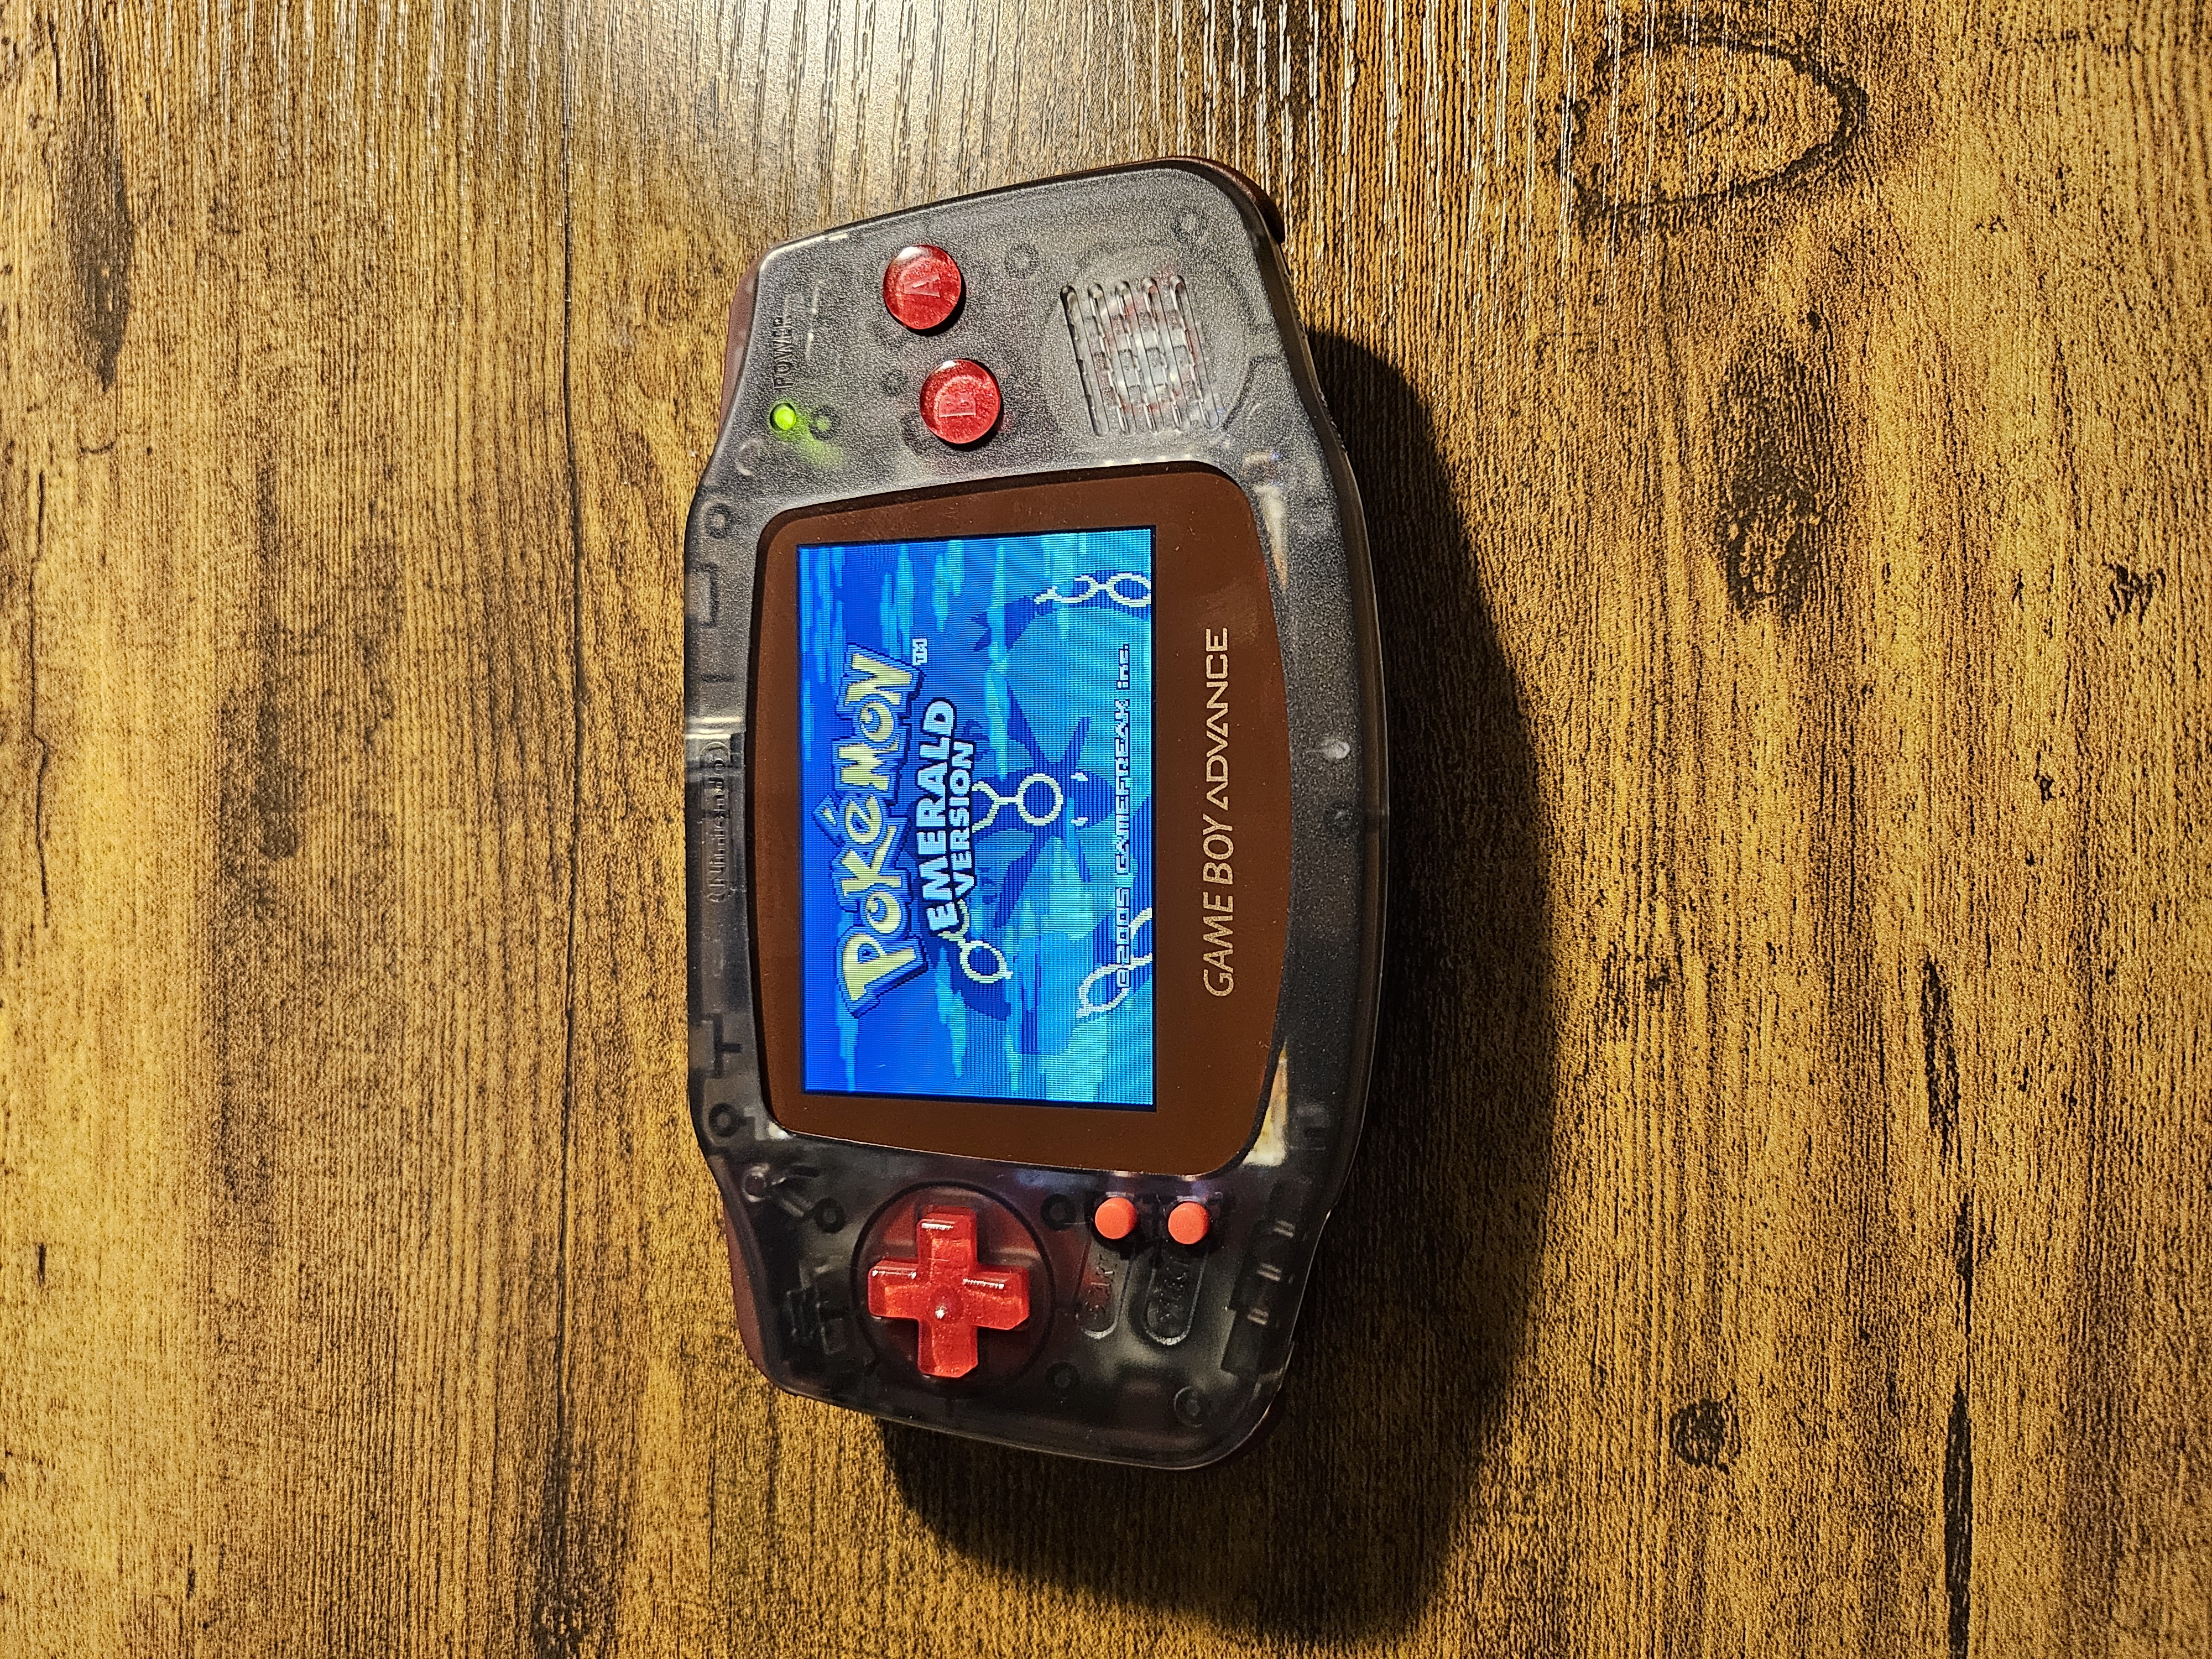
In the final assembly, I placed the front shell down face first and inserted a special bracket that FunnyPlaying provided for non-OEM shells to fasten the screen. It was difficult at first to clip the bracket into place, but once I did the screen was not going anywhere. Next I placed the front buttons (A, B, Start, Select, D-Pad) and placed the silicone pads beneath them. A small quirk with the front shell pressed down onto the mat, the buttons stuck out the back, which made the next step of getting the PCB installed a little more difficult than it should have been, so I will probably elevate my Game Boy in the future during this step. Next of course was getting the PCB positioned in the shell. I had to make sure the new speaker fit properly and that all the buttons were lined up. It had a little resistance fitting at first, but once it slipped into place, everything else fell into place. I secured the PCB down with the new set of screws the shell came with. I secured the back shell in place, again everything snapping into place. But with the Game Boy Advance, this was also the step I had to put in the power button, the side panel pieces, and the shoulder buttons, which required a lot of finesse positioning the springs that make those buttons feel great to press. Putting in the final set of screws was so satisfying, as I could finally lift my new Game Boy. What the Anbernic from the beginning of the article was missing was here, the weight my body remembered holding when I played my favorite games. It wasn’t over yet, however. Flipping the device back down, I installed the rechargeable battery. It had been charging while I worked. As I reached for the power switch, all my efforts would either either be rewarded or crushed. I flicked it on and the opening jingle filled me with an unbelievable amount of joy and sense of accomplishment. This was my first time doing any sort of hardware modding and electronics work to this degree. Like before, I had to trust that what I did was correct each step of the way, because I didn’t put it all to the test until the very end. The jingle confirming that I got the speaker correct, the screen lighting up confirming that I got the ribbon on secure and I immediately tested the settings which confirmed that I put in those three thin wires in correctly, and just the Game Boy turning on at all was incredible. Before this moment my childhood Game Boy was dead. I didn’t just repair it, I brought it back to life.
.jpg)
.jpg)
.jpg)
.jpg)
.jpg)
.jpg)
.jpg)
For the final touches I added holographic stickers that emulated the stickers on an original Game Boy Advance and secured the battery cover with a convenient USB-C port designed into the plastic. And because most of what I bought was made by FunnyPlaying, the clear black shell and cover were seamless. I put my copy of Pokémon Emerald in and booted it up, running around and challenging trainers so I could see the battle animations on the new screen and hear the music through the new speaker. It was surreal. Satisfied with my work, I packed everything up and went home. The next day I actually modded a friend of mine’s Game Boy Advance SP, but I had several complications that I can get into another time. Remember when I mentioned that ROM hacks are what got me back into playing older generation Pokémon games? Playing them on my phone and Anberenic was simple enough to set up with an micro SD card, but getting the hacks onto cartridges to play on my newly modded GBA will be my next project. For now, I gotta get my hands on a copy of Minish Cap.